
Now we’ll look at how to remove it.

(This is the second of two posts on tarnish. Part 1 is about the chemistry of tarnish and how it forms.)
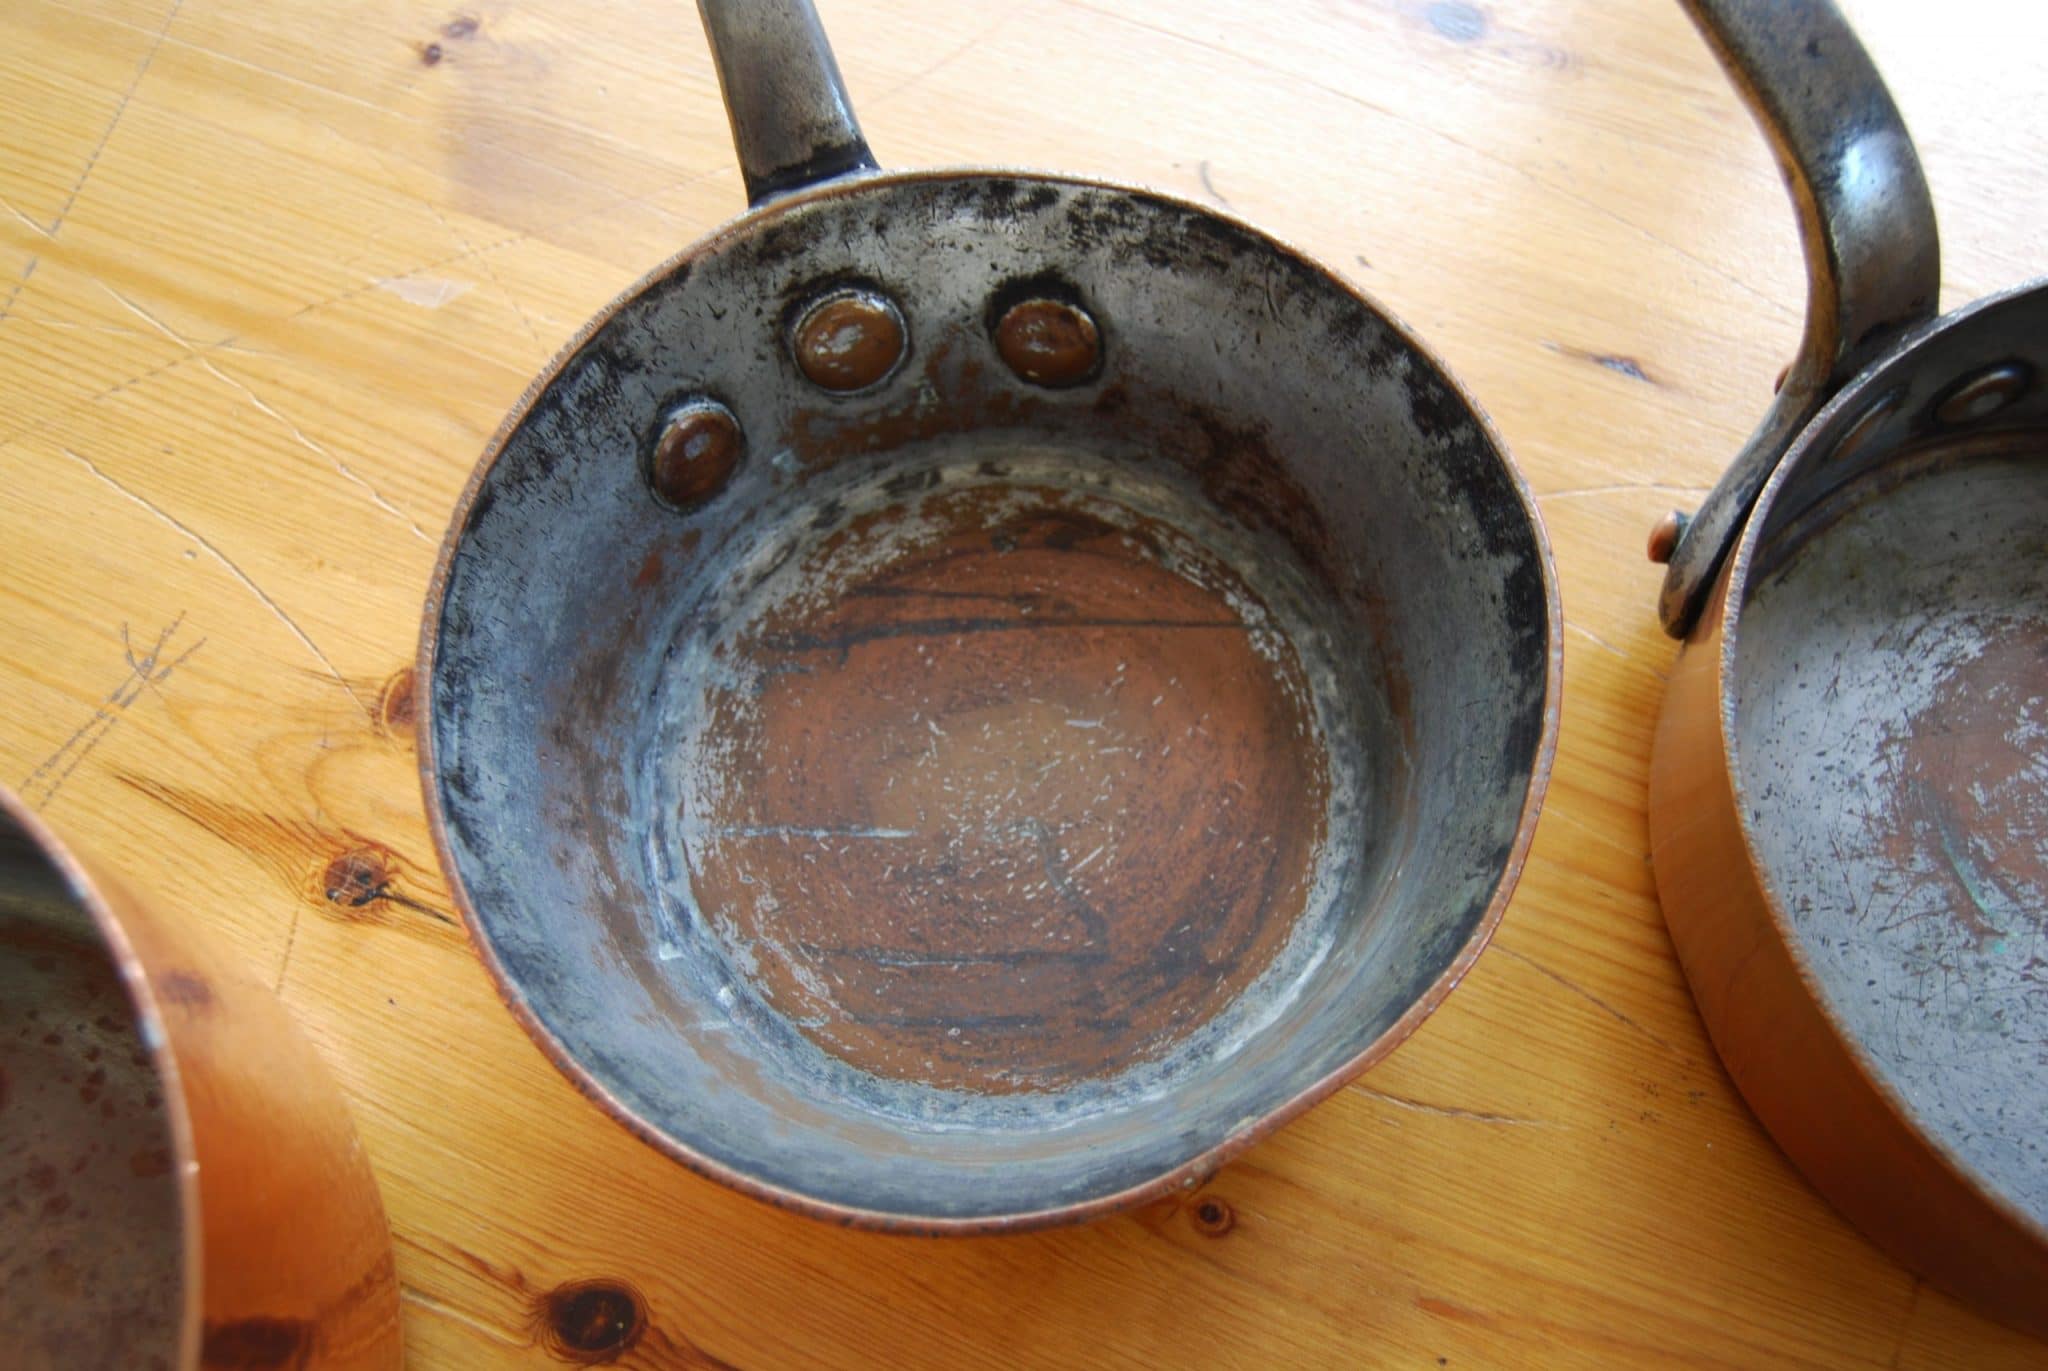
When you want to clean tarnish off copper, you’re tackling a stubborn layer of discoloration that won’t easily give way. You could scrape it off with sandpaper or something like that, but you’d do more harm than good — you’d take off not only the tarnish but also perfectly good copper along with it, and you’d scratch the thing all to hell. The trick, then, is to take as much tarnish away as you can while leaving the good copper alone.
Fortunately, we have chemistry to help us. If you apply an acid to the surface of tarnished copper, the tarnish will turn into other compounds that can be wiped or rinsed away, revealing the underlying layer of un-tarnished copper. Any mild acid will do this, such as lemon juice, vinegar, or tomato ketchup, if you’re patient and not too particular about the finished results. But if you are in a hurry and you want a uniform look, commercial cleaners improve on this formula.
- Stronger acids can work more quickly.
- Abrasives expose more surface tarnish to the acid and help dislodge it.
- Alcohols and solvents dissolve grease and oils to reveal and release more tarnish.
- Petroleum- or clay-based formulas help the cleaner to spread easily.
- Detergents and surfactants help the used cleaner and tarnish to rinse away cleanly.
This post discusses how cleaners work and lists the active ingredients in several of them. Towards the end, I provide some suggestions on how to clean copper to reduce the likelihood of scratches, and certain situations where copper cleaner won’t work.

Why clean copper?
I try not to clean tarnish unless it’s really necessary. First, any time I clean tarnish I’m also stripping off a little bit of copper. Usually this is just a few microns of tarnished copper compounds and maybe a few more of clean copper, so it’s not like I’m going to wear away the pot to nothing. (Repeated mechanical polishing, however, can thin a pot, which is why retinning and refurbishing should be saved for pots that really need it.)
Most concerning to me, though, is the risk of scratching. I have pots and pans in all different conditions ranging from brand new flawless Mauviel to 150-year-old weathered Gaillard, and because I use them, I don’t expect them to remain in pristine condition. I figure scratches and dents are part of the deal when when you cook with soft copper.
But what I don’t want to do is harm my copper unnecessarily through thoughtless care — and by that I mean doing something that I think will help it (like cleaning off tarnish) but that actually harms it in the process. The gentlest way to do this would be with salt and ketchup or lemon juice, letting it sit for a few minutes, and re-applying to stubborn tarnish spots until it’s gone (or acceptably diminished). But I’ve tried that, and for me the results were uneven because the gentle acids didn’t seem capable of removing darker layers of tarnish. To my eye, a pot that’s somewhat shiny but with mottled patches of tarnish looks a little funny, while a more consistent color, even if it’s darker, bothers me less.

How copper cleaner works
Copper cleaners have two active components: an acid and an abrasive. Each plays a role in how the cleaner works. (I delve more deeply into the chemical constituents of tarnish in Part 1.) The differences between products come down to which acids and abrasives they choose.
Acid: The chemical component
The role of the acid is to convert the copper compounds clinging tightly to the surface of the copper into something that doesn’t stick and can be carried away. The exact chemical reactions that occur depend on what kind of acid it is and which copper compound it is acting upon, but the result is that the acid transforms the tarnish into copper(ii) acetate, a copper compound that dissolves into water and can be rinsed away.
Some cleaners use a single acid while others use a combination. I don’t know whether one acid is “better” than another, but I do know that some acids are stronger than others. The proportion of acid in the cleaner is also important — a small concentration of a strong acid may perform as well as a greater concentration of a weaker one. (The number ranges reflect the fact that the cleaner is a creme or liquid and the amount of acid in any given portion of it can vary.)
| pH level | Acid name | Products |
| 4.6-6 | Ammonium chloride | Hagerty, Ibis Tamba (1-10%), Twinkle (1-10%), Wright’s (4%), Oneida (<10%) |
| 2.2 | Citric acid (as in lemon juice) | Hagerty, Twinkle (5-10%), Kleen King liquid and creme (1-5%), Steel Glo (5-10%), Bistro/Copperbrill (1-5%) |
| 2 | Sulfamic acid | Cameo (3-7%), Tarn-X (3-5%) |
| 1.2 | Oxalic acid | Bar Keeper’s Friend (7.5-9.5%), Brasso (1-2%); Noxon (1-2.5%) |
| <1 | Urea hydrochloride | Flitz spray-on (<60%) |
I’m including Flitz’s “no rub” tarnish remover in this table but you should note that it’s a liquid spray that has no abrasives at all. The formula appears to compensate for the lack of mechanical abrasive with the use of a very strong acid — urea hydrochloride, which has a pH of less than 1, similar to hydrochloric acid. Flitz’s safety data sheet says that the concentration is “<60%” and that’s quite a bit of acid, though there are also some “proprietary inhibitors” in the formula as well. I haven’t tried this yet.
To be honest, I don’t care too much about the acid in use. The role of the acid is crucial but I don’t believe the specific type of acid matters overmuch. I would like a cleaner to have a nice robust amount of acid in it, enough to do most of the work of tarnish removal without requiring a lot of hard rubbing, but beyond that, I don’t have strong feelings for one acid over another.
One thing to note, however, is that a strongly acidic copper cleaner can also react with the tin lining. I’ve smeared copper cleaner over the rim and into the inside of the pot, or I’ve had the cleaner on my fingers and left fingerprints on the tin. The tin will also react to acid by darkening. If you care about preserving the bright shiny look of tin, you may wish to take care with a strong copper cleaner.
Abrasive: The mechanical component
The role of the abrasive is to scrape the surface of the copper to remove loosened tarnish and expose underlying layers of tarnish to the acid. Theoretically, you don’t need an abrasive to remove tarnish. Tomato ketchup will dissolve tarnish, as the acids in tomato sauce perform the same role as the acid in a copper cleaner. However, if you ever try it, you’ll see that the acid-only ketchup process, while exceedingly gentle, is slow and uneven. Adding an abrasive to the process maximizes contact between the acid and surface tarnish, speeding up the cleaning process and ensuring a more uniform result.
There are two variables that determine how an abrasive functions in a polish or cleaner:
- The hardness of the abrasive relative to the hardness of copper determines how efficiently it abrades the surface; and
- The size of the grain of the abrasive determines the degree to which the resulting grains are visible to the human eye.
Hardness is easy to quantify, but grain size, unfortunately, is not.
Hardness
Copper cleaners use little pieces of rock or silica glass. The cleaners I looked at used a range of types — silicon dioxide (aka quartz), feldspar, nepheline syenite, diatomite, pumice, aluminum magnesium silicate, or calcium carbonate (aka limestone). The Mohs scale measures the hardness of minerals from 1 (talc) to 10 (diamond), and the higher the number, the harder the mineral. Copper has a Mohs hardness of 3, but it can be scratched by softer materials if they’re applied with a lot of force.
I took a look at the abrasives in several commercially available copper cleaners. The table below shows them grouped by abrasive and ranked by hardness.
| Mohs hardness | Abrasive | Products |
| 2-2.5 | Table salt (NaCl, NaI) | — |
| 2-2.5 | Kaolin clay | Hagerty’s, Ibis Tamba (30-40%), Twinkle (30-40%), Bistro/Copperbrill (5-10%) |
| 3 | Copper | — |
| 3 | Limestone (CaCO3) | Noxon (10-20%), Brasso |
| 3-3.5 | Barium sulfate (BaSO4) | Red Bear (90%) |
| 6 | Feldspar (AlxSixOx, nepheline syenite) | Bon Ami (60-100%), Bar Keeper’s Friend, Cameo (60-100%), Steel Glo (60-100%), Kleen King creme (60-100%) |
| Pumice | Brasso | |
| 7 | Quartz (SiO2) | Wright’s (30-60%), Weiman (<30%), Flitz, Hagerty’s, Kleen King liquid (15-40%), Twinkle (20-30%), Bistro/Copperbrill (5-10%) |
| Aluminum magnesium silicate (smectite) | Hagerty’s, Twinkle (1-10%), Brasso, Noxon, Ibis Tamba (1-10%) | |
| 6 – 7.5 | Iron oxide, Fe2O3 (jeweler’s rouge) | Red Bear (<1%), Twinkle (<.1%) |
| 9 | Aluminum oxide | Bistro/Copperbrill (10-30%), Twinkle (<1%), Weiman (10-30%) |
Grain size
Grain size is arguably more important than hardness when it comes to determining whether an abrasive will leave visible scratches, but try as I might, I can’t find a way to quantify it. Copper cleaners will tell you what type of abrasives they use but they won’t tell you the size of the grain. (I almost gave up on this post when I realized I couldn’t get that for you.) The process of refining and processing an abrasive is a proprietary manufacturing technique, and as it has no bearing on health and safety, it’s not required to be disclosed on safety data sheets. It’s also likely a factor in the cost of the cleaner — the more expensive the ingredients and manufacturing, the higher the retail price.
But there is a subjective test my favorite copper care expert Harestew suggests: Rub the cleaner between your fingertips to feel its texture. If it feels gritty to you, then the abrasive grains are larger; if it feels smooth, more like fine clay, then the abrasive grains are smaller and less likely to leave visible scratches.
Try this with other abrasive household cleaners you have available. All-purpose abrasive cleaners can have large grains because their intended targets — stainless steel, porcelain, enamel, et cetera — are quite hard and don’t scratch easily. The manufacturers don’t need fine-milled abrasives because they’re unnecessary for the cleaner’s intended use. These same cleaners will work just fine to take tarnish off of copper but will scratch it severely. My suggestion is that if a cleaner is labeled for all-purpose use, it’s likely got abrasives that will visibly scratch copper. You’re better off looking for a cleaner that is specialized for copper and other softer metals.

Cleaning without scratching
My favorite copper cleaner, Bistro/Copperbrill, is at the more expensive end of the price range, but it has (to my touch) finer abrasives that are less likely to leave visible scratches under normal use. If price is not a primary concern for you, that’s my recommendation.
But you can reduce the potential for scratching with any copper cleaner by being gentle when you use it.
Gentle cleaning technique
- Heat up the pan a little under warm water before cleaning. The heat will help accelerate the chemical reactions between the acid and the tarnish, and you need a little water for the chemical reactions to work.
- Apply a thin but visible layer of cleaner and spread it around as evenly as you can with the sponge or your fingertips. For a large pot, work in sections so that the cleaner stays moist. (Flick a little water into the mix to help with the chemical reactions.)
- Let the cleaner sit for several seconds to allow the acid to attack the topmost layers of tarnish. (This is the “let the acid do the work” step.)
- If you see darker areas of tarnish that are resisting the acid, massage the area with the sponge. Rather than bear down hard, rub in circles so you don’t concentrate the force on one spot.
- Rinse the cleaner off with running water, passing a sponge over the surface to help wipe it away, and inspect your results.
- If you’ve finished, wash the pot inside and out with soap and water to get every trace of acid off. Don’t forget to clean the crevices around handles where copper cleaner can accumulate.
In my experience, a good quality copper cleaner with a decent amount of acid will remove about 90% of the normal tarnish with no need to scrub it. For stubborn tarnish, you may need to increase the pressure on the spot, but the trick is to do it gradually, just enough to make the tarnish yield.
For tough tarnish areas
- Apply the cleaner to the tough tarnish area and let it sit for several seconds. (Remember to include a little water — the acid needs it for the chemical reactions.)
- Massage the cleaner in a circular motion over the area with the sponge, gradually increasing pressure until the tarnish area fades.
- If you’ve arrived at a firm level of pressure and the tarnish isn’t giving way, it’s time to refresh the acid. Rinse the cleaner away and start over.
- When you’re satisfied, wash the pot inside and out with soap and water to remove every trace of acid.
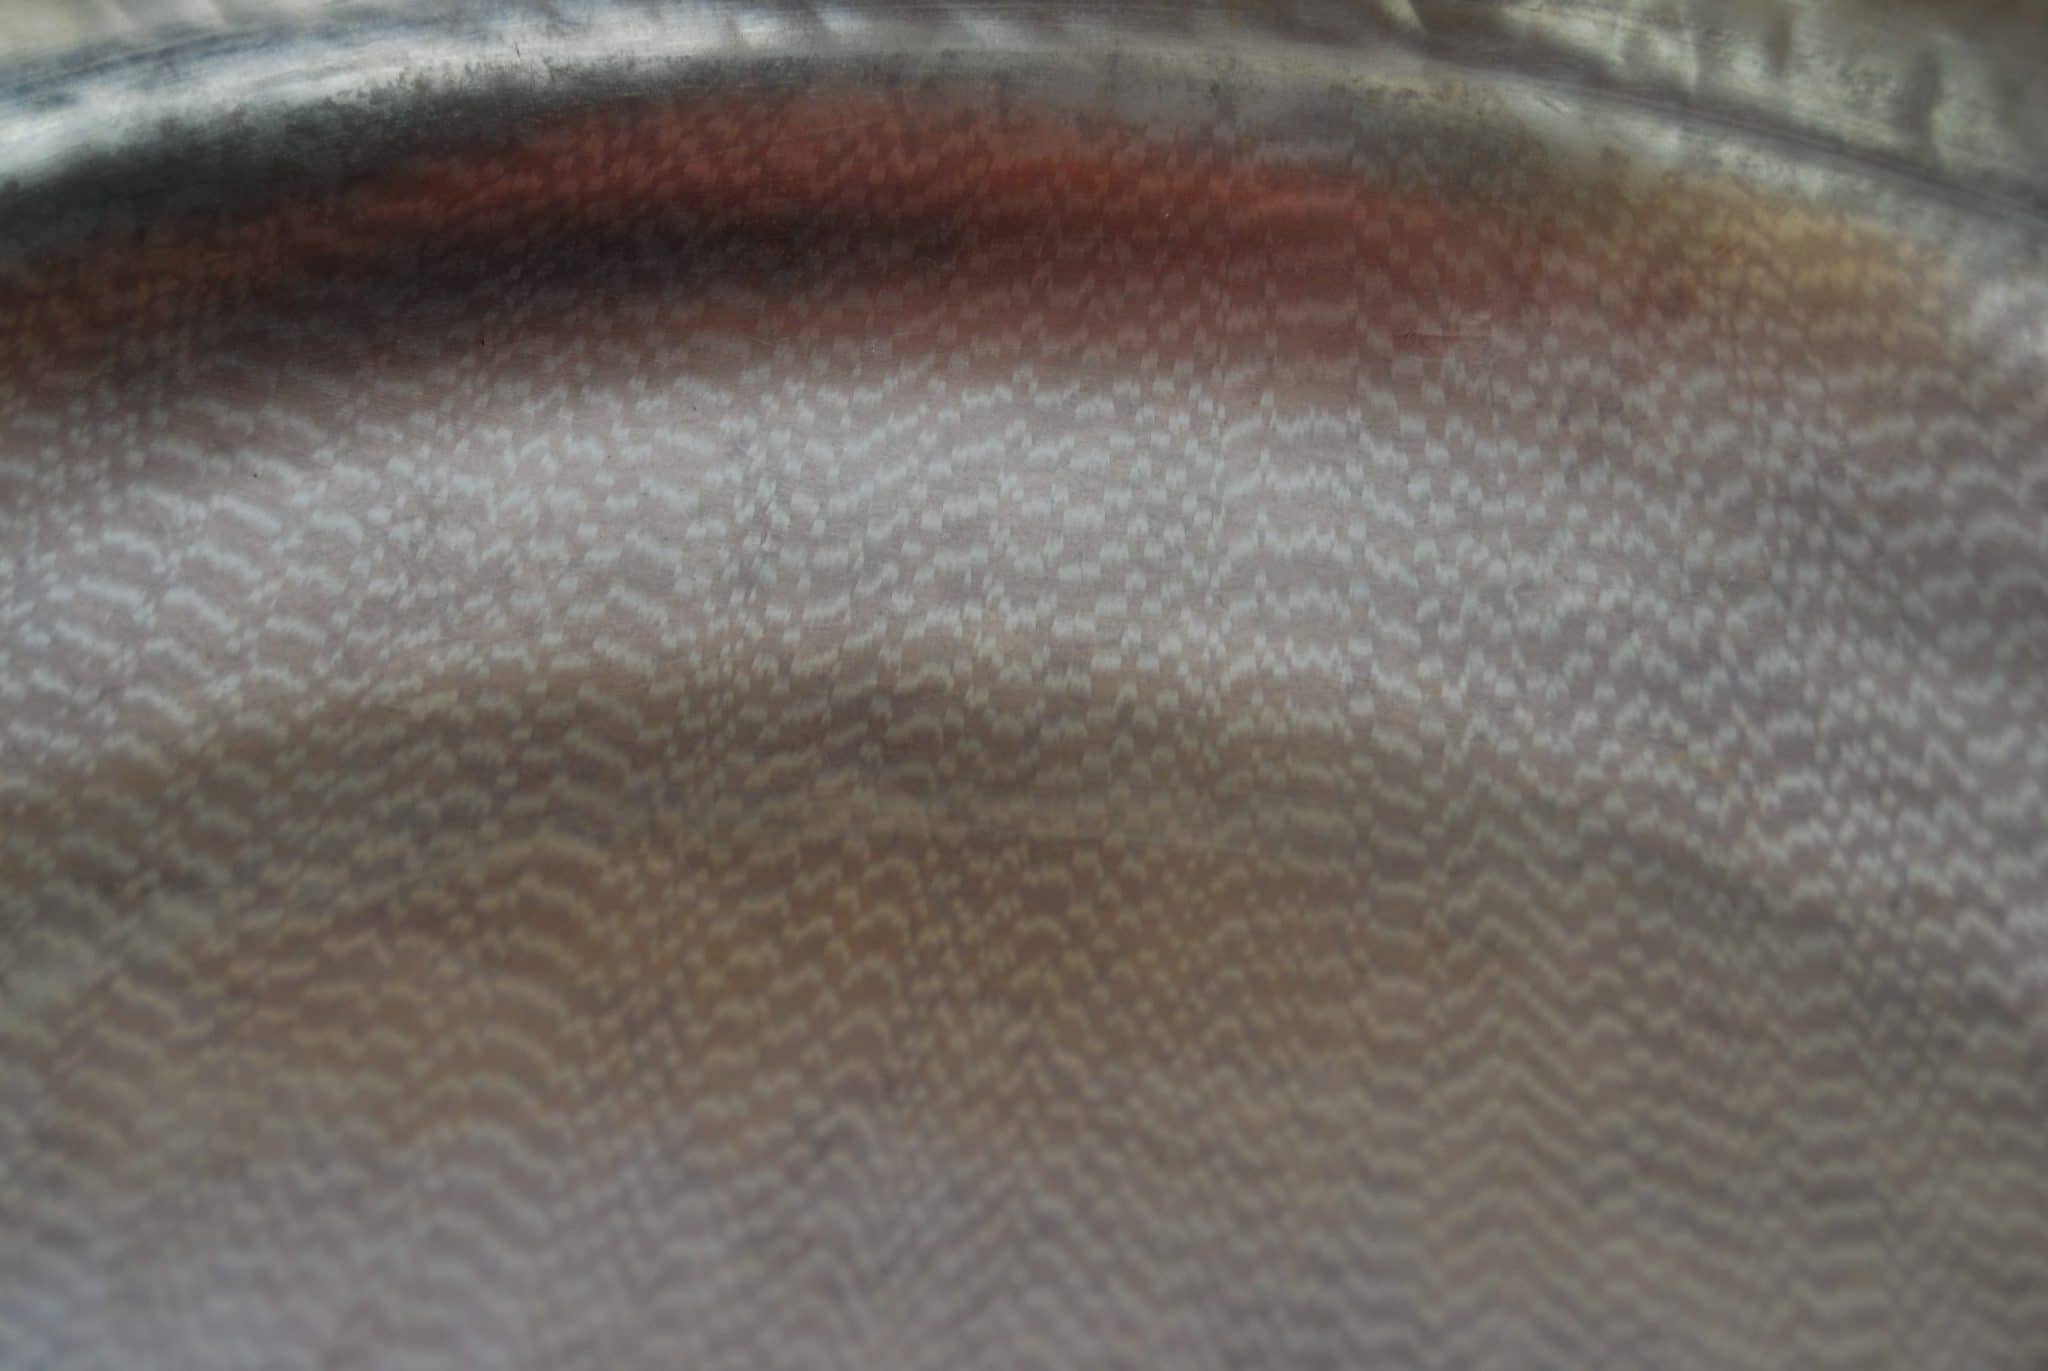
I have, on occasion, lost patience with this and attacked tough tarnish with enough gusto to scratch the copper, even with Bistro. We’re all human. Those scratches can be reduced with an actual copper polish — my favorite is Simichrome — that are designed to re-scratch the surface with very fine abrasives to restore a mirror shine. It’s a time-consuming process — you work over a couple square inches at a time — and there’s a lot more rubbing involved, but you can fix small scratch areas.
When it’s not tarnish
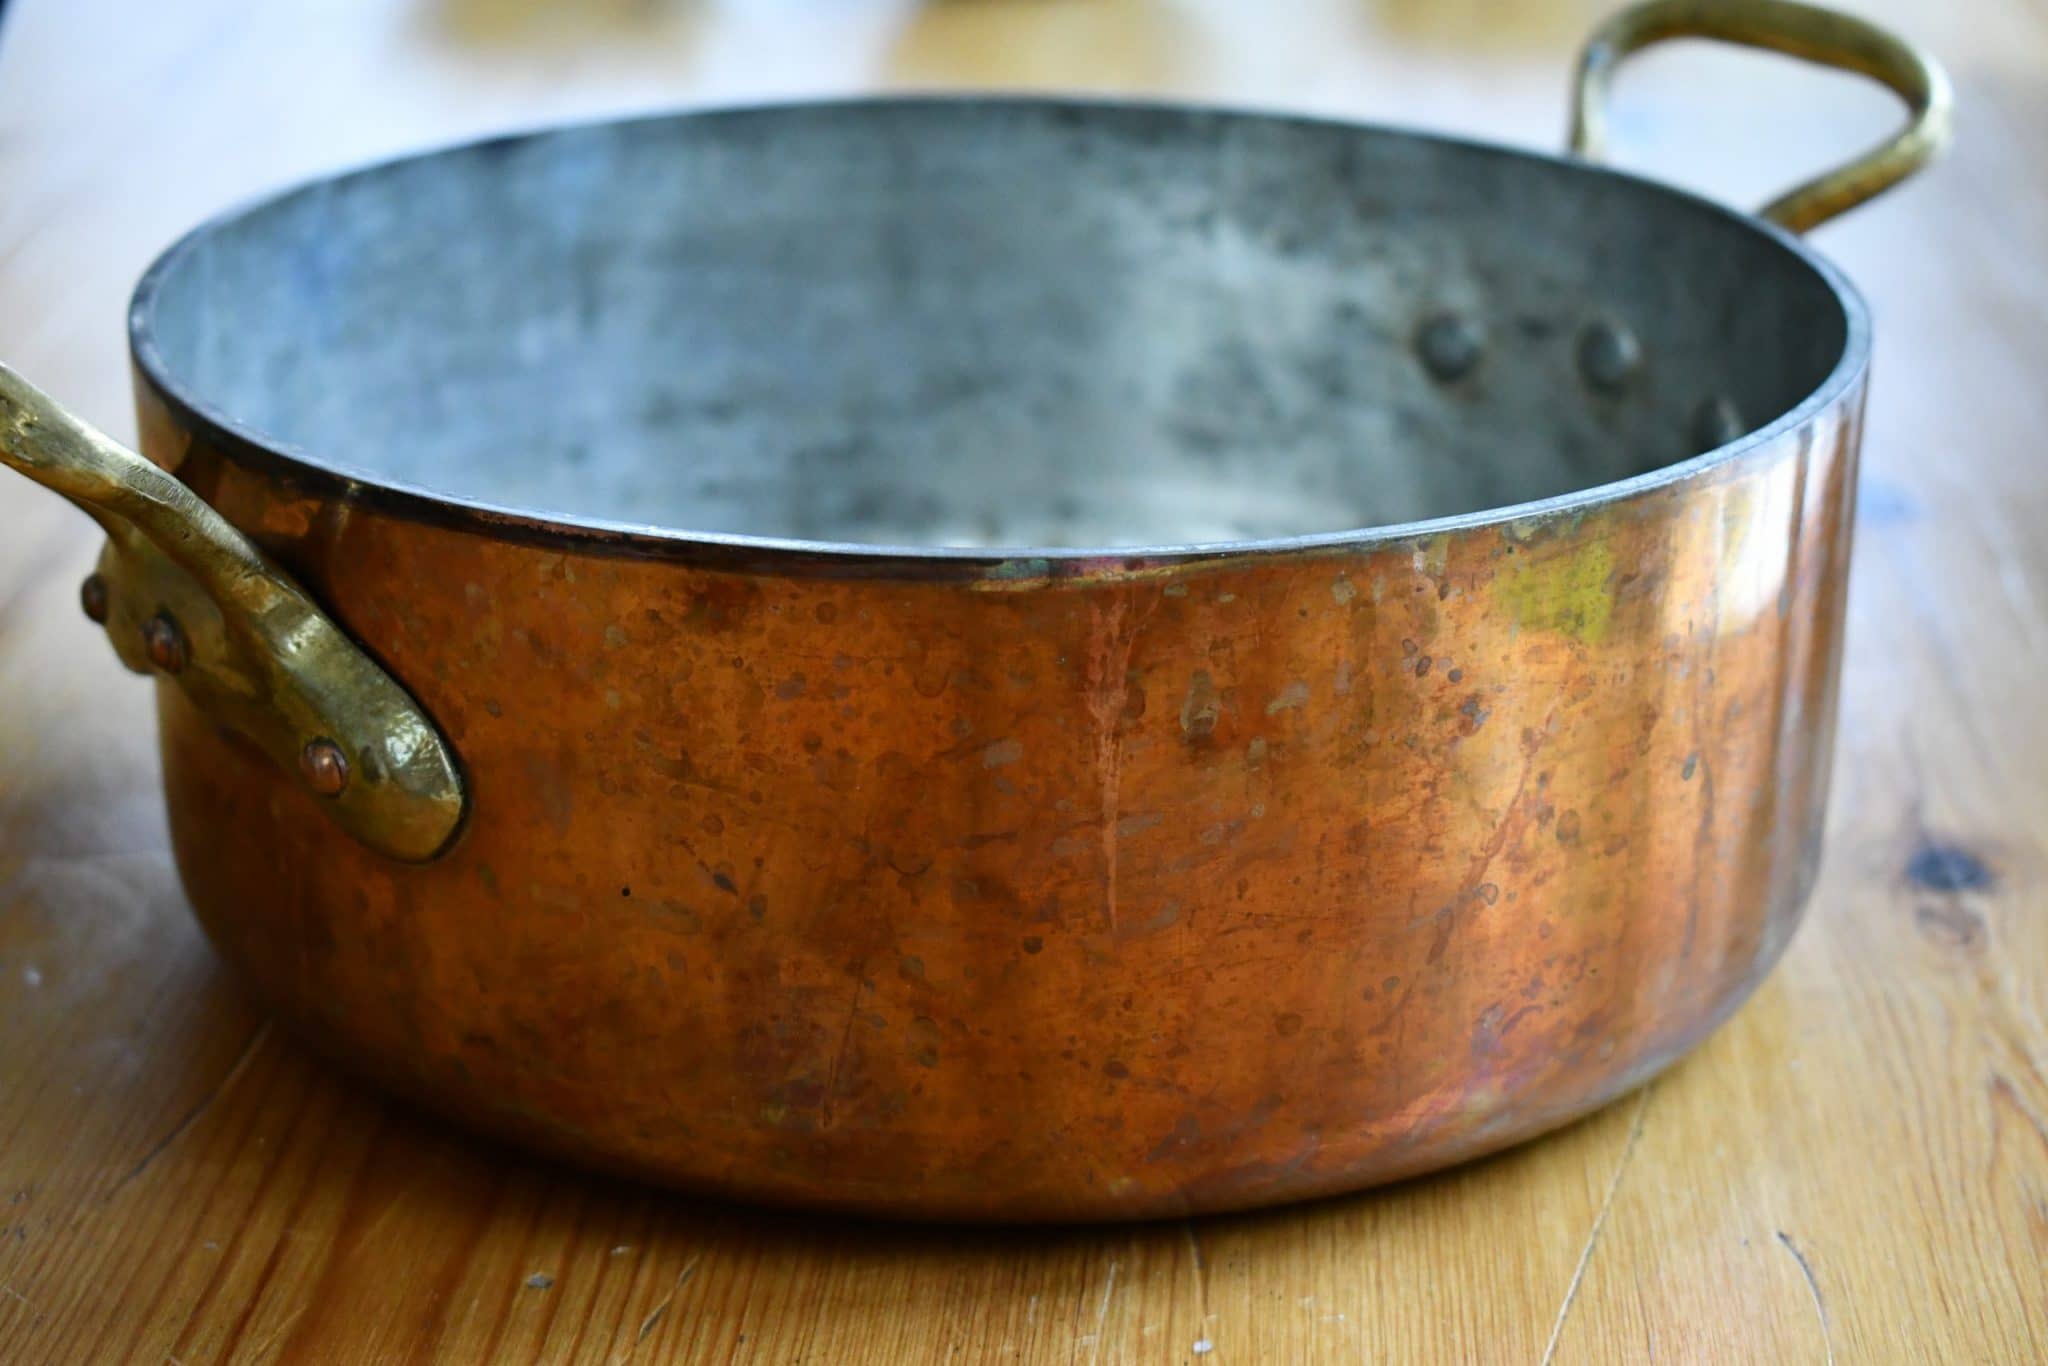
The acids and abrasives in copper cleaner won’t help you against heavy grease and oil deposits. The gratin below has significant carbonized grease built up around its handle. The acids in a copper cleaner aren’t strong enough to dislodge it. You are better off with a solvent like naphtha or acetone and a toothpick to poke the grease away; the solvent won’t harm the copper but keep in mind that the toothpick can scratch.

Oils that aren’t cleaned off the pan surface and are repeatedly heated can polymerize, hardening into something almost like a tough plastic. This is a job for a solvent (naphtha or acetone), 0000 or 000 steel wool, and some determined and methodical rubbing. (Don’t be shocked at the mention of fine-gauge steel wool — it is intended for polishing metal to a mirror finish. Used gently, it will obliterate scratches.)

I have another post on how to clean off a small patch of polymerized oil — in my example, adhesive from a price sticker that got baked onto the copper — but it is time-consuming and requires the aforementioned strong solvents and steel wool. If you are determined to salvage a pan with significant grease deposits or polymerized oil patches , it will be more effective and, ultimately, less harmful to the copper to turn it over to a coppersmith. The caustic bath that prepares the copper for retinning will strip off the grease and the mechanical polishing process will take off any polymerized oils. Even my most well-intended amateur efforts against tough spots like these have left scratches that I regret and in retrospect I wish I’d just asked a professional for help.
Conclusion
I hope these posts have been informative for you, but please keep in mind that I am not a chemist. I am repeating information that I believe is reliable, but I always welcome corrections. Please feel free to leave a comment or send me an email at VFC at vintagefrenchcopper dot com.
Methodology
To research the acids and abrasives in each cleaner, I looked up their ingredients. The National Institute of Health maintains the Household Products Database that is very helpful, and the Consumer Products Information Database is similar and also hosts some safety data sheets. Here are the materials safety data sheets I could find.
Great info, thank you.
Facts combined with personal experience. Both can be checked. Such information is my favorite. As always exemplary. Highly recommended for newcomers and those collectors who want to take a closer look.