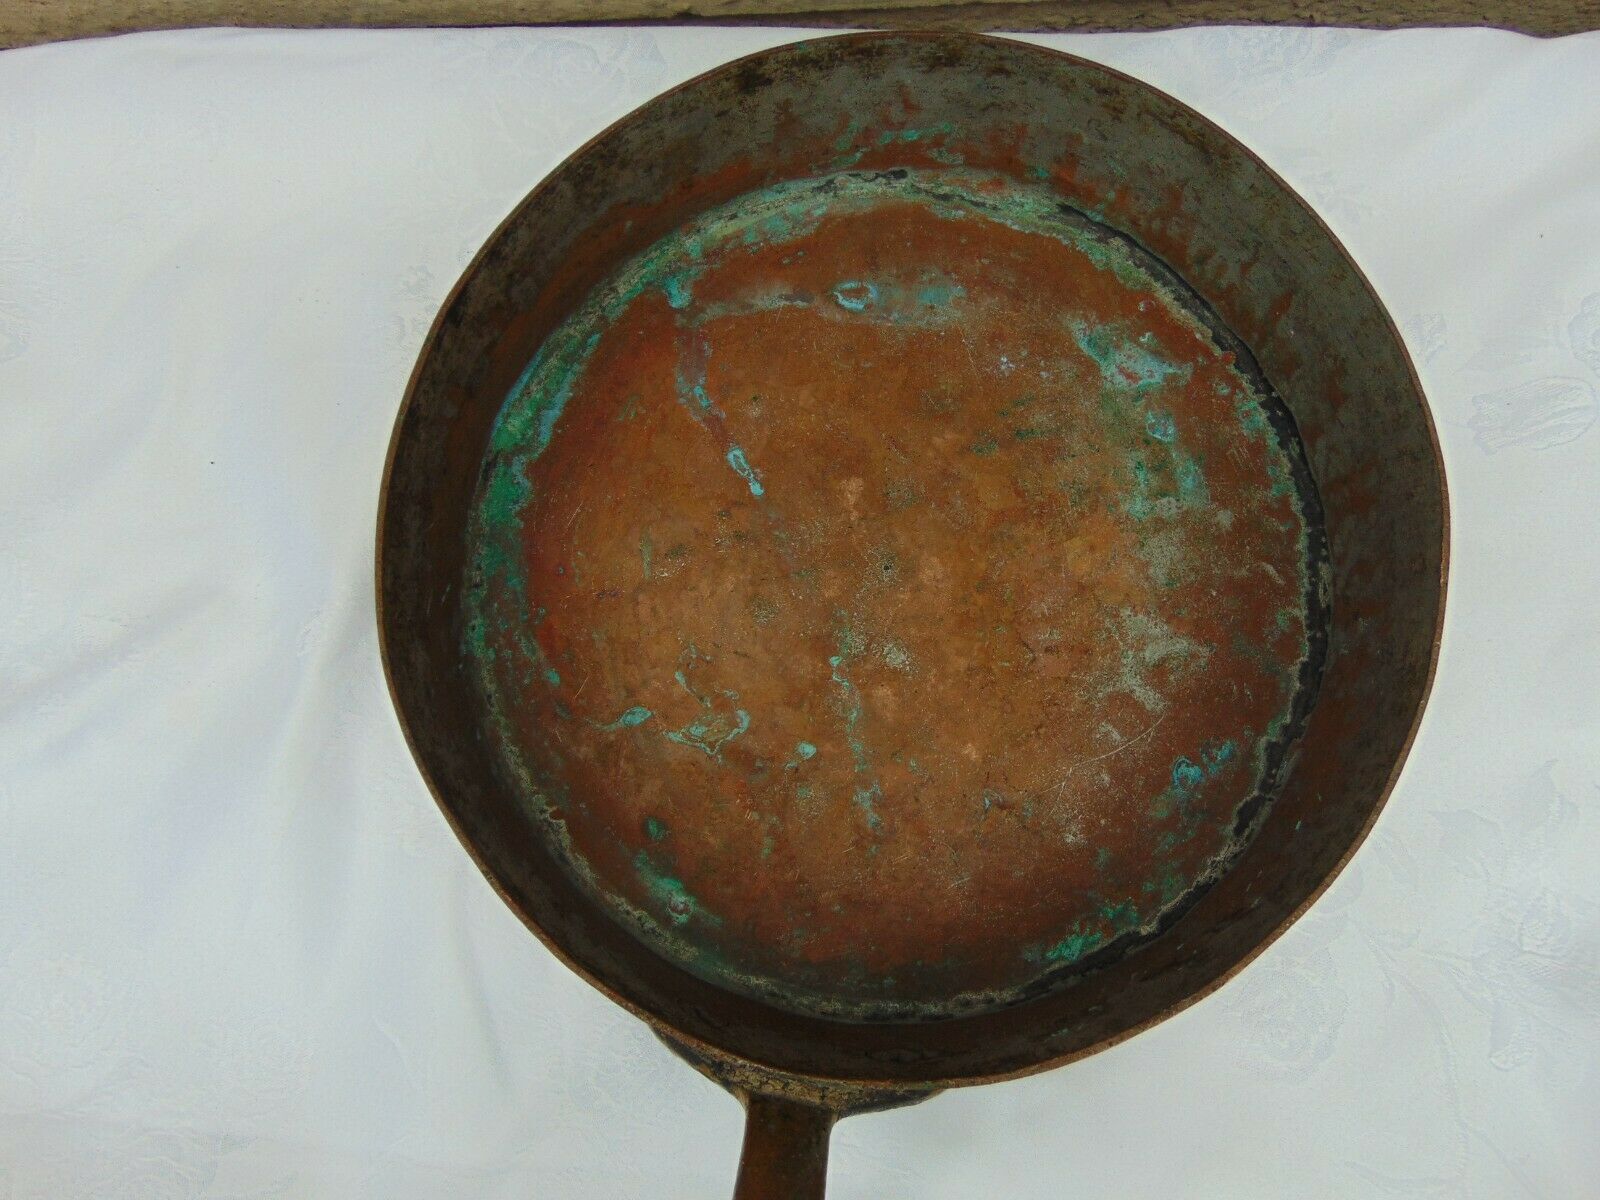
Rocky Mountain Retinning re-attached one handle of an antique pot with brand-new rivets. Can you tell which one?
The pot’s seller stated that one of the handles had a loose rivet. I sent the pot to Erik Undiks at Rocky Mountain Retinning for restoration and he advised that all three rivets on that handle needed to be replaced.
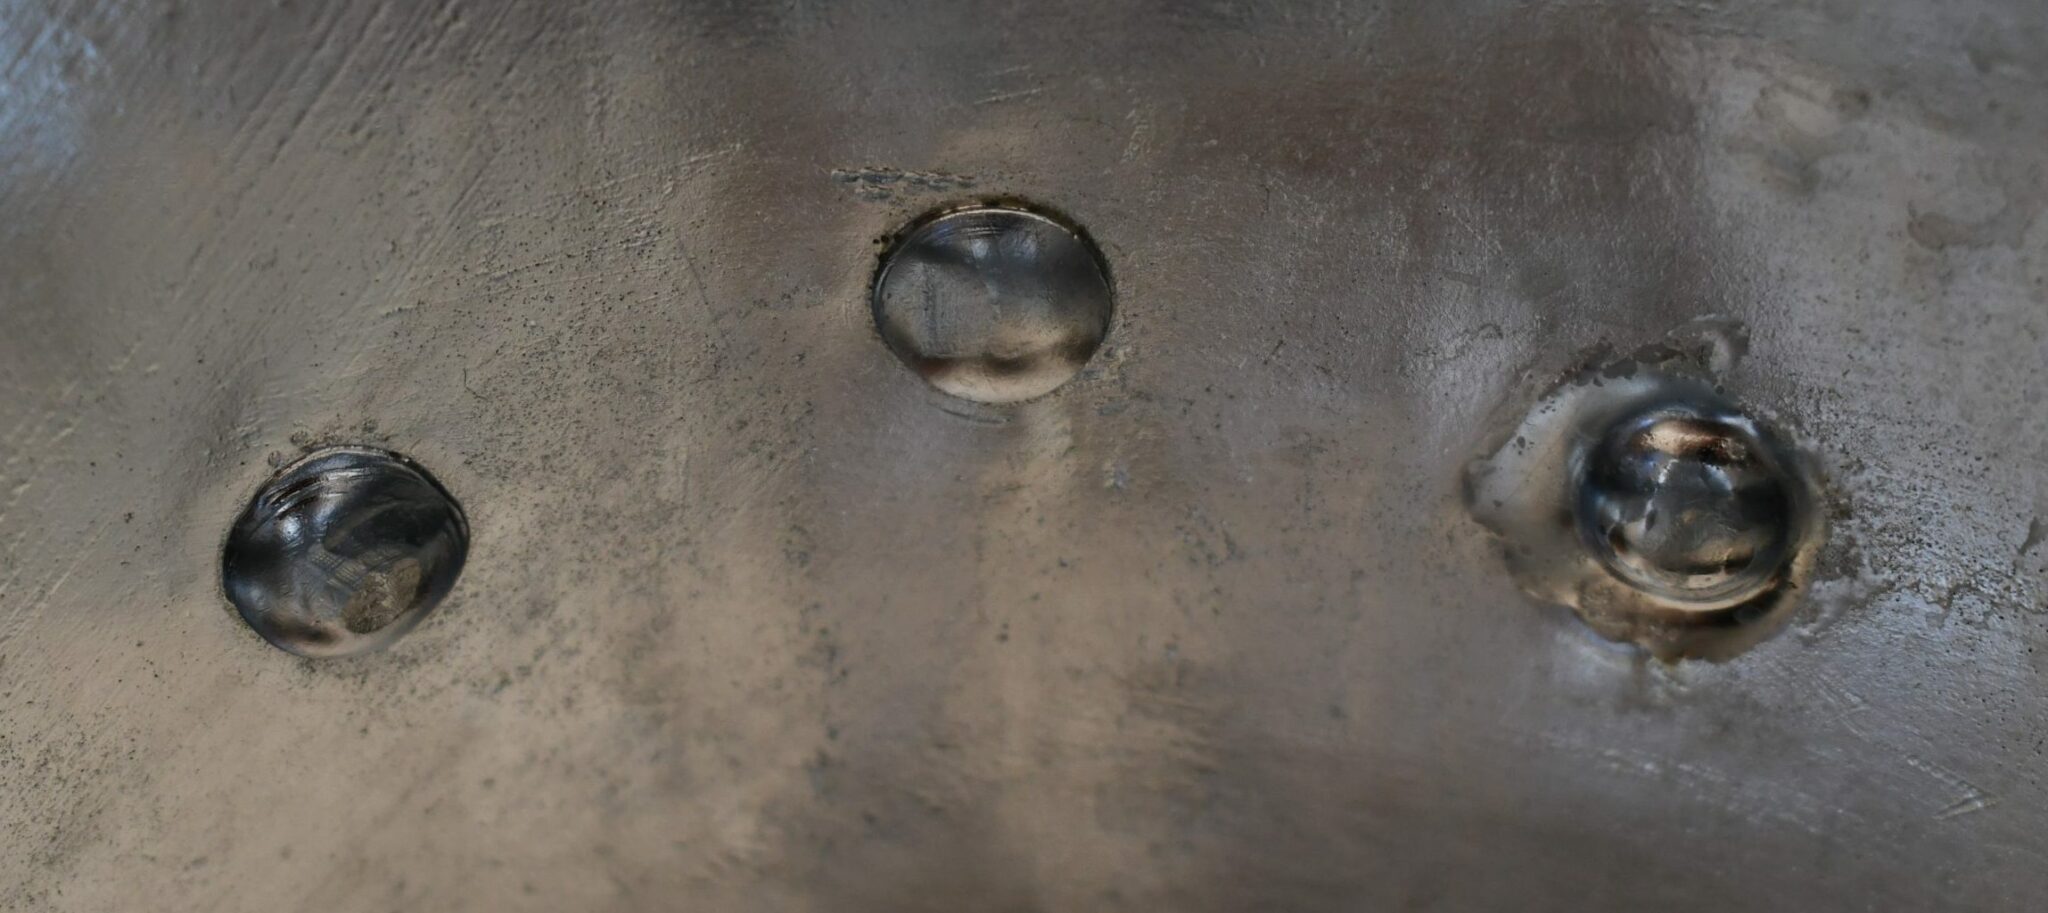
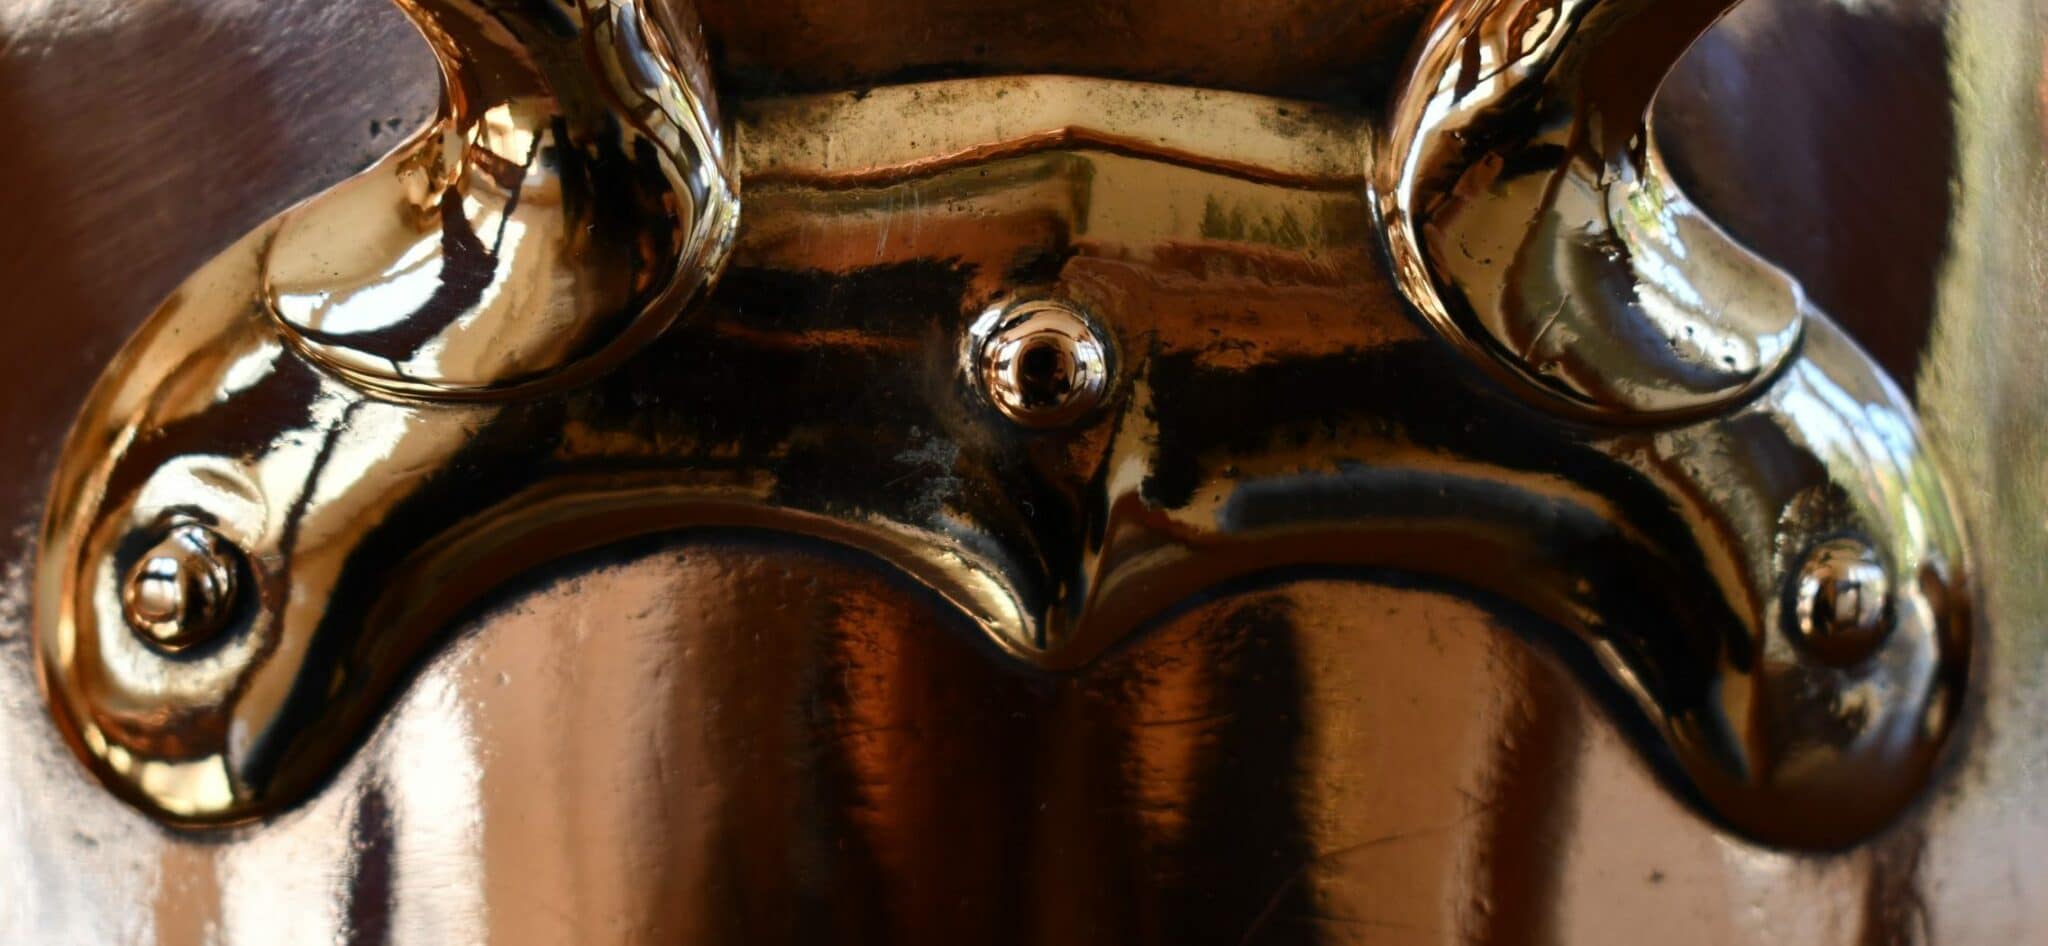
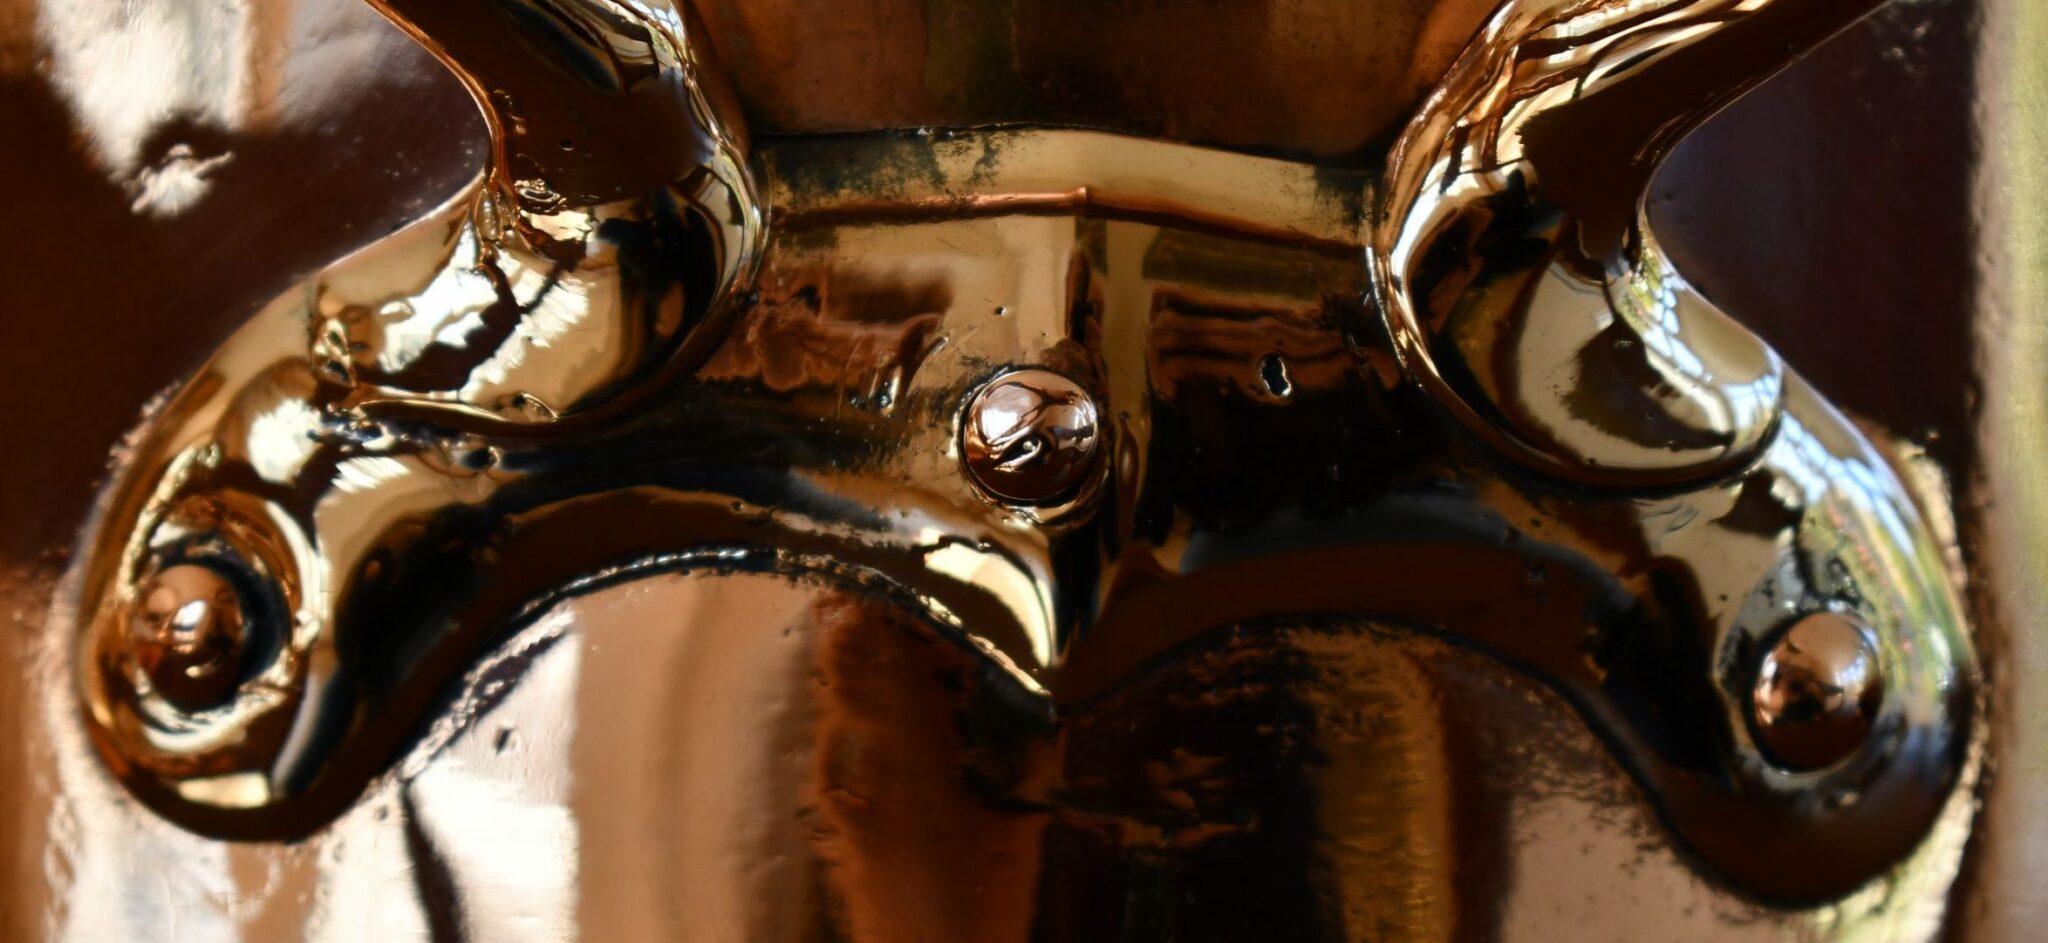
When I got the repaired stockpot back from Erik, his work was so good that I couldn’t tell which handle had been fixed! Which one do you think it is? (Click the photos to enlarge them to take a good look.)
Handle A |
Handle B |

Once you’ve voted, check the answer below.
Were you surprised? Let me know in the comments!
Update
This post has been up for almost a week — thank you to everyone who has been voting! Isn’t it interesting that it’s hard to tell which handle is original and which is Erik’s repair work? I couldn’t tell either — I had to reach out to Erik with photos to confirm which handle had been redone. It’s a real compliment to his work that he was able to match the original style so well!
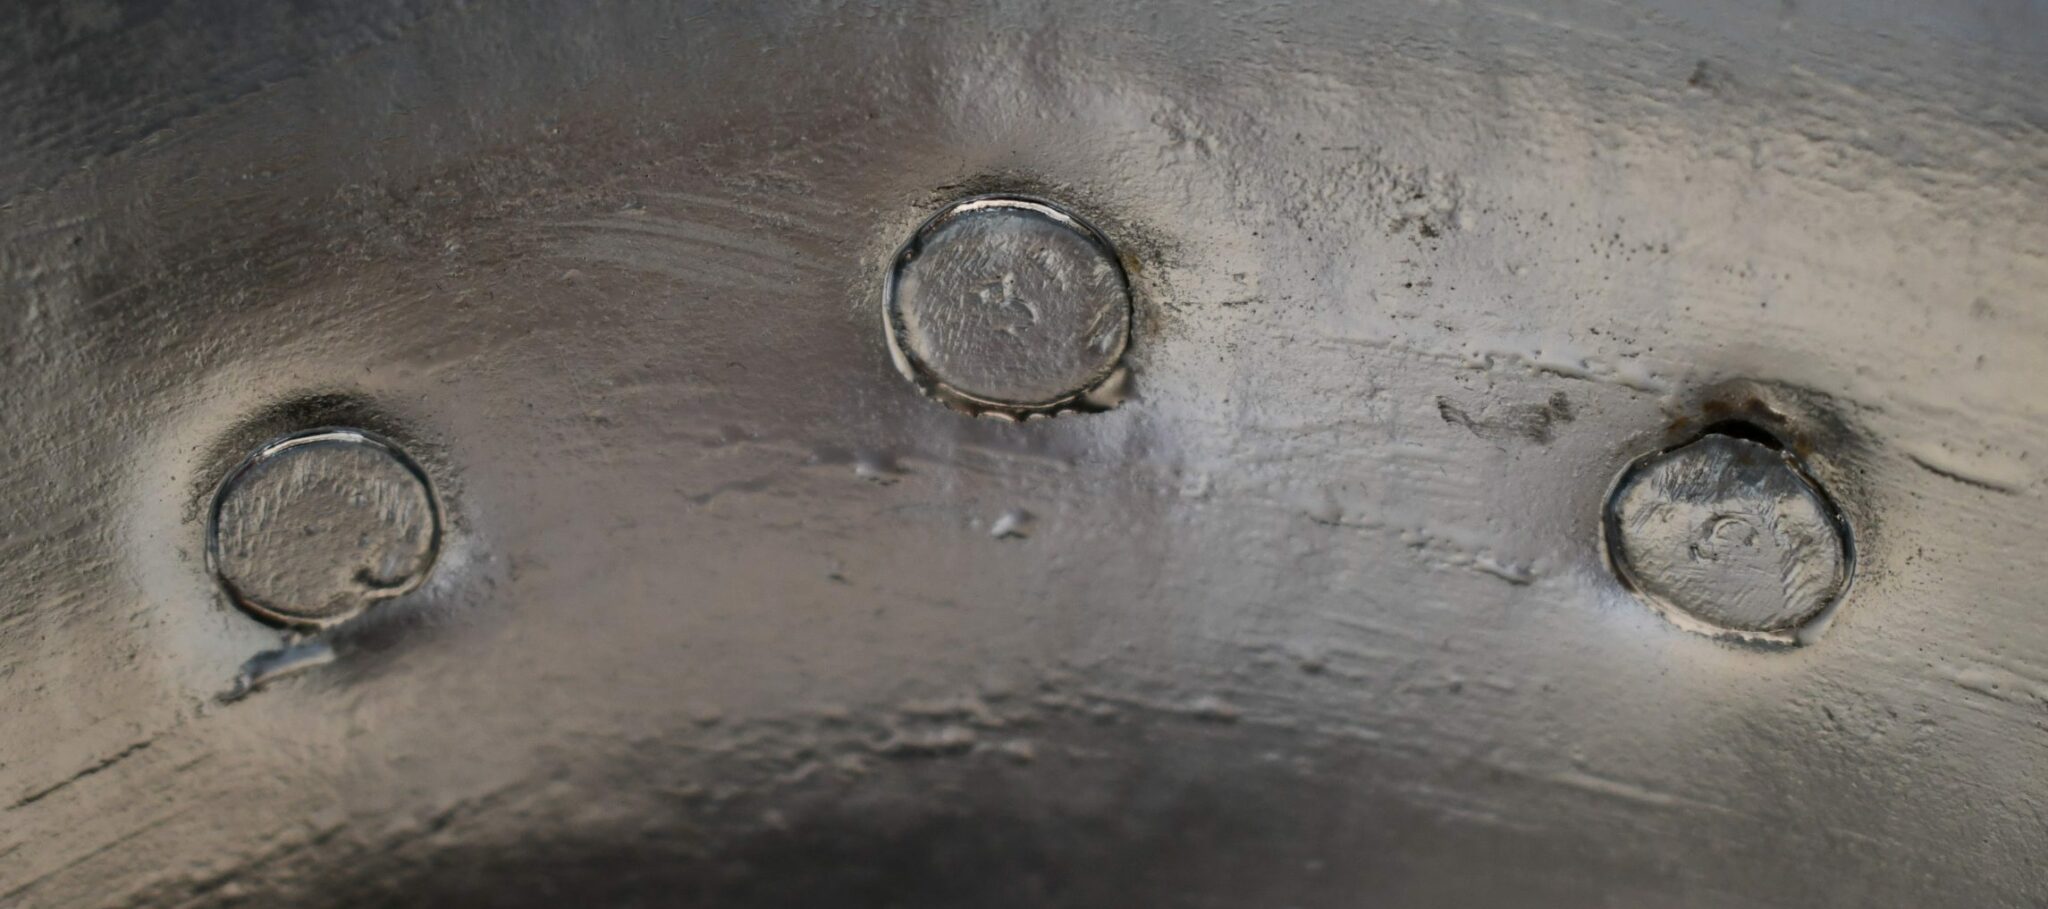
Hi, I did get this one right but to be honest the giveaway is not the rivets but the slight marks on the copper body where the handle was loose & how clean it is right up close to the handle.
Erik has done a superb job & this shows how good a result can be achieved by a skilled craftsman if he has the correct tools & is paid enough to spend a few minutes getting it right.
The original riveting was finished with a dolly or pneumatic hammer tip that was not quite the right size & probably by a workman on piecework who settled for good enough.
I suspect many would think this new riveting was done by a machine, the faceted rivet heads we see are often the result of retightening with a hammer & can give a machine rivet a hand finished appearance. A useful lesson & something to bear in mind when evaluating a vintage piece.
Roger, thank you so much for this insightful comment! I would really like to learn more about how to recognize different tool work on rivets, but I have no industrial or hobby background and don’t know where to start (particularly for the history!). If you have some time, would you look at the page All About Rivets and give me some feedback on my assessment of the different rivet finishes? And of course anything else you see that’s incorrect!
That page is here: https://www.vintagefrenchcopper.com/identification/all-about-rivets/
Feel free to comment on that page or if you prefer you can also email me at VFC at vintagefrenchcopper dot com.
VFC I was shown how to rivet as an agricultural student, there are still a few applications where rivets are used on farm machinery. so no special expertise here. Copper is soft so it is easy to form & easy to.mark, ideally the block/dolly that is serving as an anvil will have a depression which fits the dome of the rivet. A flat surface or a curve which is too large & you put a flat on the rivet head,if the dip is too small it a circle or ridge on the head.
The next judgement is how much metal should protrude in order to produce a nice dome of the size required which is basically down to experience to choose the correct length of rivet or cut one down. For hand riveting use a ball pein (peen) hammer, a few blows square on the end with the flat side spreads the metal making it tight in the hole & the beginnings of a head. The hammer is now turned over to use the curved face & wth a series of light taps it is surprisingly easy to form a dome albeit one with many facets. If I were repairing one of my own pots I would stop here but a real craftsman would use a kind of punch with a shaped hollow in the tip to give a perfect finish just like the machine riveter. It is of course critical to have just the right amount of metal to fill the the tip for that perfect result.
The original rivets on the pot in your photograph had countersunk heads rather than domes, dimples being made in the body to accept them, I think this type is very hard to obtain without making them, so flattening the dimples to accept modern rivets is a reasonable repair.
It is worth noting that its possible to form a head on both ends of a rod by alternating hammering from one side to the other & this is likely how the earliest pans were made.
Roger, thank you so much for this information. I take a close look at rivets to try to figure out if they were hand-made or machine-made, and if by machine, by what technique. If I understand you correctly, facets on the exterior head mean it was struck by hand with a hammer — this is what I had been assuming as well. But you’re saying that a smooth domed rivet head could also be made by hand using a shaped punch? I had assumed that a smooth-finish domed rivet had to have been formed by some kind of machine action, like a mechanical press or orbital riveter. How could one distinguish a domed rivet head formed by hand with a shaping punch from one formed with a machine?
VFC, good question, I’m not sure you always can. Often modern pans have rivets finished with a cheesehead rather than a simple dome but not always.We have to remember that we are viewing these pans with a 21st century eye & that the irregularities & signs of handcraft which are now so desirable were at the time of manufacture seen as flaws or imperfections.
Coppersmiths with pride in their work took great pains to minimise these signs. How about asking Erik how he did this next time you send a pan for restoration.