The first installment of an epic tale of adventure, suspense, and discovery.

A note from VFC: This is the first part of a two-part guest post written and photographed by reader and copper fan Roger W.
Episode 1: Setting the scene
I knew a retired gentleman who had worked for large engineering firm and had held a unique position in a factory that employed hundreds. He made one off pieces and short runs where tooling for mass production was not deemed worthwhile. He was highly skilled and multi-talented, when he married and set up home he made a copper kettle which they were still using in the same house more than sixty years later. One of his regular jobs had been retinning pans for local hotels. We talked of this in general terms, he in his 90’s and I in my 20’s, I was interested but alas failed to ask for real detail about the process and so missed my only chance of expert instruction. I am therefore an autodidact when it comes to tinning having gleaned scraps of information from a variety of online sources of varying degrees of usefulness. Pro tinners are understandably cagey about the finer points of their craft, and as with the cook who will let you have a recipe but omits the vital seasoning ingredient that lifts the dish, some experiment is necessary.
What follows is as much an appeal for information as an illustration of how far determination in ignorance can take one.
Lord Finchley tried to mend the Electric Light
Himself. It struck him dead: and serve him right!
It is the business of the wealthy man
To give employment to the artisan.
— Hilaire Belloc
So why DIY (do-it-yourself)? I have four reasons:
- Money, always a factor. Unless you are lucky to have a tinner nearby there are transport expenses there and back. Retinning itself is a costly business, not that I’m suggesting any profiteering or overcharging, these are skilled people with overheads the same as any business. Restoring copper pans is filthy hard graft and I doubt anyone ever got rich doing it. The fact remains that if I do the work myself I can afford to own more pans.
- Do you trust your restorer? I have had some bad experiences with other types of antiques being damaged by highly-recommend experts.
- Damaging the lining is a common anxiety among newcomers to copper cookware. When you can fix the lining, that concern can be forgotten.
- Satisfaction!
This saucepan was listed on eBay by a private seller late in 2019 and regular watchers may recognize it as it was re-listed several times before I made the purchase in January. Initially I rejected it because of size, and I would like to give you a rational reason why I bought it but cannot really. Aside from the weight I can only say it called to me. We don’t generally talk valuations but as the cost has some relevance here, I paid UK£35 (approximately EU€39 or US$44USD).

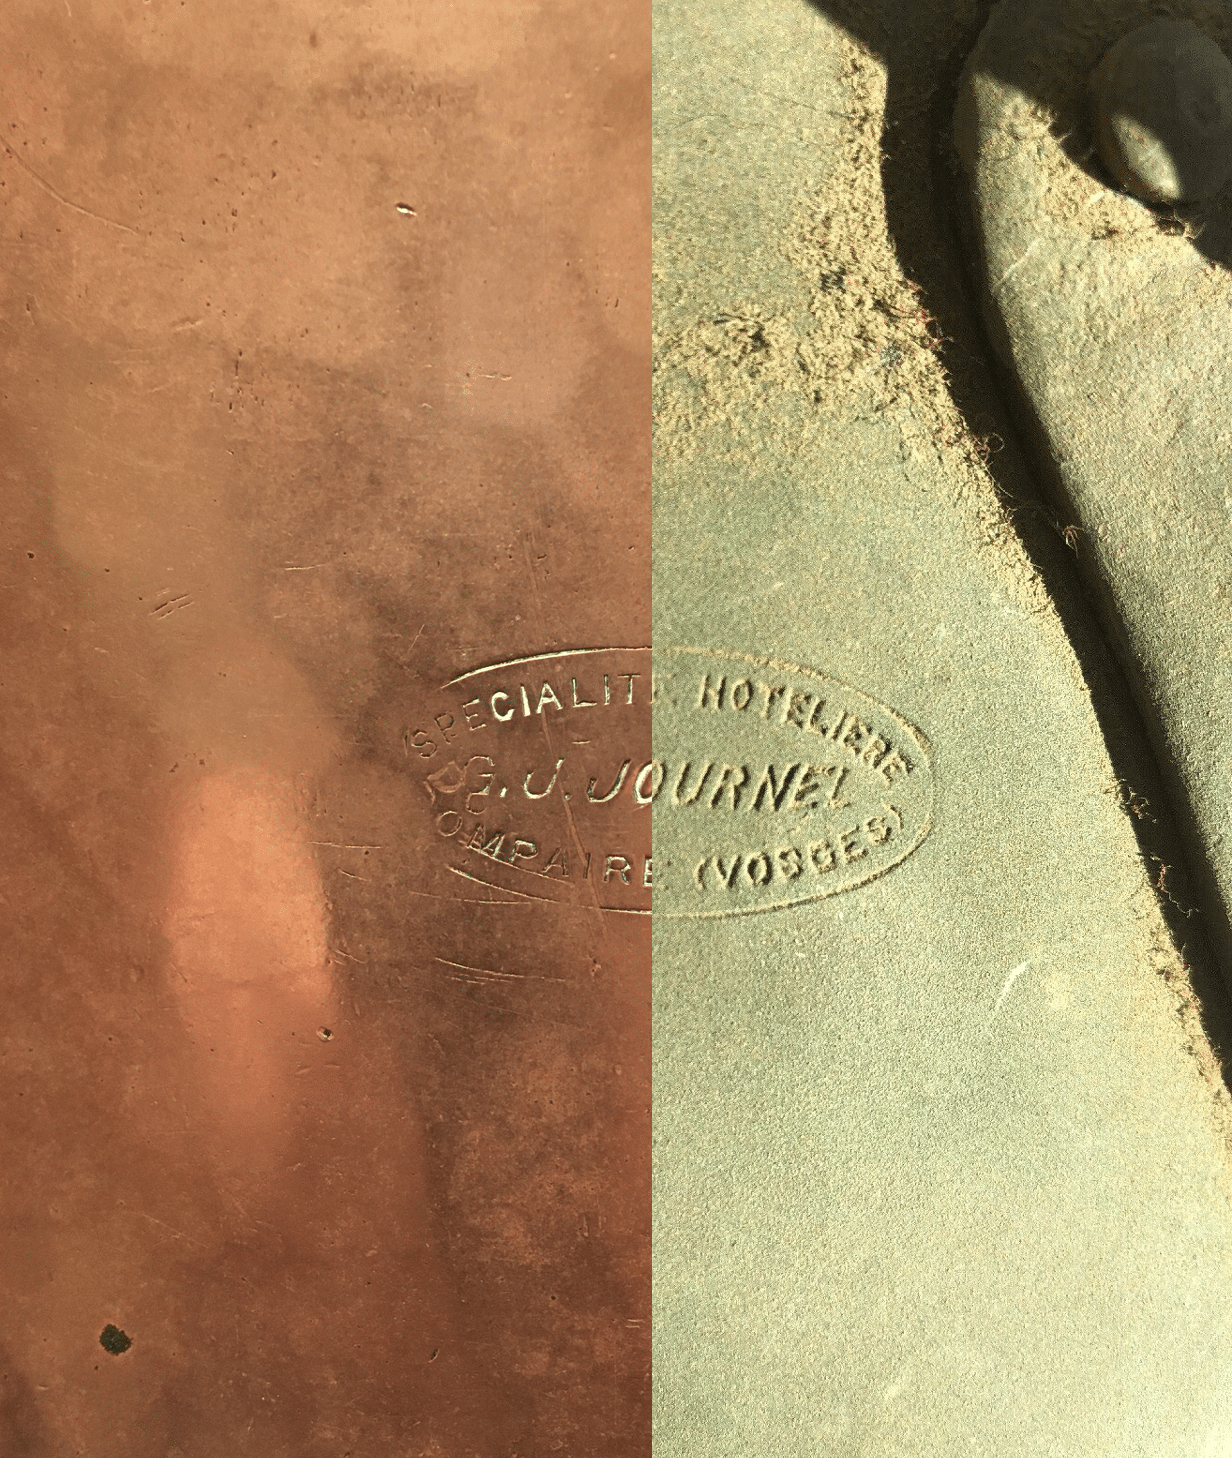
 So what can I tell from first inspection? French and 1900ish. It weighs about 4½ kg (almost 10 lbs) on my luggage scale and I estimate 2mm thick at the rim, tapping the base suggests it is the same. Diameter is 29cm (11.4 inches) which is stamped to the right of the handle, cleaned by the vendor. This is only the second time I have come across an odd-number diameter.
Height is hard to measure accurately because the base is bowed and it doesn’t sit flat, but it is roughly 17cm (6.7 inches). Classic French pans are made to standard proportions which are adhered to broadly but not rigidly — sauteuse height equals radius, russe height equals diameter. This is a deviant nonconformist pan that I am beginning to like!
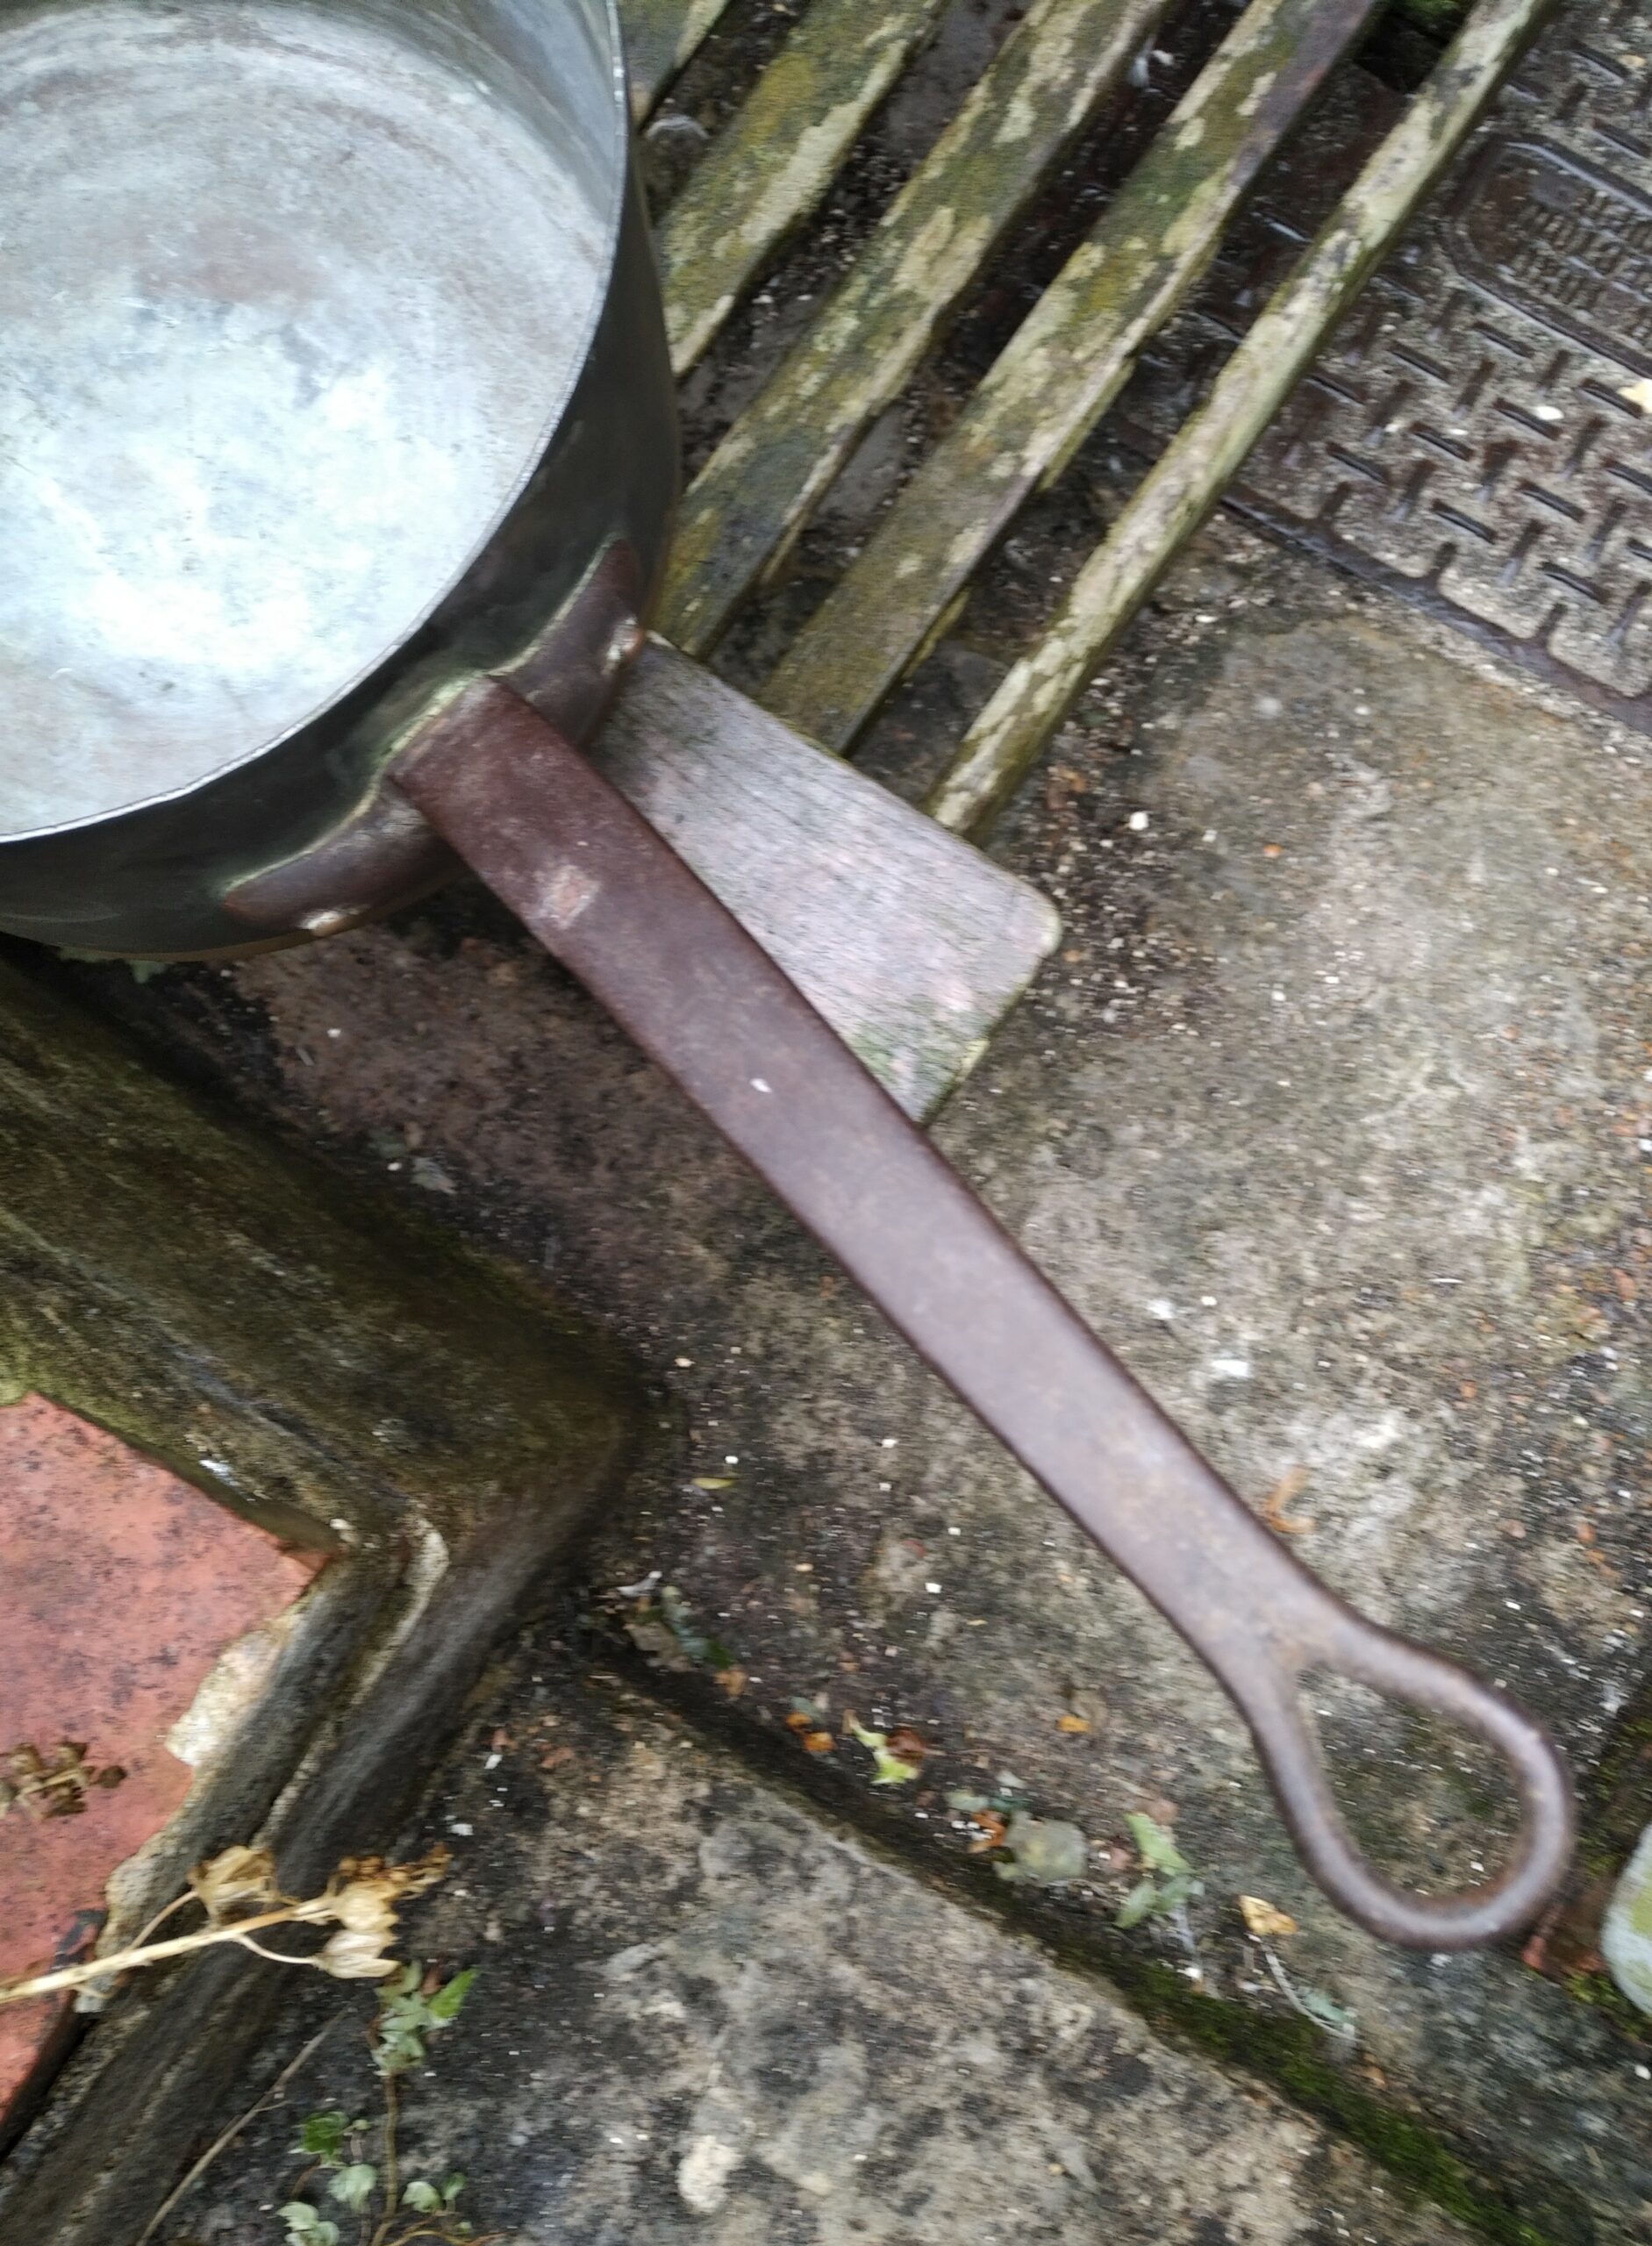
The handle is cast iron, rusty so I cannot tell much about the texture yet. It has a drop-shaped hanging loop and an elegant curve.

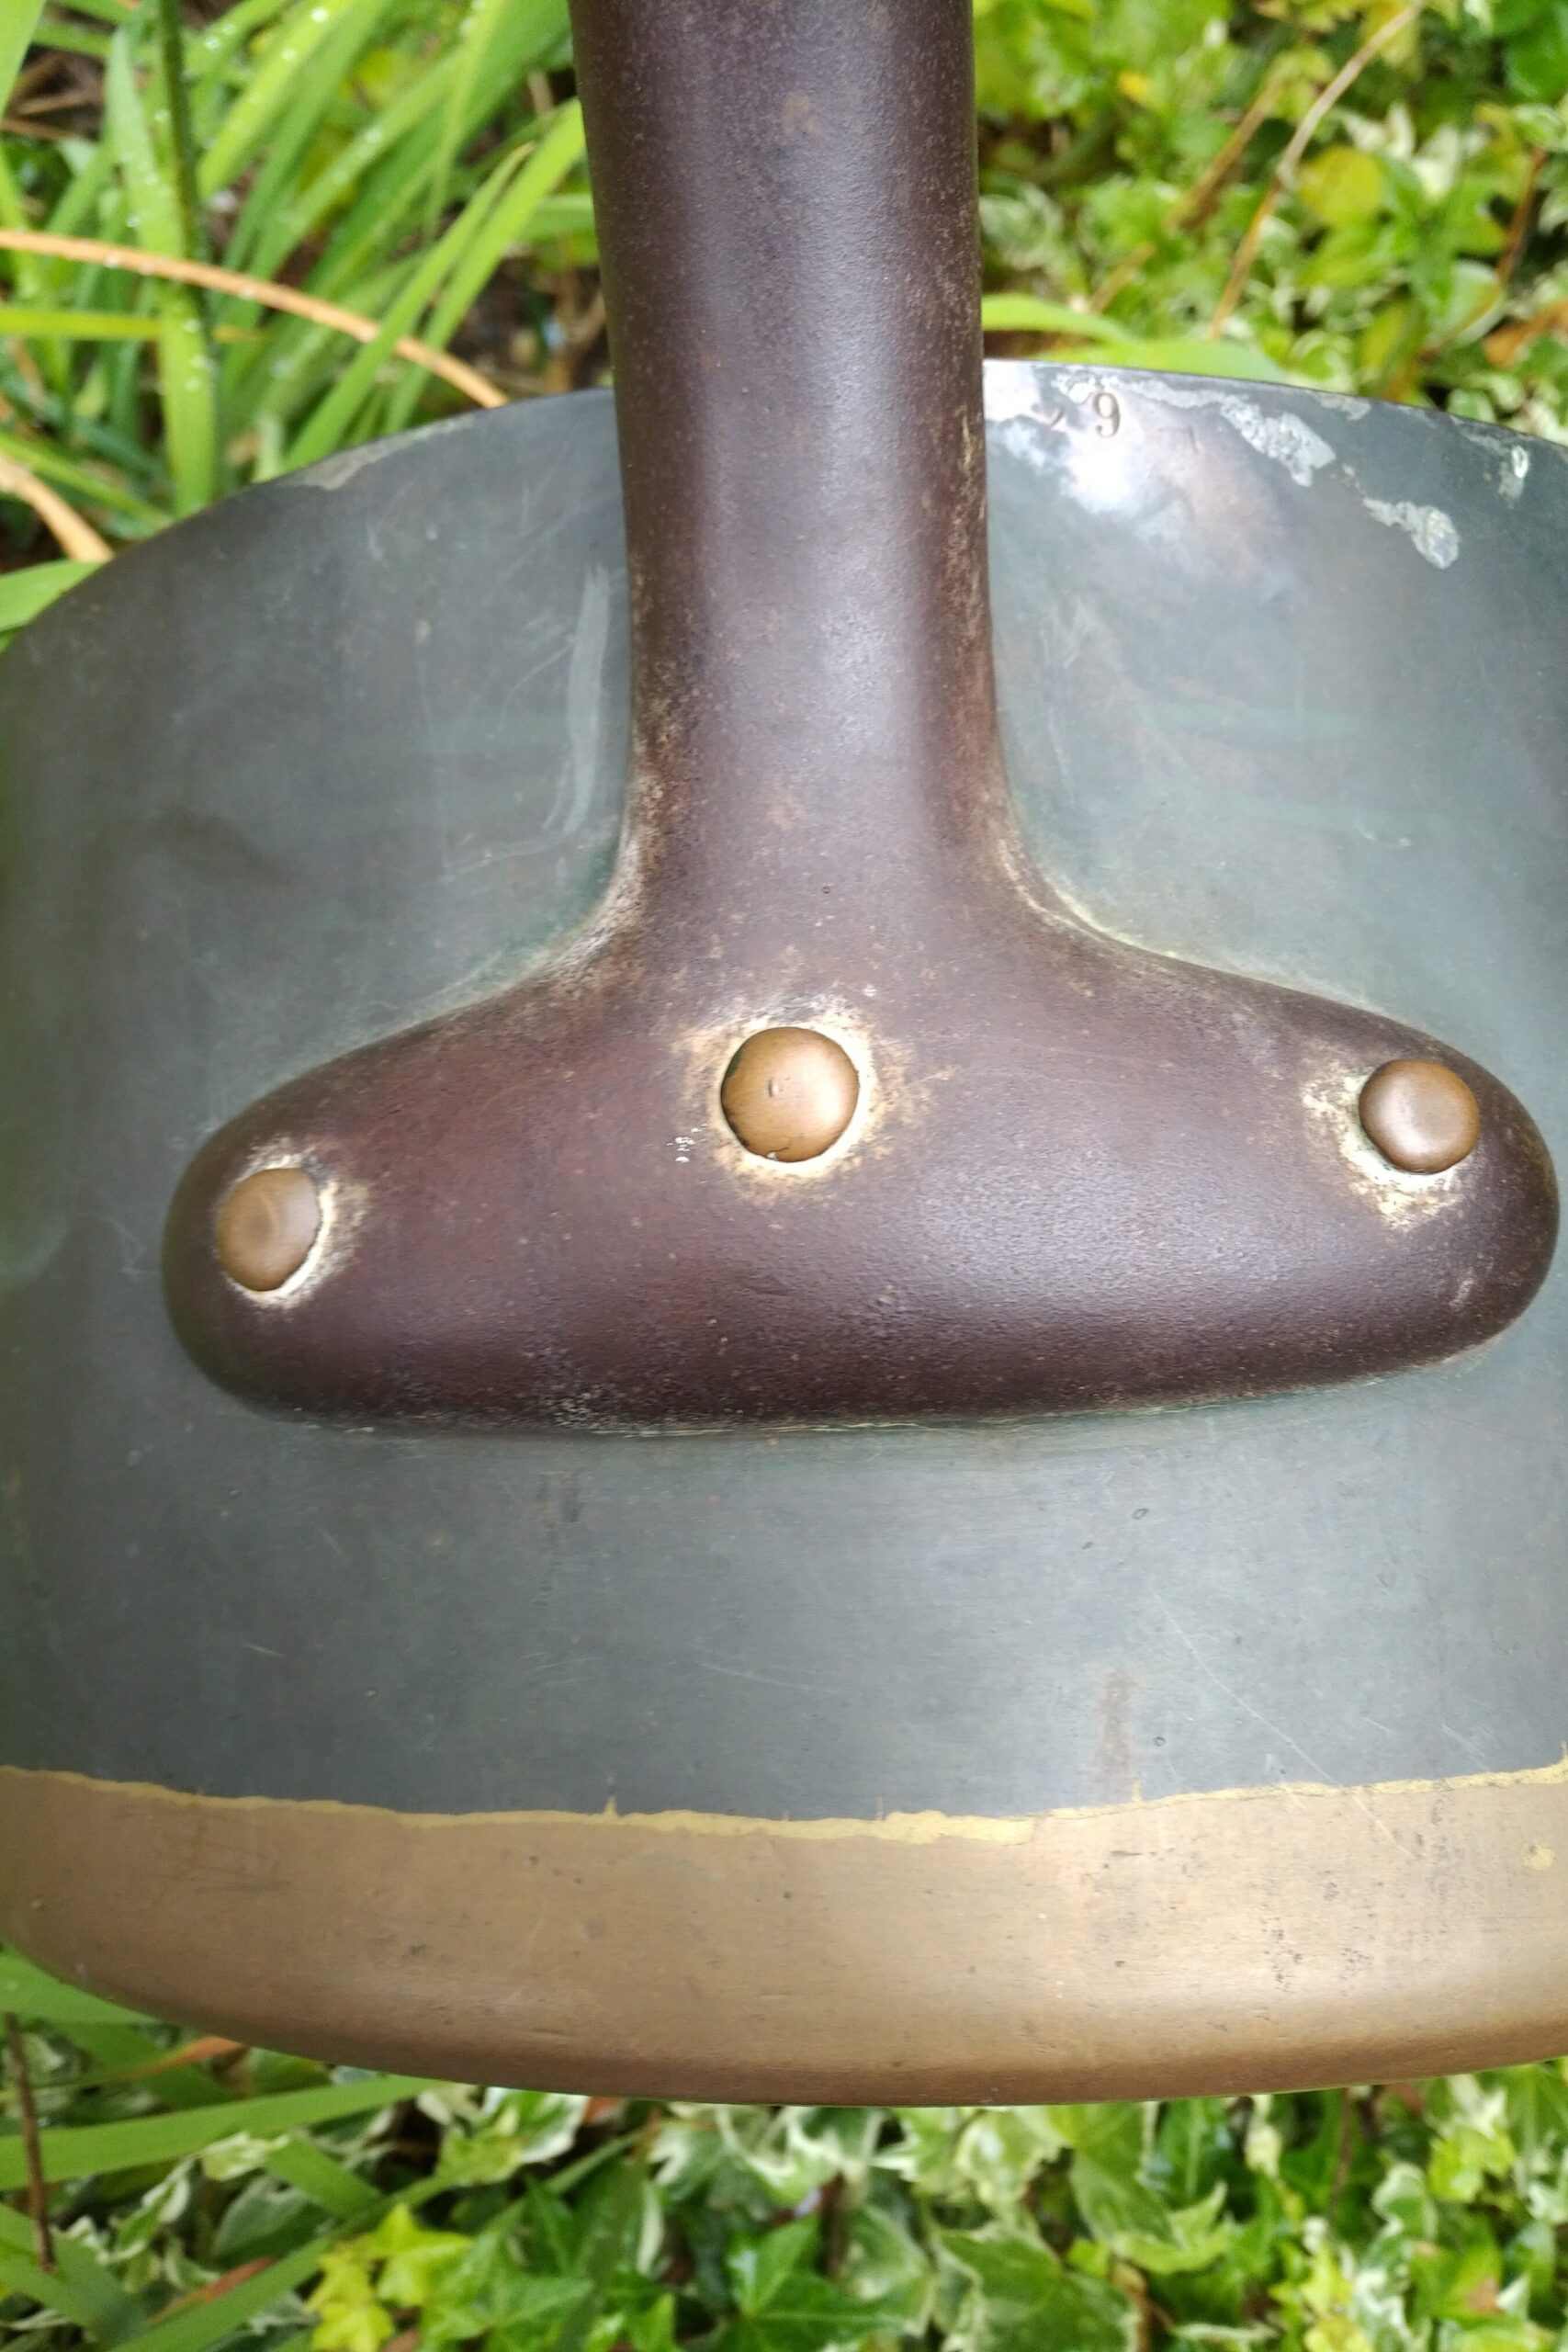
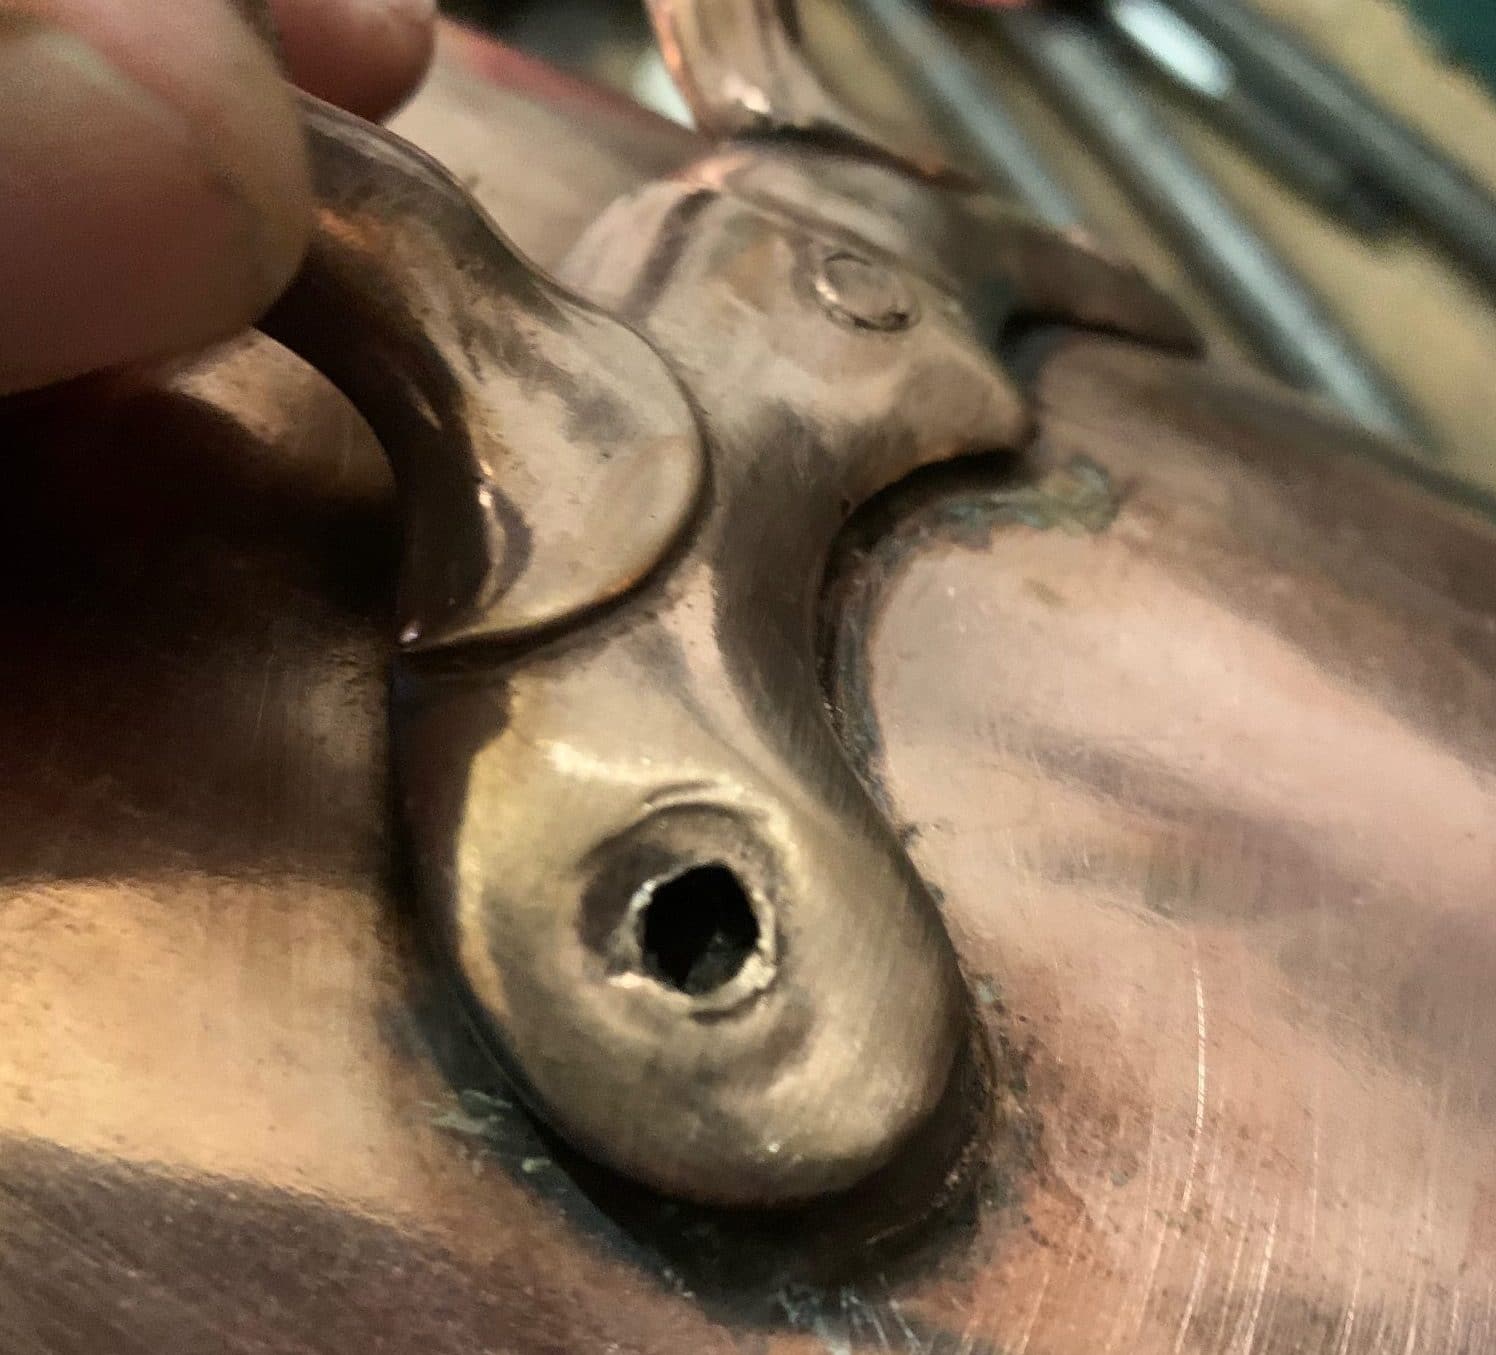
The handle is secured by three copper rivets with smooth round ends that all match on the outside but inside the right-hand one has a mushroom head and is clearly a replacement.

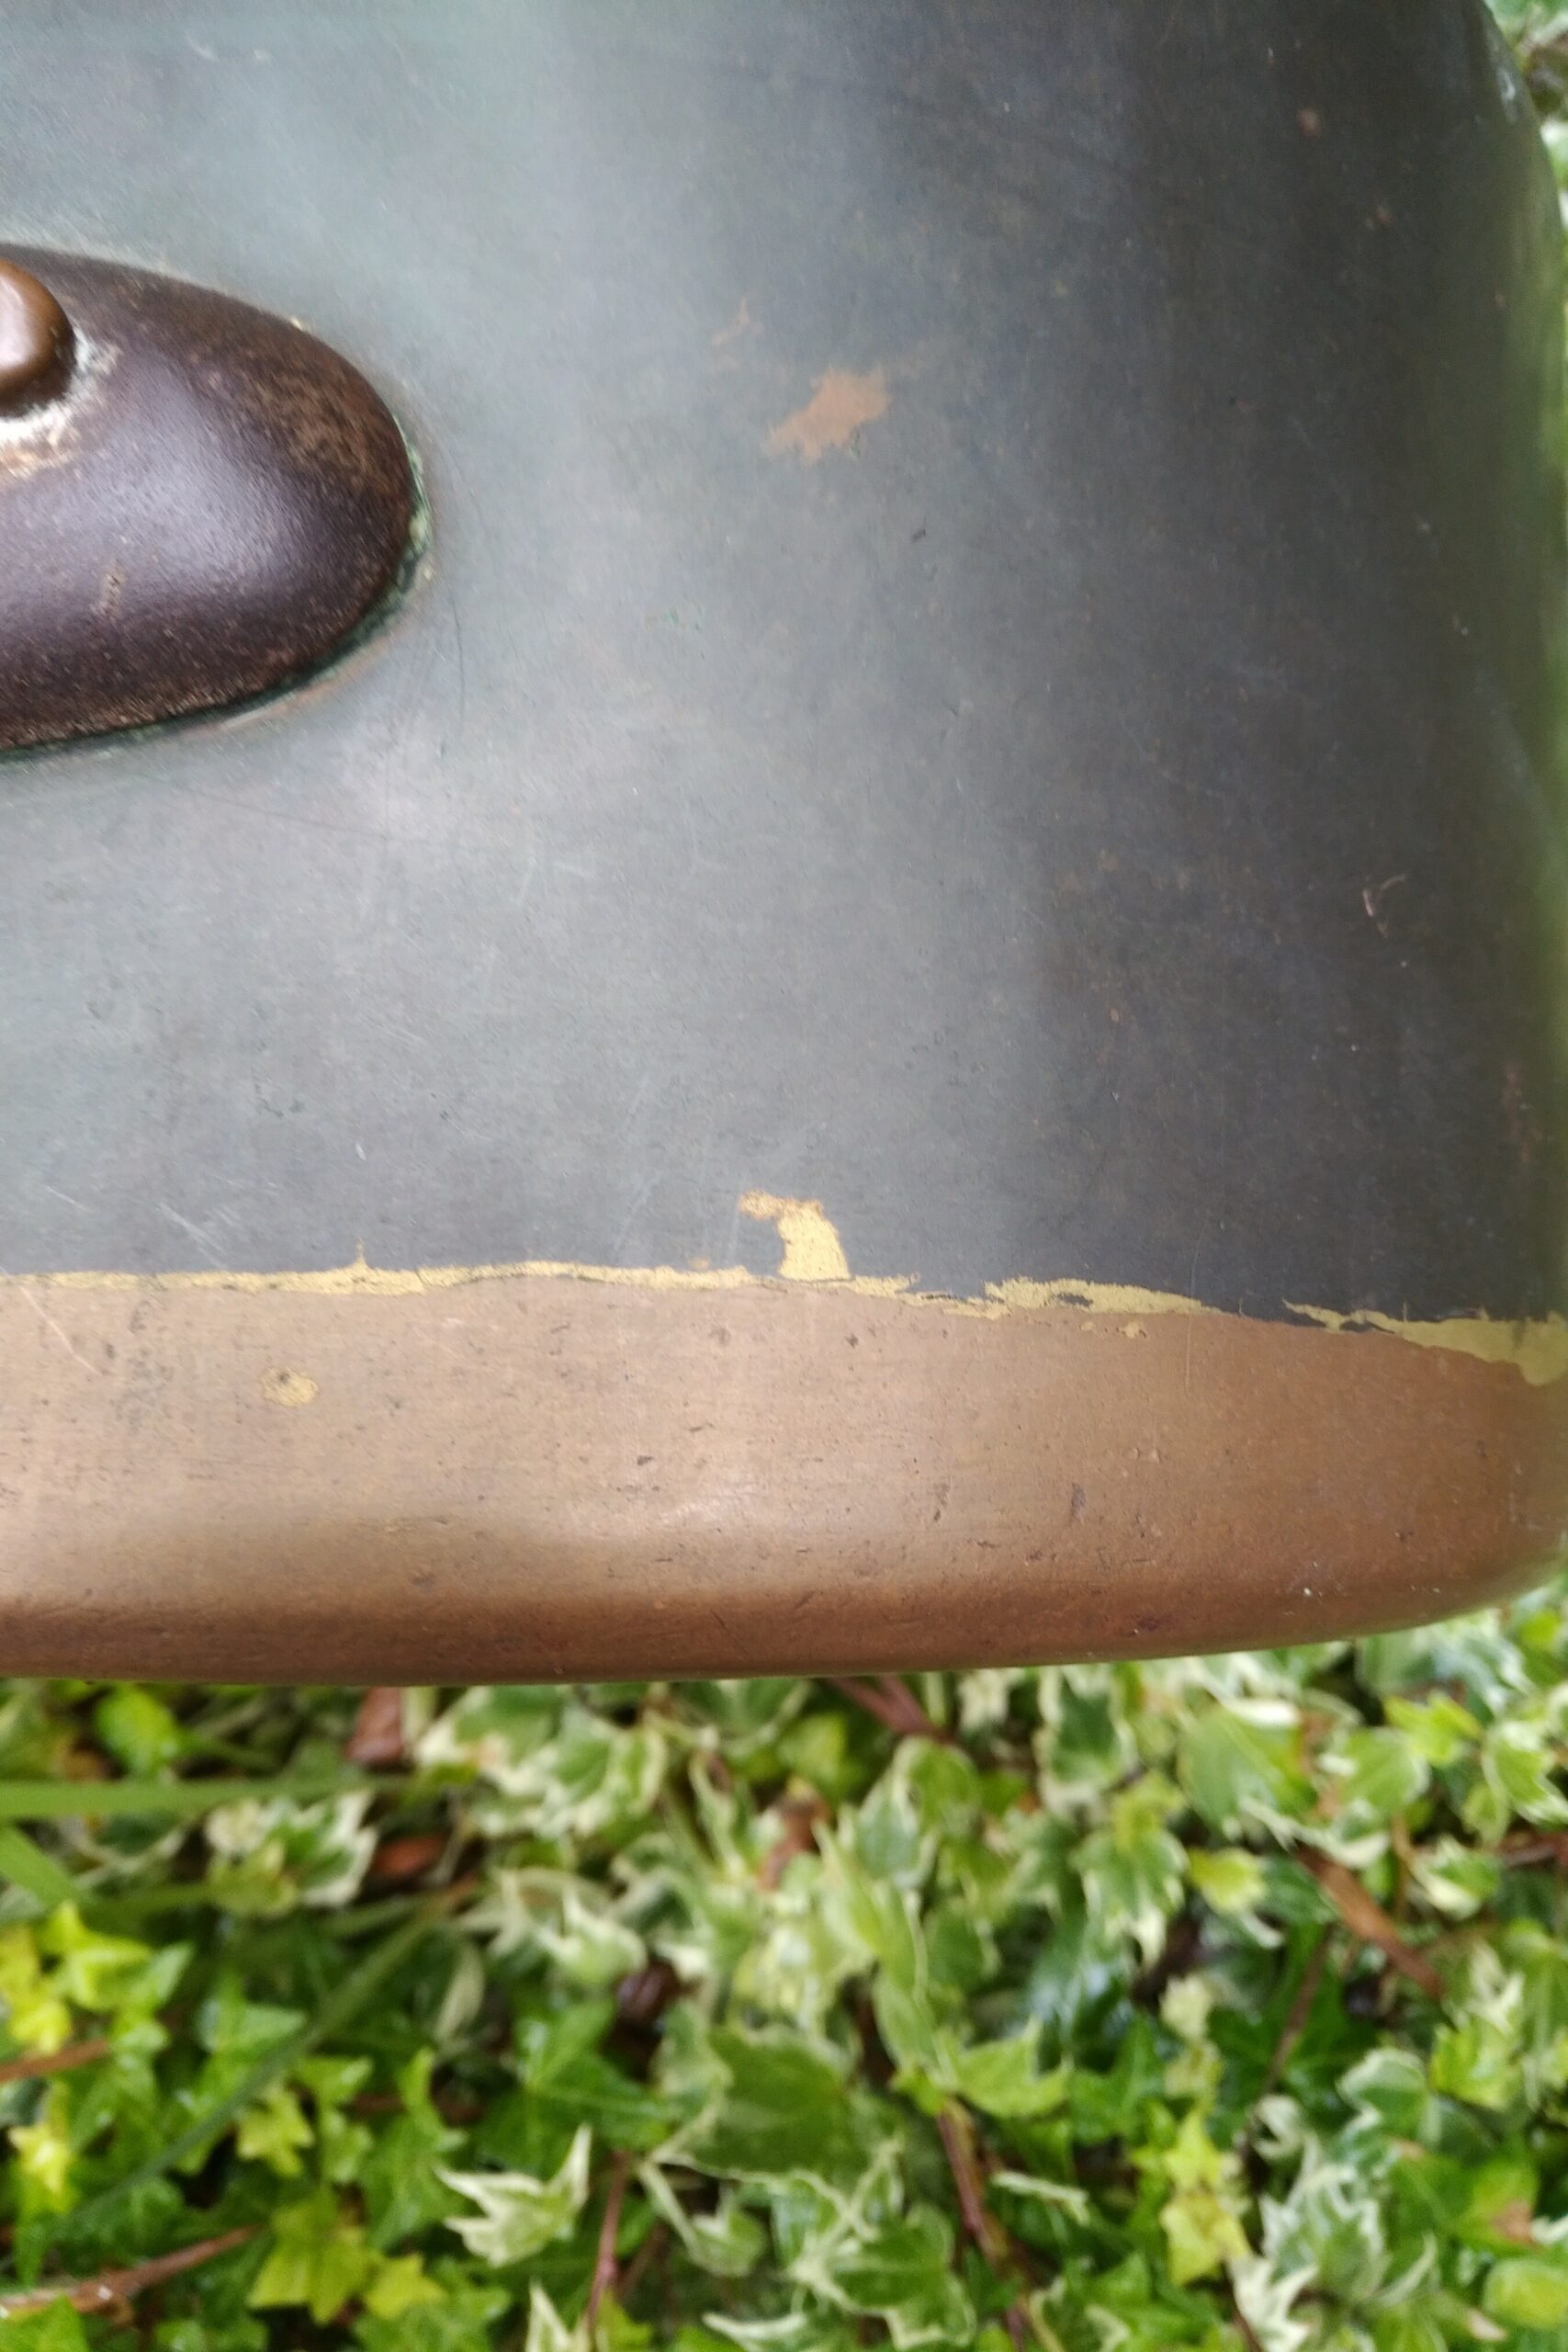
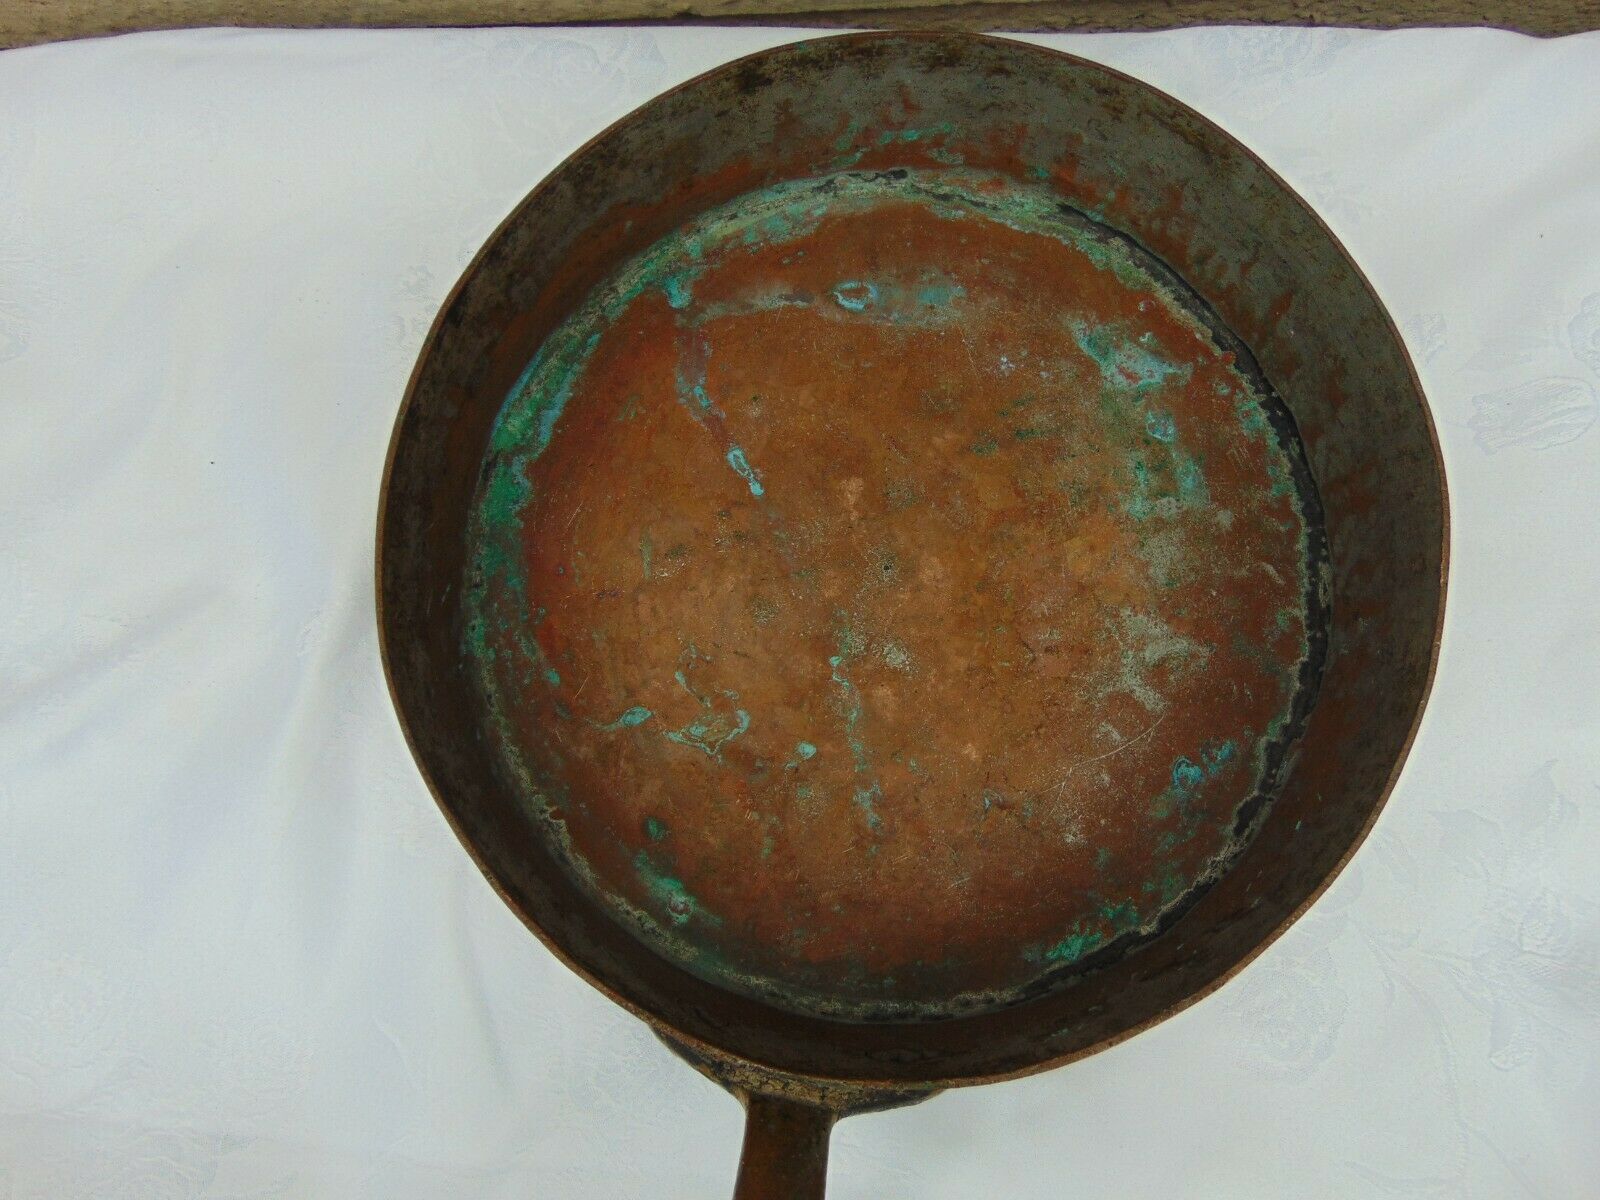
The body of the pan is of tube-and-tray construction in that the base has raised edges and the joint is on the sides. This is usual for welded pans but this one is brazed without cramping or dovetails, just sweated together like copper pipe fittings. The base is tarnished as might be expected but the walls are very dark giving curious two-tone appearance that is hard to account for.
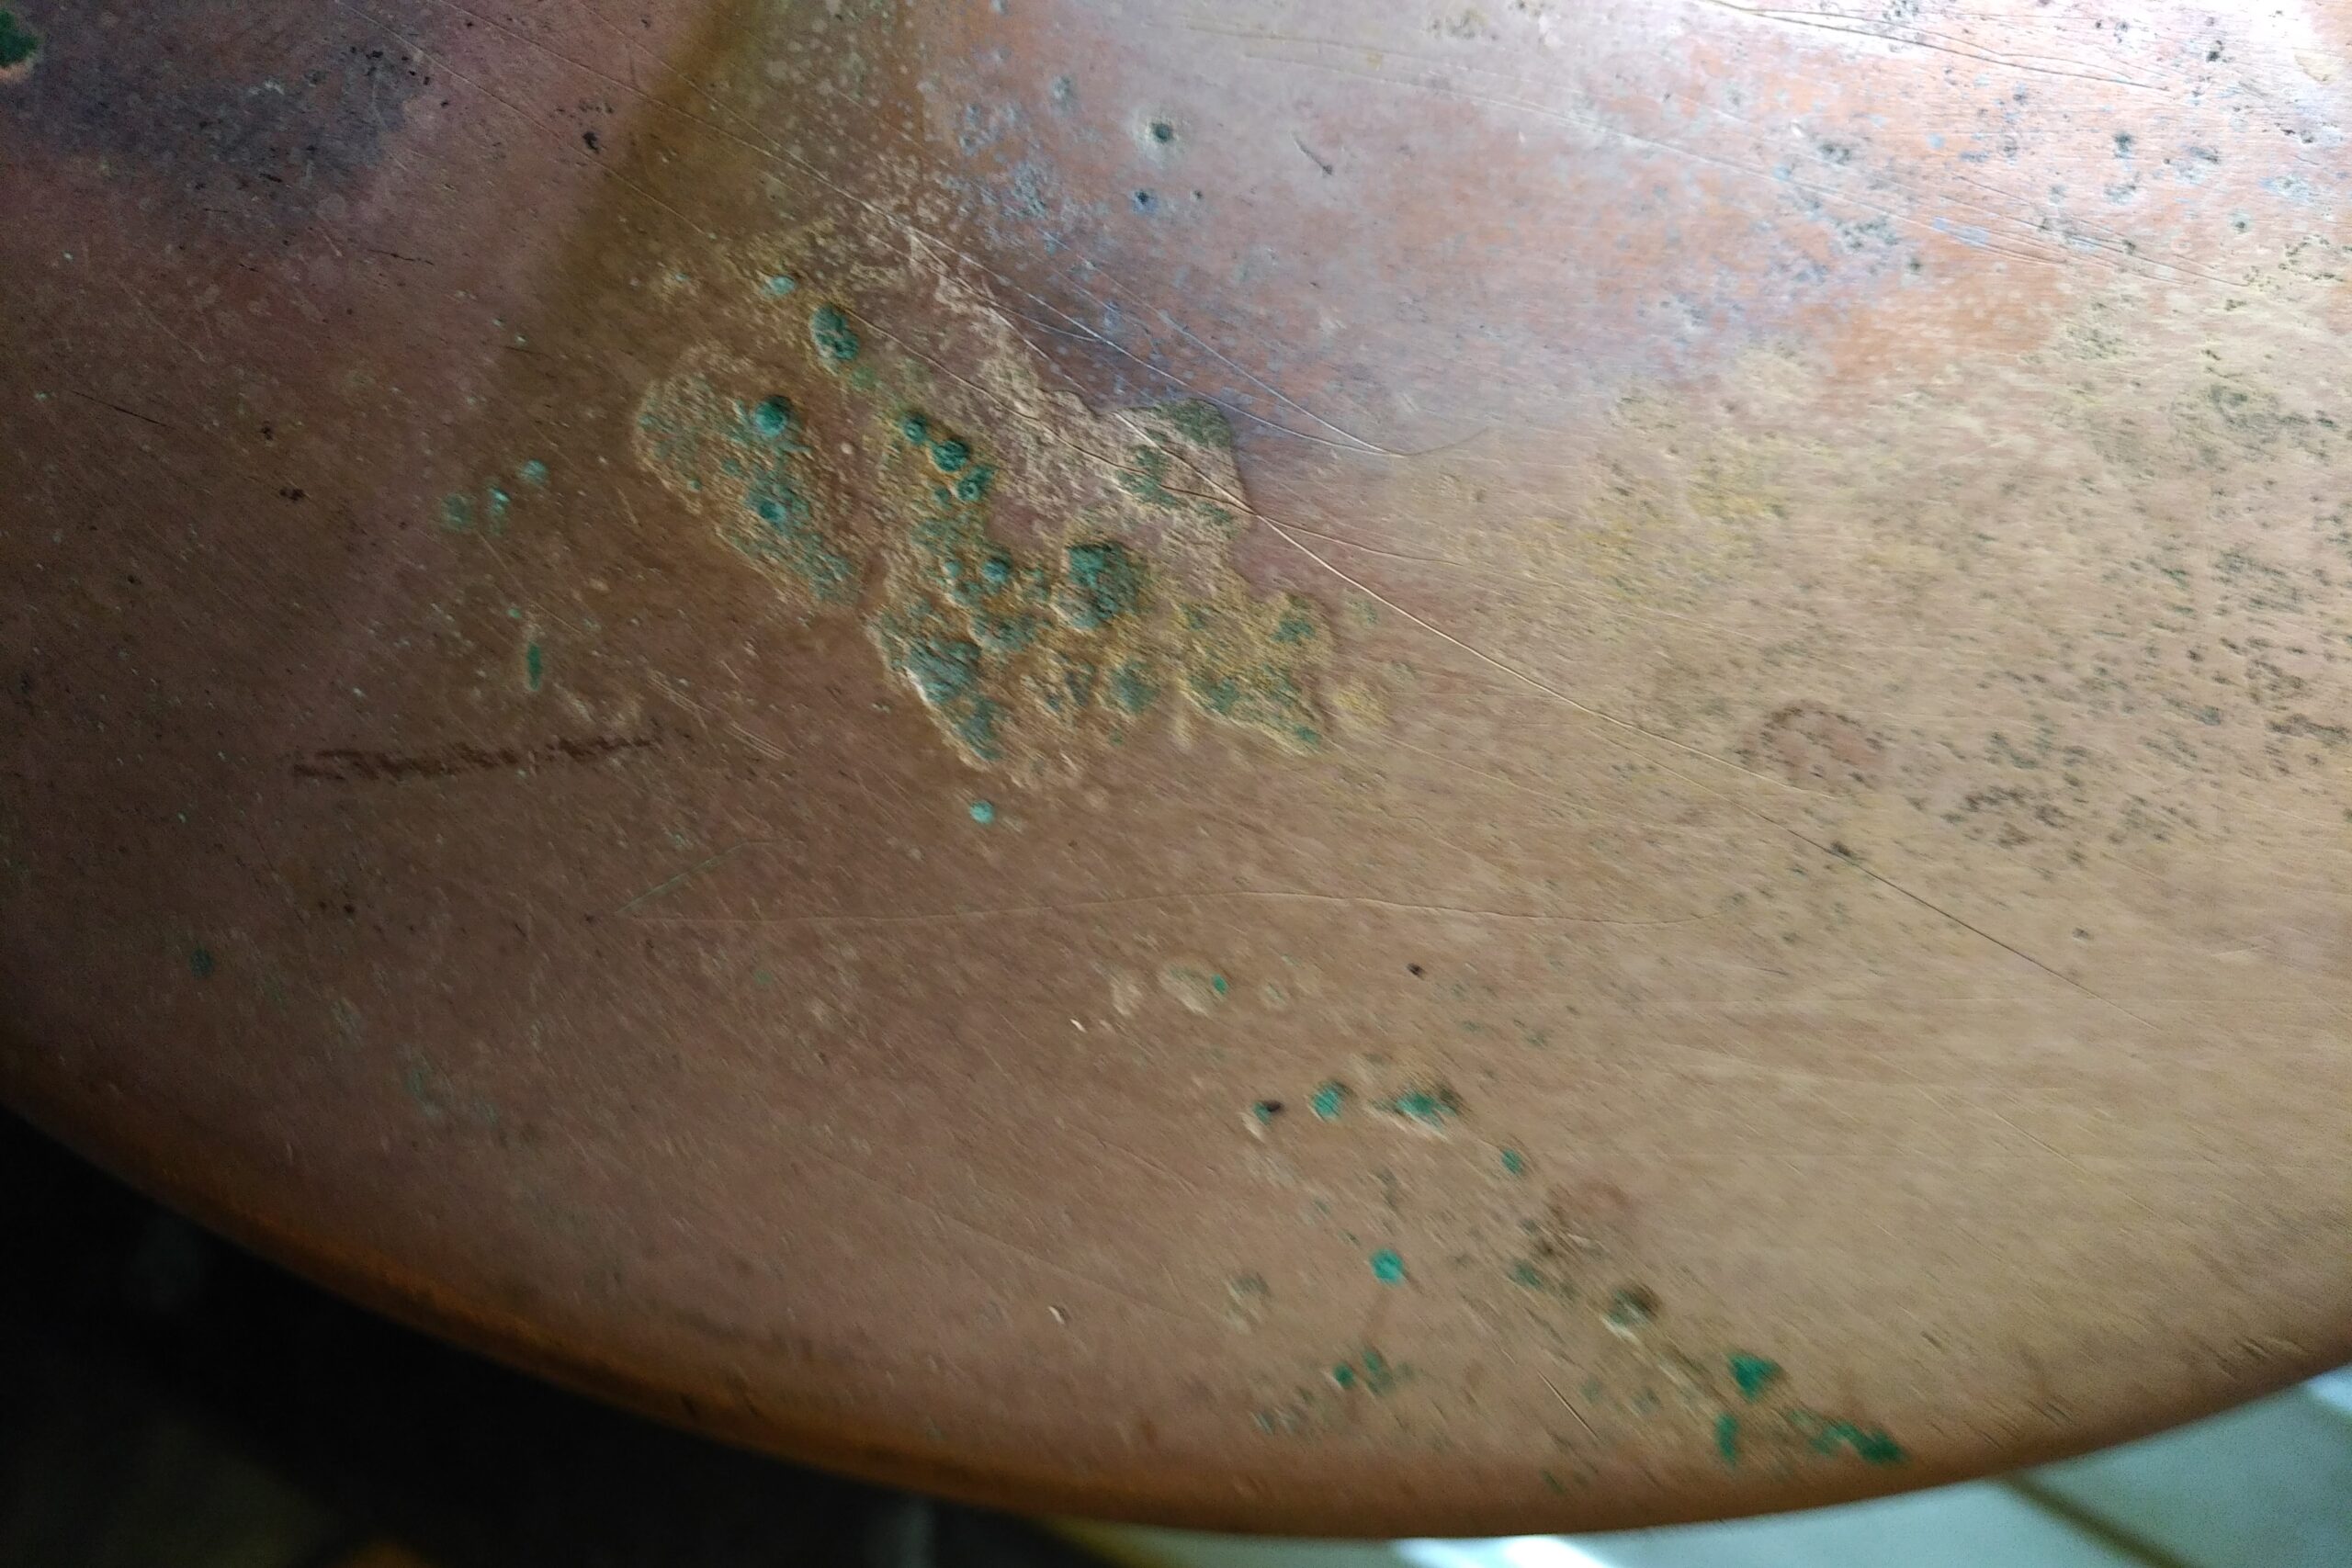
There are plenty of verdigris spots and the walls are rippled but I cannot really see if it is hammered.


Inside the tin is thick and the surface heavily oxidized and dirty. There is a light patch in the middle maybe caused by a pudding basin having been rubbing as it boiled or more likely it’s aspidistra damage.
There are two other things I should have noticed now that I look at these pictures but I didn’t, so I shall mention them at the point I realized.

Episode 2: A bumpy start
First I am going to address the uneven base. It is convex and a bash to the side opposite the handle has caused a bulge.

I have an off-cut of a kitchen countertop work surface that is smooth and flat. With a couple of bits of wood to protect the surface of the copper from direct hits and two unsuitable hammers that came to hand I set to work tapping it back to shape. Had it been creased I would have heated and cooled it to relax the metal and reduce the risk of cracking but I fancy my chances here so I don’t bother with that. I go a little at a time looking and importantly feeling what is happening and turning the pan over so I can work from both sides.

It is quickly apparent that the copper is stretched so that the disc is too big for the diameter of the walls, a very common problem. No procedure, no level of skill or power of will is going to unstretch this bit of copper so any restorer is left with two choices. A pan that rocks is useless so you either push the bottom in making it concave or add some hammering to create a rippled base. I settle on a sort of compromise here and get it to stand firm on the flat surface.
As a younger man I might well have been bolder and worked it more but I no longer have the welding kit to fix any damage I might do. As I step back and decide whether to do more, a favourite saying of an older chap who taught me much about mending farm machinery comes to mind: “A blind man would like to see it.” I quit while I’m ahead.


Episode 3: A bright future?
Next I give it a wash in hot water and a good squirt of washing-up detergent.

Having removed the loose dirt and most of the grease I’m ready to have a go at the tarnish. Table salt provides a mild abrasive and vinegar chemically attacks the oxide. There is nothing so far as I know particularly efficacious about vinegar that reeks of onions but it seems a shame to waste it. I add enough vinegar to create a paste and massage it over the whole surface including the handle with my fingers.


The pan visibly brightens as I go. This mixture is corrosive to copper, so every trace must be washed off. Check out how green the water has gone. The pan looks cleaner but still a way to go.


Episode 4: The mystery deepens
Time to break out the hard stuff! I smear tomato ketchup all over and give it five minutes before washing thoroughly. While it is in the sink I scour the handle with steel wool to remove the rust, taking care not to scratch the copper.


When washed the base has got lighter as expected but the sides seem darker. There is something weird going on here.

Episode 5: Harsher methods
So far I have been gentle and done nothing that anyone is likely to object to but now I am going to do two procedures some may not approve of.
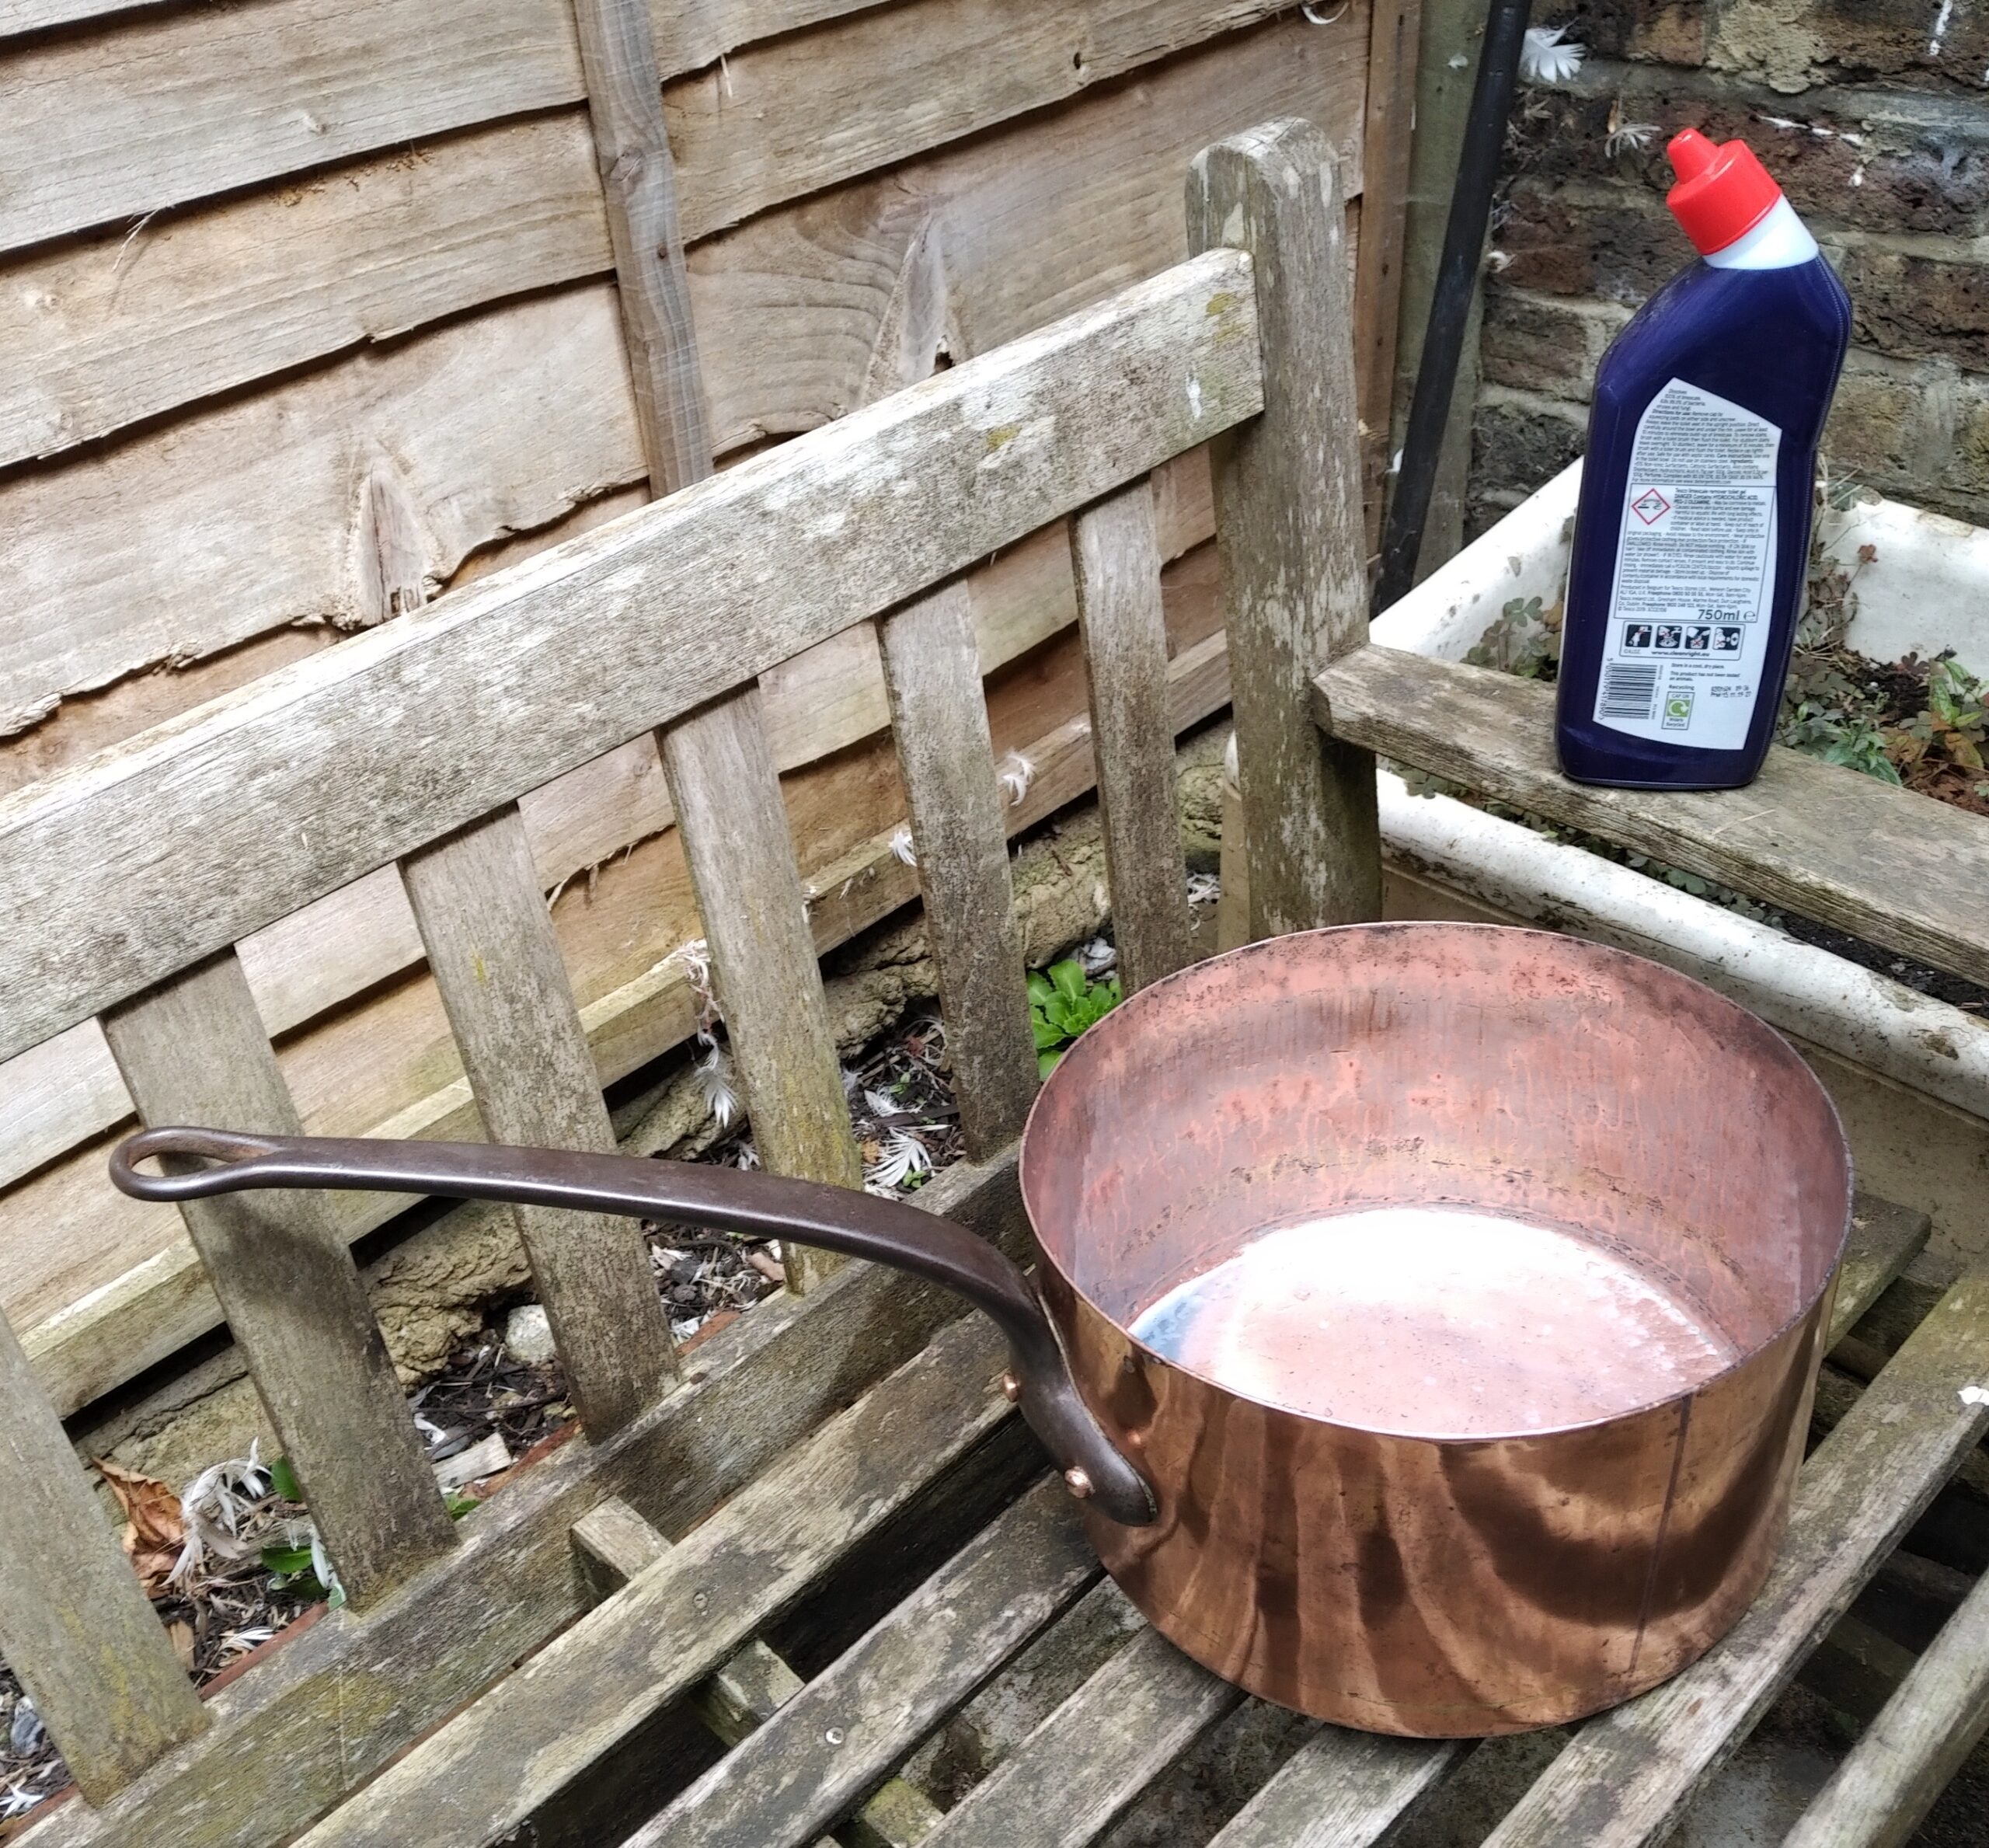
There is a badly pitted area on the bottom and there is verdigris in the craters which, despite scrubbing with a toothbrush, will not yield. I am therefore spot-treating with hydrochloric acid (HCl). This is available at the supermarket as toilet limescale remover (do not get it on stainless steel). It only takes a minute and doesn’t hurt much.


The second contentious action is the way I remove splashes of tin from the outside. These I consider unsightly, though they are part of its history. This would be best done with a buffing wheel that I don’t have. I grind them off with 400 grit wet and dry using water and keeping as localized as possible to avoid unnecessary damage to the patina. There are pits and dents so I cannot remove it all.


Episode 6: A period of reflection
I stop for lunch and as I am sitting drinking coffee my eyeline is level with the rim of the pan as it’s parked on the stovetop. It is really wonky and uneven — this pot has been trimmed, cut down. Come to think of it, the “29” stamp is very near the edge. How much has been removed, a centimeter, 2cm or even 10? I don’t know but it explains the odd proportions and I wonder if a makers stamp was cut off. It now varies from 16.1 to 17cm in height (6.3 to 6.7 inches).

Why was this done? It is hard to think of a way to damage the rim to the extent it could not be fixed, so this was done by choice. Probably it was simply too heavy when filled so the full height was never used. In my imagination the cook is short and cannot see over the rim when it’s on the stove.
Many antique items would be considered worthless with this kind of alteration but here I don’t think it’s a problem, just part of the story.
Episode 7: Enlightenment
As I handle the pan I have noticed that where the edge has been knocked it has some sharp burrs so I take these off with small half-moon file and smooth the file marks with wet and dry.

Next an initial polish partly to remove any remaining residues which would burn on when heated, and also so I can see if there are any other issues. The beauty is beginning to shine through as you see. Can I point out that I am not responsible for the deep scratches round the handle. I used Autosol metal polish for this, it’s mainly for chrome plating and works by abrasion.


While I polish I notice something I should have spotted at the start, conspicuous by its absence. There is no vertical seam — there has to be one and it should be under the handle but I have searched and not found. The joint must have been welded so why two techniques on one pan? It has to be the work of two different people. Is it possible that the walls were made as a long pipe then cut into sections in the lengths for each pan so all that had to be done was fit a base? Labour division of Henry Ford would have approved of, maybe?

Episode 8: Cleaning inside and out
I am now ready to clean up the inside. Some pro-tinners make a great thing of removing every trace of the old lining back to the bare copper. I regard this not only unnecessary but also undesirable because existing tin will melt and flow with heat and flux, and copper where tin has adhered is going to be good anyway. Scrubbing away in this way is removing a layer of copper for no good reason. It is not something that would have been done when these pans were used hard and tinned annually.
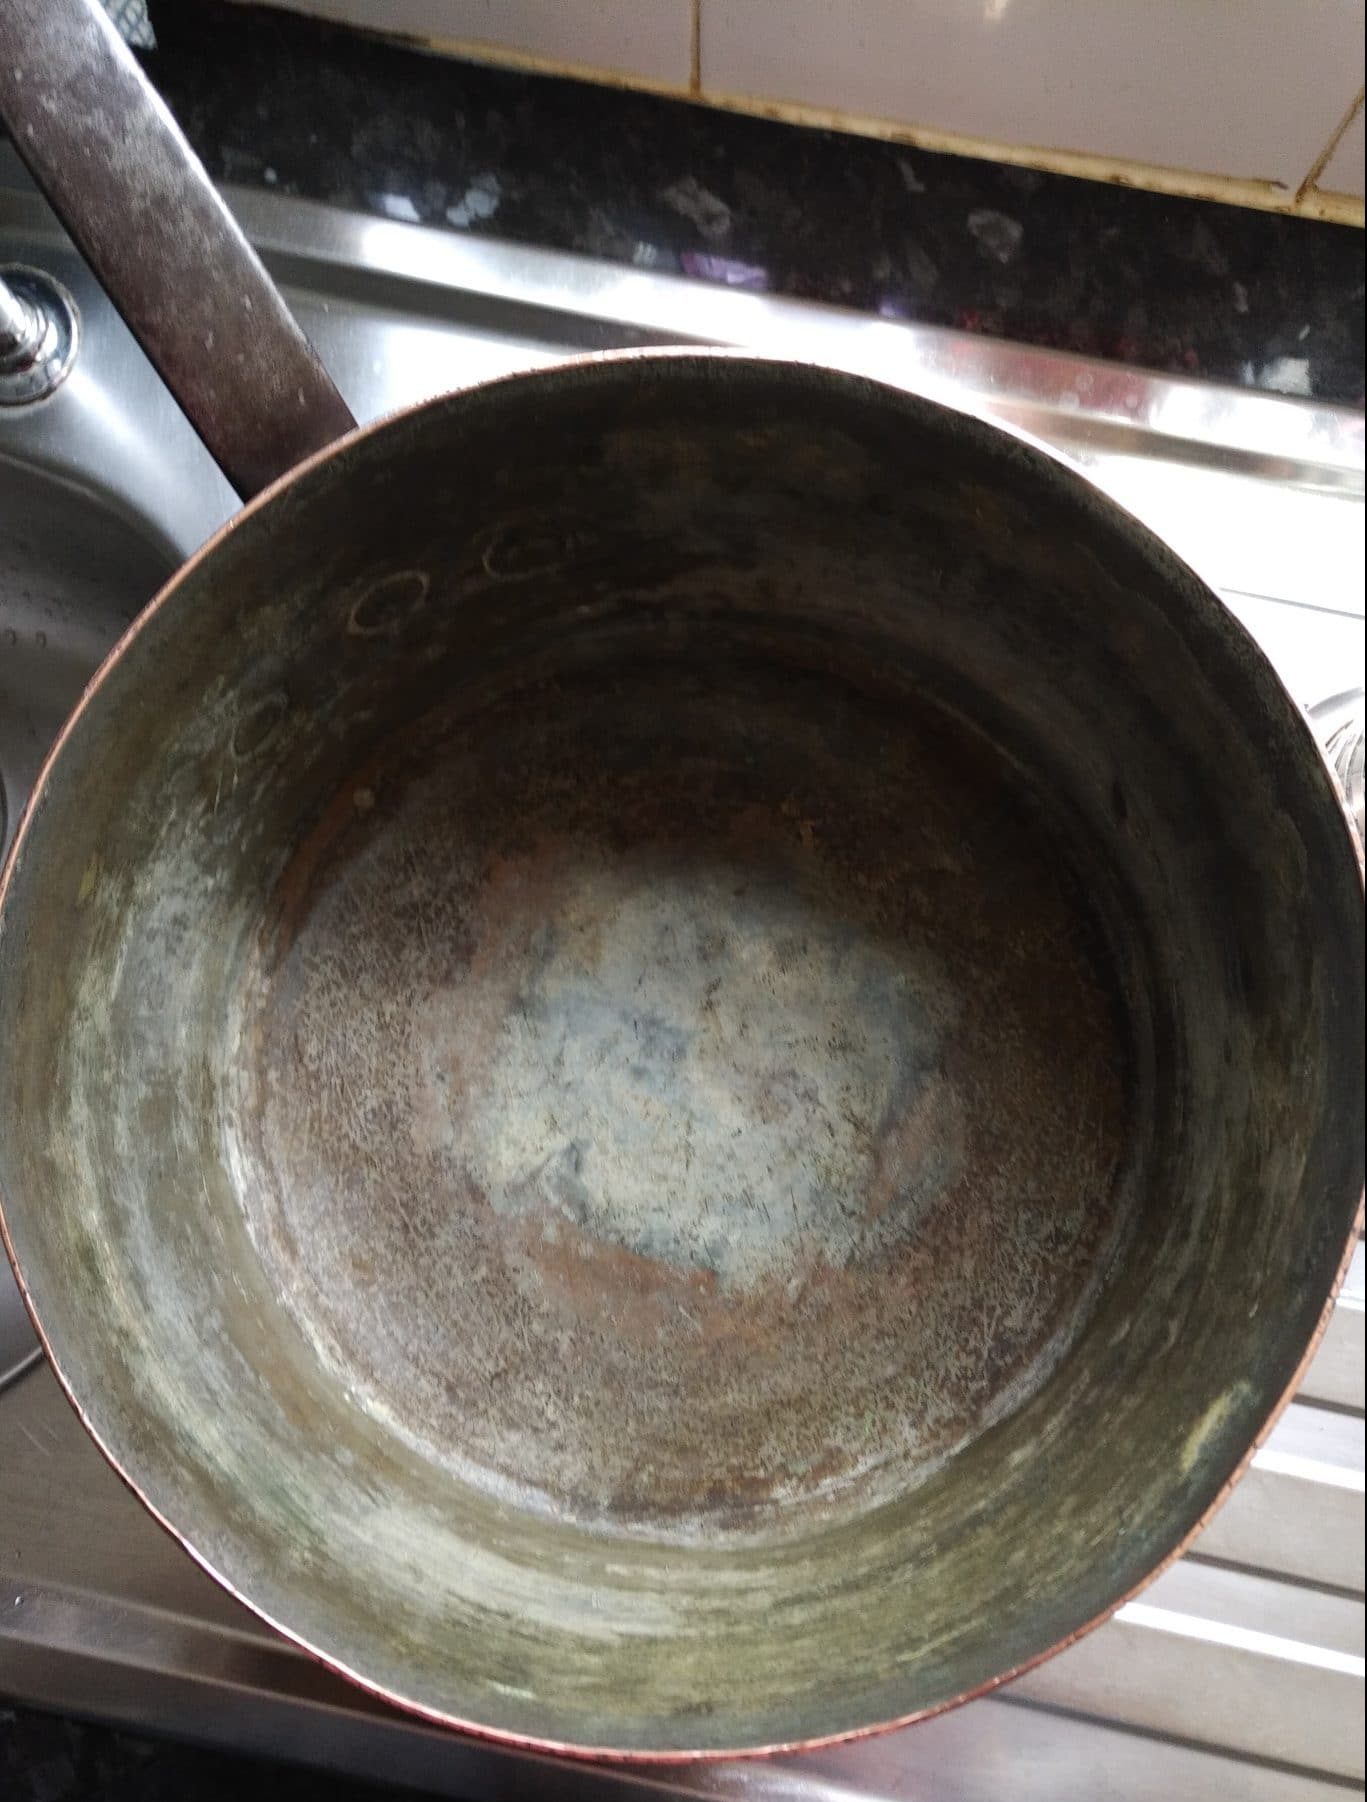
The pictures that follow will seem at odds with this philosophy and so requires some explanation. I have stripped as much as I can. This would be best done with a buffing wheel that I don’t have. I ground away at the thickest tin with 120 grit then 180, then 400 before “polishing” with steel wool. I take particular care around the rivets, scraping round them with the tip of a file as this is hard to clean and always an awkward place to get tin to seal.

Why did I clean so aggressively? Firstly this is an old pan and the lining does not look to have been renewed in very long time, there is a good chance that the tin used may not be of the purity we expect today. I have no way of testing so it’s safest to assume a lead content, I cannot remove everything but any trace left will be significantly diluted. The second reason, without wishing to create artificial jeopardy, is that I am pushing the boundaries of both my ability and equipment in tackling such a large pan and I want to give myself every possible advantage when it comes to tinning and a bright copper surface should be a little easier. I have some anxieties about how this will go.
Once the pan is clean I can see that only the left rivet looks original, the middle one is slightly larger and as mentioned before the right one is a different shape. There is a small crack radiating from the left rivet hole but not bad enough to concern me.

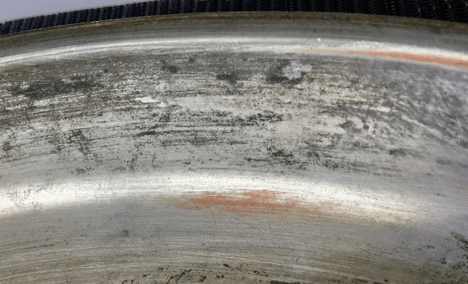
There are two other surprises now exposed. Under the tin are traces of another white metal, not much of it but clearly a different colour though the camera will not pick this nuance. I am fairly confident this pan was once plated with nickel. The amount of pitting to the copper suggests that the pan remained in service long after the lining had been breached and before being tinned. I know that copper hot water tanks are usually fitted with a sacrificial anode to prevent corrosion and boats in salt water have similar arrangement to protect a bronze propeller. Dissimilar metals with salt or acid result in a small electric charge. In the 1960’s automotive wiring was reconfigured to negative earth because positive earth promoted rusting. Could this bit of nickel sandwiched between the copper and tin account for the strange way this pan tarnished? Would a layer of brass insulate the base? Maybe I am over thinking this one and it is simply the purity of the copper sheet was variable.

The other surprise for me is that the base is pushed into the walls like a cork into a wine bottle, the overlap is about a centimeter. For some reason I had assumed that the base first over the side walls like a crown cap on a beer bottle.
Coming up in Part 2: Retinning and polishing!
Hi there, I admire your passion and doing this yourself. I have been reading and looking to buy good quality/vintage copper pots. After three years, I am getting a little closer to doing this myself, as it would cost too much money to restore it by a professional, like you say just expedition cost of these heavy pots would cost me too much. Can you tell us how many hours it took you to sand the pot with 120 to 400 grit? I am now going to read your Part 2. Thank you for sharing, Aline in Ottawa/Canada
Hi Alice,
Cleaning the inside of this big pan took most of a day. I have done quite a few more domestic sizes and if the tin is relatively recent and the copper not badly pitted then a gentle rub with 400 wet and dry will be sufficient and take under an hour.
For a first piece I suggest a 6″ Windsor pan at least 2.5mm thick, there are plenty of late 20th century examples for sale of no historical interest and can be bought cheaply because they are common. The tin will be pure so only minimal cleaning is necessary. The size and thickness means even heating is easy and the open shape allows good access to the inside, you can see what you’re doing. If it doesn’t go well the first time you just clean up and try again with no fear of damaging something really precious. Thin cheap pans are hard to heat evenly so don’t make good practice pieces to learn on.
I regret not investing in a better heat source and am now thinking of a propane gas ring which would make even heating much easier.
Sorry Aline my predictive text turned you to Alice.
Hello Roger,
Thank you for getting back to me. Thank you for the suggestion, I will keep an eye on the Windsor pans.
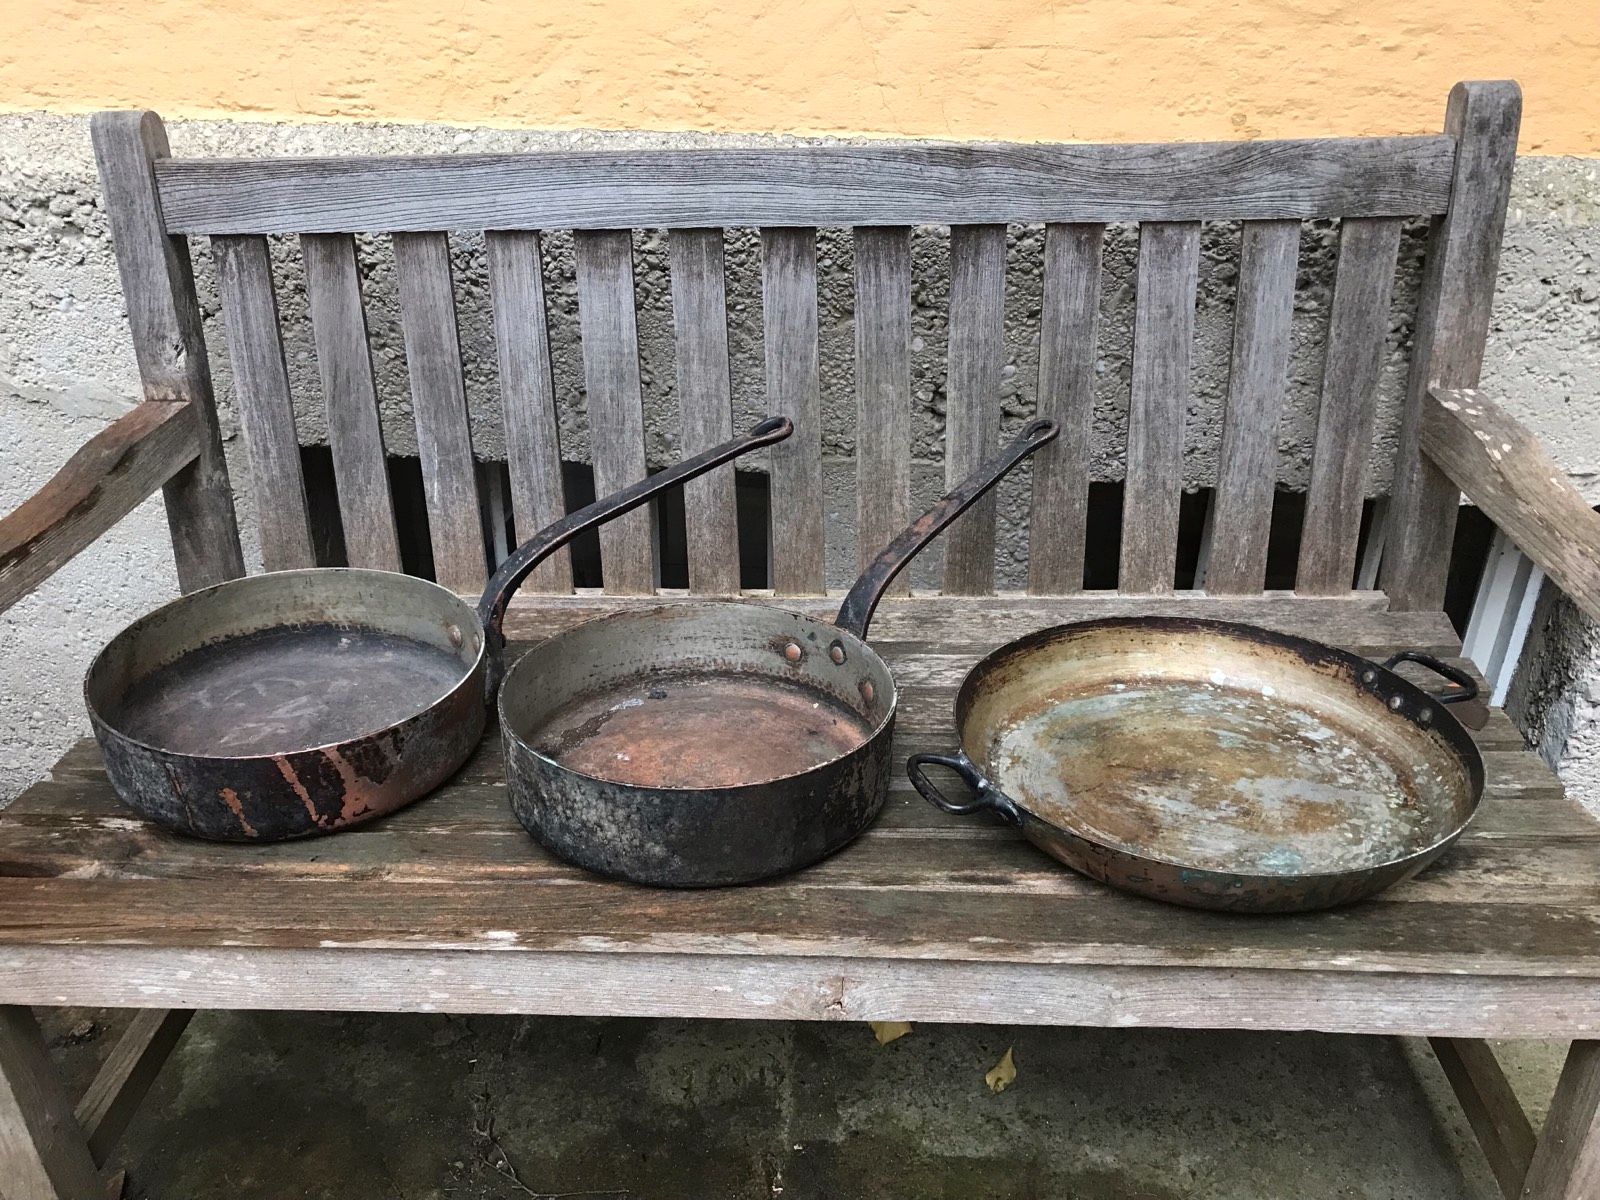
I bought a Turkish 12″ diameter big bucket from a British diplomat, tined inside. But sanding with 400 grid did nothing. I gave up. I wanted to use this to cook marmelade or making jams.
I have another one of these buckets. The copper is just a very thin layer on the outside, that is coming out. Not sure what the core is made of? But the inside looks tined.
I also bought some small pots that are stainless steel and electroplated tin and other metals. Only now I am able to recognize them a little bit more, as I am learning more about copper linings.
Some pots are made of aluminium, covered with copper and tin. It looks thick, but the copper is so thin, It makes the buyers life difficult to understand what is underneath the thickness… I also came across a 4 mm pot set, that a restaurant owner was selling. The pots were extremely heavy. When I looked close, the copper was just a thin layer on the outside and the inside 3.5mm was maybe iron or other metal. The owner had never noticed it before and he tought he was selling me 4mm thick copper pots.
Thanks again,
Regards, Aline
Jam making is one of the few jobs that can be safely done in un-lined copper. If you can’t remove the lining from your bucket I wonder whether it may be nickel lined which is much harder. Nickel will usually respond to silver polish and if there is copper showing you can tin over nickel.
We all make a few buying mistakes especially when buying online where photos and descriptions are poor though this is also where the real bargains are to be had.
This site should really help you getting your buyers eye in, fortune favours the prepared mind, good luck.
I had never heard of tinning over nickel. This means I don’t have to remove the nickel to tin?
This week I found a Sand Blaster in a small town not far from Ottawa. He’s a blacksmith. He said he will remove the tin for $20 CAD/ per pot. I will try with one and see how that goes…
Thank you for getting back to me.
Regards,
Aline
I have successfully applied tin over nickel, I have a relatively modern skillet that came with a batch of pans, not much value so I didn’t want to invest much money on it’s restoration and viewed it as an experiment. The tin took perfectly though there was a slight difference in surface afterwards, the nickel areas being a little more shiny.
I don’t know what others think but sand blasting sounds rather aggressive on a metal as soft as copper to me.
Hey Aline, I would never sandblast my pans. This method would not only remove the tin or nickel lining, but also damage the copper – inside AND out. You may have something like a new pan afterwards, but with a slightly rough and matt surface. You can polish these, but you will lose even more copper through abrasion. Above all, the historical character of the pan would be lost. Watch videos about sandblasting on YouTube.
VCF is an amazing resource. I now feel free to buy vintage copper “secure in the knowledge that I can retin it myself.”
In searching for tin ingots I came across a tin ingot composed of 95% tin and 5% silver. How about that? Can anybody think of a reason not to proceed with this form of tin?
Regards,
Andrew Holloway
Hey Andrew! Out of respect for the hazards of the process, as well as the practice and talent it takes to get a smooth finish, I still advise people to have their pans professionally retinned. But I know that the scarcity of experienced retinners (and the expense of shipping) can be an obstacle to buying and using tinned copper, and so home retinning may be an appealing alternative for some people. But please educate yourself further on what this entails — Roger is an encouraging example, but his prior experience with metalworking and many hours of practice make it look easy!
Great post…bought a huge copper pan and found that it is only copper plated as I began to restore the copper flakes off and the rusted steel underneath looked like the side of my car after three years driving in snow and salt…super angry but lesson learned! Buyer beware!