This antique piece is a master class in clever construction.

- Type: Tin-lined high-top daubière in hammered finish with side-mounted copper swing handles and copper lid handle fastened with copper rivets
- French description: Daubière étamé et martelé avec couvercle emboîtant et poignées pivotantes latérales en cuivre et poignée de couvercle en cuivre munies de rivets en cuivre
- Dimensions: 32cm long by 23cm deep by 16.5cm high to rim (12.6 inches by 9.1 inches by 6.5 inches); 20cm (7.9 inches) high to top edge of lid
- Thickness: 1.2mm copper sheet
- Weight: 3592g (7.9 lbs) without lid, 5022 (11 lbs) with lid
- Stampings: None
- Maker and age estimate: Unknown; late 18th to mid 19th century?
- Source: FrenchAntiquity (Etsy)
I have a persistent fondness for daubières and as my collection has matured I am drawn more and more to unusual ones like this, a style I’ve heard called a “high-top” due to the lid’s raised rim. This lid is designed for an earlier era when a daubière was nestled into the warm coals of a hearth (or, later, an oven) and the raised rim of the lid created a shallow basin for piling up more coals. I consider this high-top lid style to be the ur-daubière, so to speak, echoed in the slightly indented lids of later box-shaped daubières. (A purist would point out that a true early daubière would have iron feet to lift it just above the ashy floor of the hearth so it would not crush the coals beneath. The purists are never satisfied.)
But I digress.
This is an extraordinary pan. I bought it because I loved how it looked, and it was deeply satisfying to examine it and come to appreciate how beautifully and skillfully it was constructed. I suspect it is quite early for my collection, likely early 19th century or even late 18th, an era of craftsmanship I have heard described as “primitive,” though that term risks dismissing skilled workmanship that did not benefit from industrial tools. Perhaps if more of these items had been preserved into the present day we might cultivate a better understanding and appreciation, but we are limited to the specimens that have survived.
If this is one of them, as I cautiously suspect may be the case, it is a humbling example of just how skillful a metalsmith can be to build a thing so beautiful and resilient. Let’s start at the bottom and work our way up.
Dovetails
The bottom of this pan has jagged yellow seams (called dovetails or cramp seams) running around the edge of the base of the pan and up one side. This reveals that body of the pan was formed from two sheets of copper that were fused together — one for the base and one for the wraparound sidewalls. Prior to the advent of welding in the 20th century that could apply very high heat to melt metals together, copper sheets were joined with zig-zag crenellations along the edges that were interleaved, pounded together, and then brazed (sealed with molten brass) to make the seam water-tight. You’ll see this technique on many antique copper pans built before the industrial revolution. My current understanding is that dovetailing started to phase out as early as the 1860s but continued as late as the 1910s or so.

The presence of dovetails on this pan isn’t unusual, but their small size and close setting highlights the craftsmanship that made them. Each narrow crenellation had to be clipped by hand without tearing the copper. Each overlapping tab was pounded — cramped — to fuse it to the copper of the other sheet.
The dovetails on this pan are largely undamaged and structurally sound to this day. Dovetails are a potential point of failure for any antique pan and I am impressed by the resilience of the work of the smith who formed these.

The dot
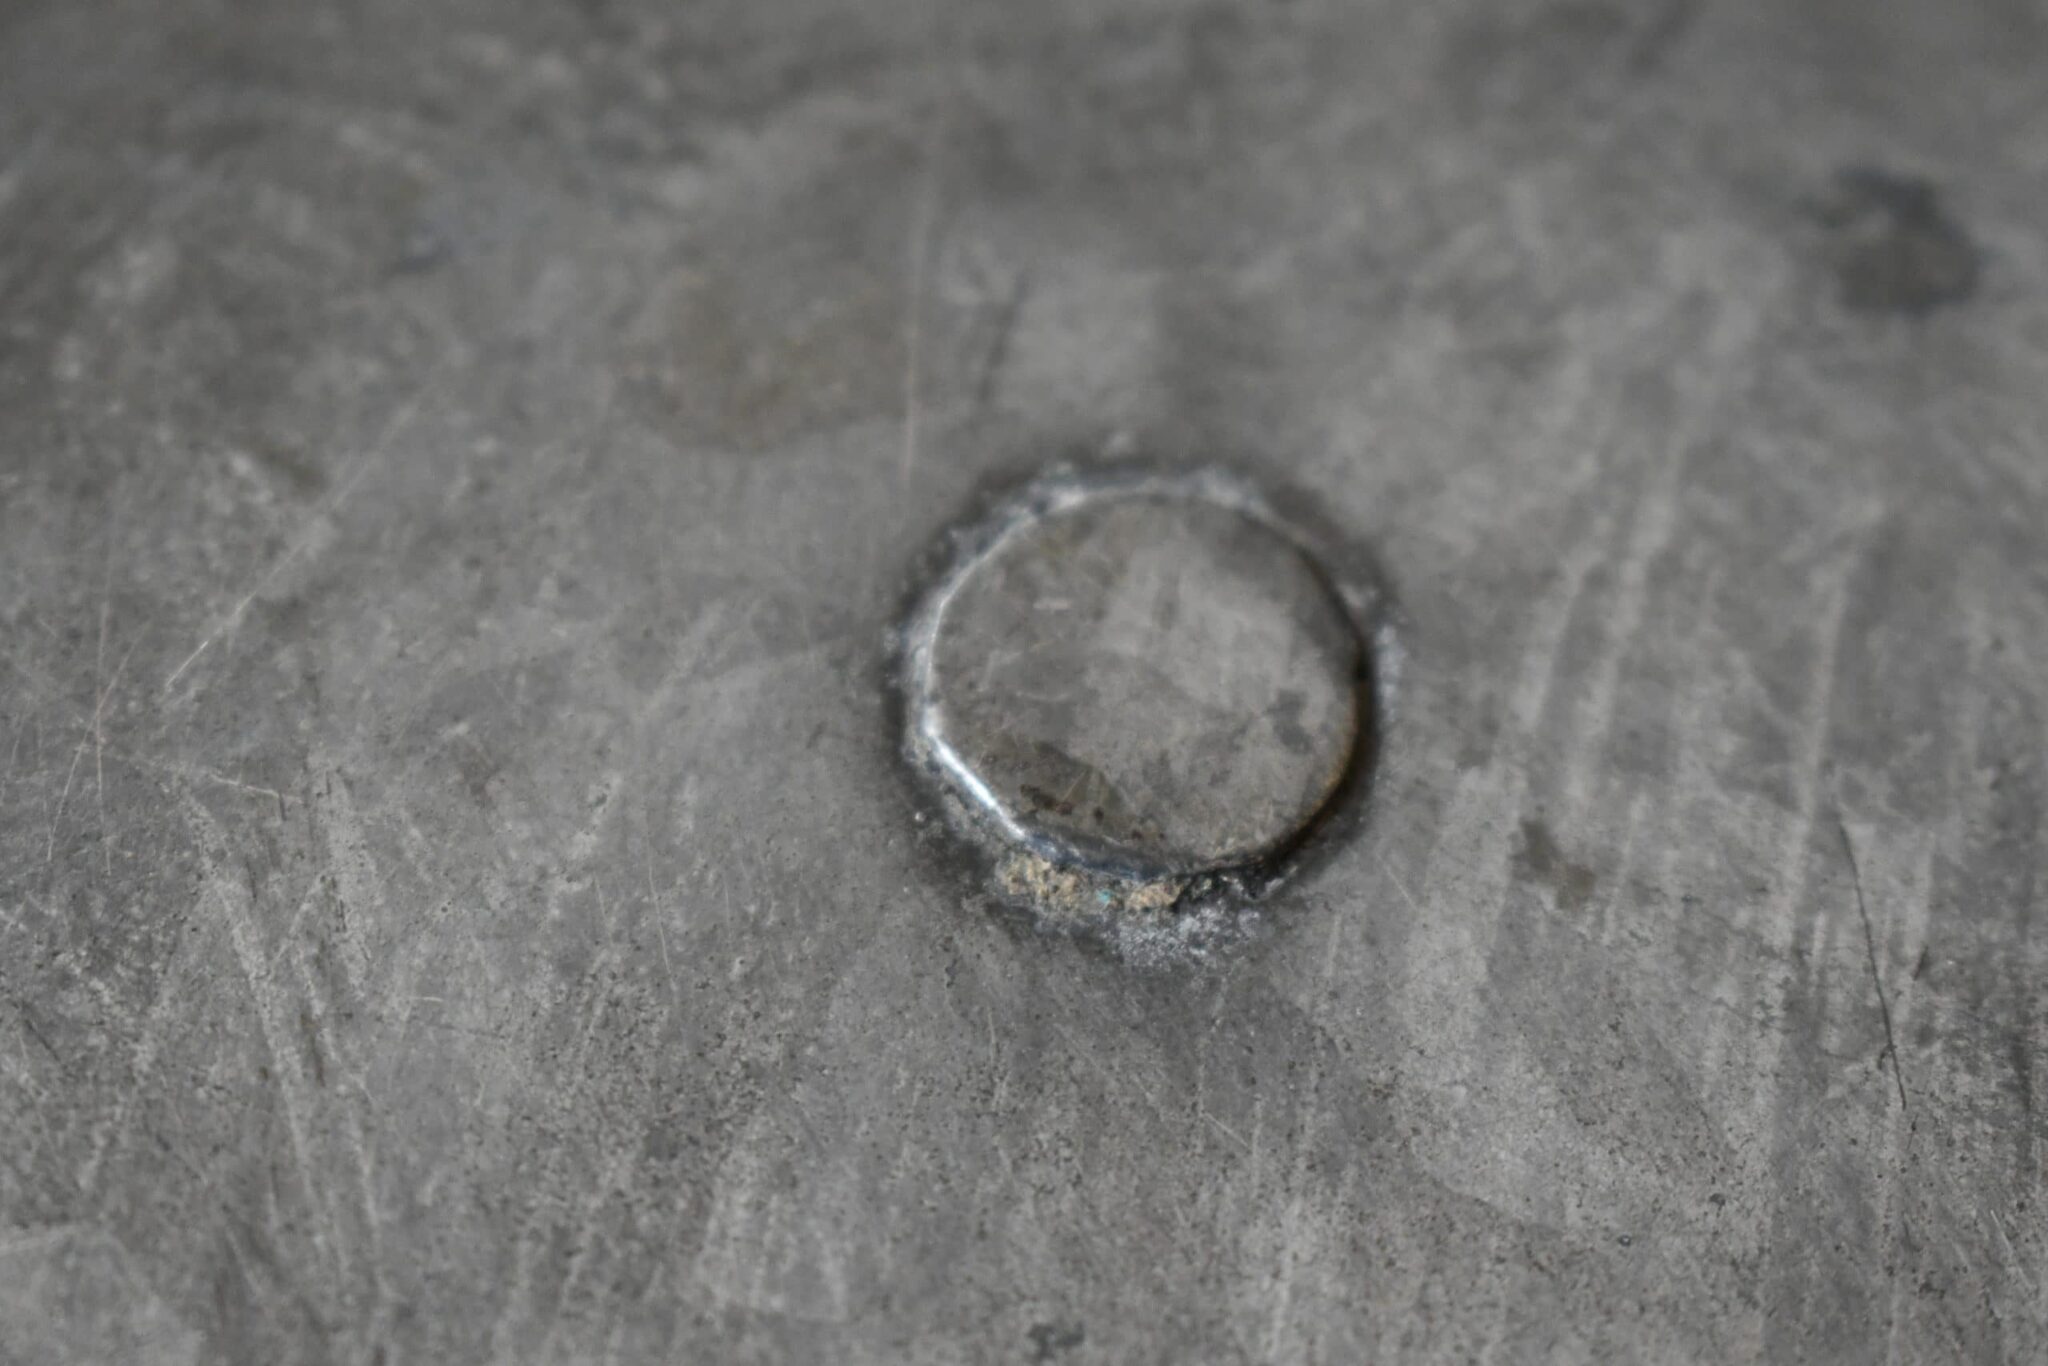
At the geometric center of the base is a small round divot that, for lack of a better term, I call “the dot.”

I believe this was left by the point of a compass that marked the shape for the smith to cut the sheet of copper for the base. This tells me that the copper was cut by hand and not by a metal punch. Hand-cranked metal punches from the early 19th century were replaced by steam-powered and then electrically-driven hydraulic systems as the industrial revolution progressed, but even a hand-cranked machine requires a workshop and various dies to be useful. Less expensive and more expedient would be to sit down, mark the shape, and clip out the sheet by hand, and that’s how this pan was made.
By itself the dot doesn’t necessarily imply a specific era for a piece of copper — as I hope you have gathered, the techniques of chaudronnerie evolved over time in fits and starts — but it does indicate hand-craftsmanship. It could be anything from the work of an itinerant or village smith without a workshop in the 18th century, to a side-project in an industrialized early 20th-century factory that didn’t happen to have the correct punch dies on hand. This is why I try to look at the entire piece and take multiple factors into account before venturing a guess as to its age.
But for this specific daubière, the dot fits right in with the dovetails and other pre-industrial elements of antique hand-craftsmanship that I see. I was not at all surprised to see it.
Geometry
This pan’s shape is wonky. In the photo below I lined up the pan with the floorboards as best I could to square it, and using the base’s dot as the center point, I overlaid two straight axial lines and a perfect oval outline onto the photo. Compare these shapes to the actual contours of the pan and you can see that it’s not quite even.

I do not make these observations as critiques. Copper pieces cut and formed with machinery (and finished by hand) are gorgeous in their symmetry, and I know from reading advertisements from the late 19th and early 20th centuries that copper manufacturers touted the perfection of form they could achieve with these modern techniques. Metal presses and punches saved time, were safer for workers, and produced pans of consistent size that made lids interchangeable for pans of the same dimension.
But in my opinion those ideal specimens lack some of the character of pieces like this one from the era when a pan and its lid were made for each other by the same person, start to finish. A pan like this tempts me to imagine the relationship it had with its maker over the hours and days of its making. None of us is perfect, and I am reassured to know that as this pan’s shape emerged, as quirky and unbalanced as it is, the smith who held it in his hands still took the time to bring it forth beautiful and complete.
Texture
If it seems odd for me to focus on the texture of the copper, please bear with me for a moment. I’m trying to figure out if the sheet copper was flattened with a metal roller or by hand-hammering.
The “old way” of making copper sheets was described in some detail in 1899 in Villedieu-lès-Poëles, sa commanderie, sa bourgeoisie, ses métiers (translated in Copper by hand: Historical poêlerie in Villedieu). The poêliers used pierres de foyer (“hearthstones,” a pair of giant granite slabs carved with a flat inner chambre) to mold molten copper into sheets between 5mm and 6mm thick. The forged sheets were cut into sections and laboriously hammered and annealed over and over again to flatten them into thinner pieces that could be shaped by hand into pots.
The more modern way to produce flat copper sheets — and by “modern” I mean the mid to late 18th century — was to use a steam-powered rolling mill. (Hand-cranked or water-powered mills had been around since the 16th century to make strips of metal but weren’t powerful enough for large sheets.) But this technology apparently didn’t reach French copper production until the mid-19th century, as evidenced by the persistence of the “old way” in Villedieu into the 1860s or so.
My question is whether the sheet copper for this daubière was hand-flattened or rolled, and this is where the texture of the sidewalls becomes interesting. Take a look.

At the moment I lean towards the opinion that this copper sheet was made the old way and not with a rolling mill. Rolling mills produce smooth flat sheets, and any marks on them would have been added after the rolling process to shape the pot or to work-harden it with the orderly pattern of hammer strikes I call martelage. In my opinion the hammering on this pan is too irregular to be an intentional finish. It looks more like the thorough hammering — even and yet chaotic — that would flatten and spread the metal over hours of labor.
On the other hand, any flat sheet of copper would need to be hammered into curves to make the sidewalls for this rounded pan. The walls are about 1.2mm thick and I don’t know how much hammering it would take to bend them, but it’s possible it would take hammering over the entire surface.
What do you think?

As always, I’d love to hear your reasoning in the comments — especially if you know a thing or two about metalsmithing (which is a thing or two more than I know) and can speak from experience.
Handles
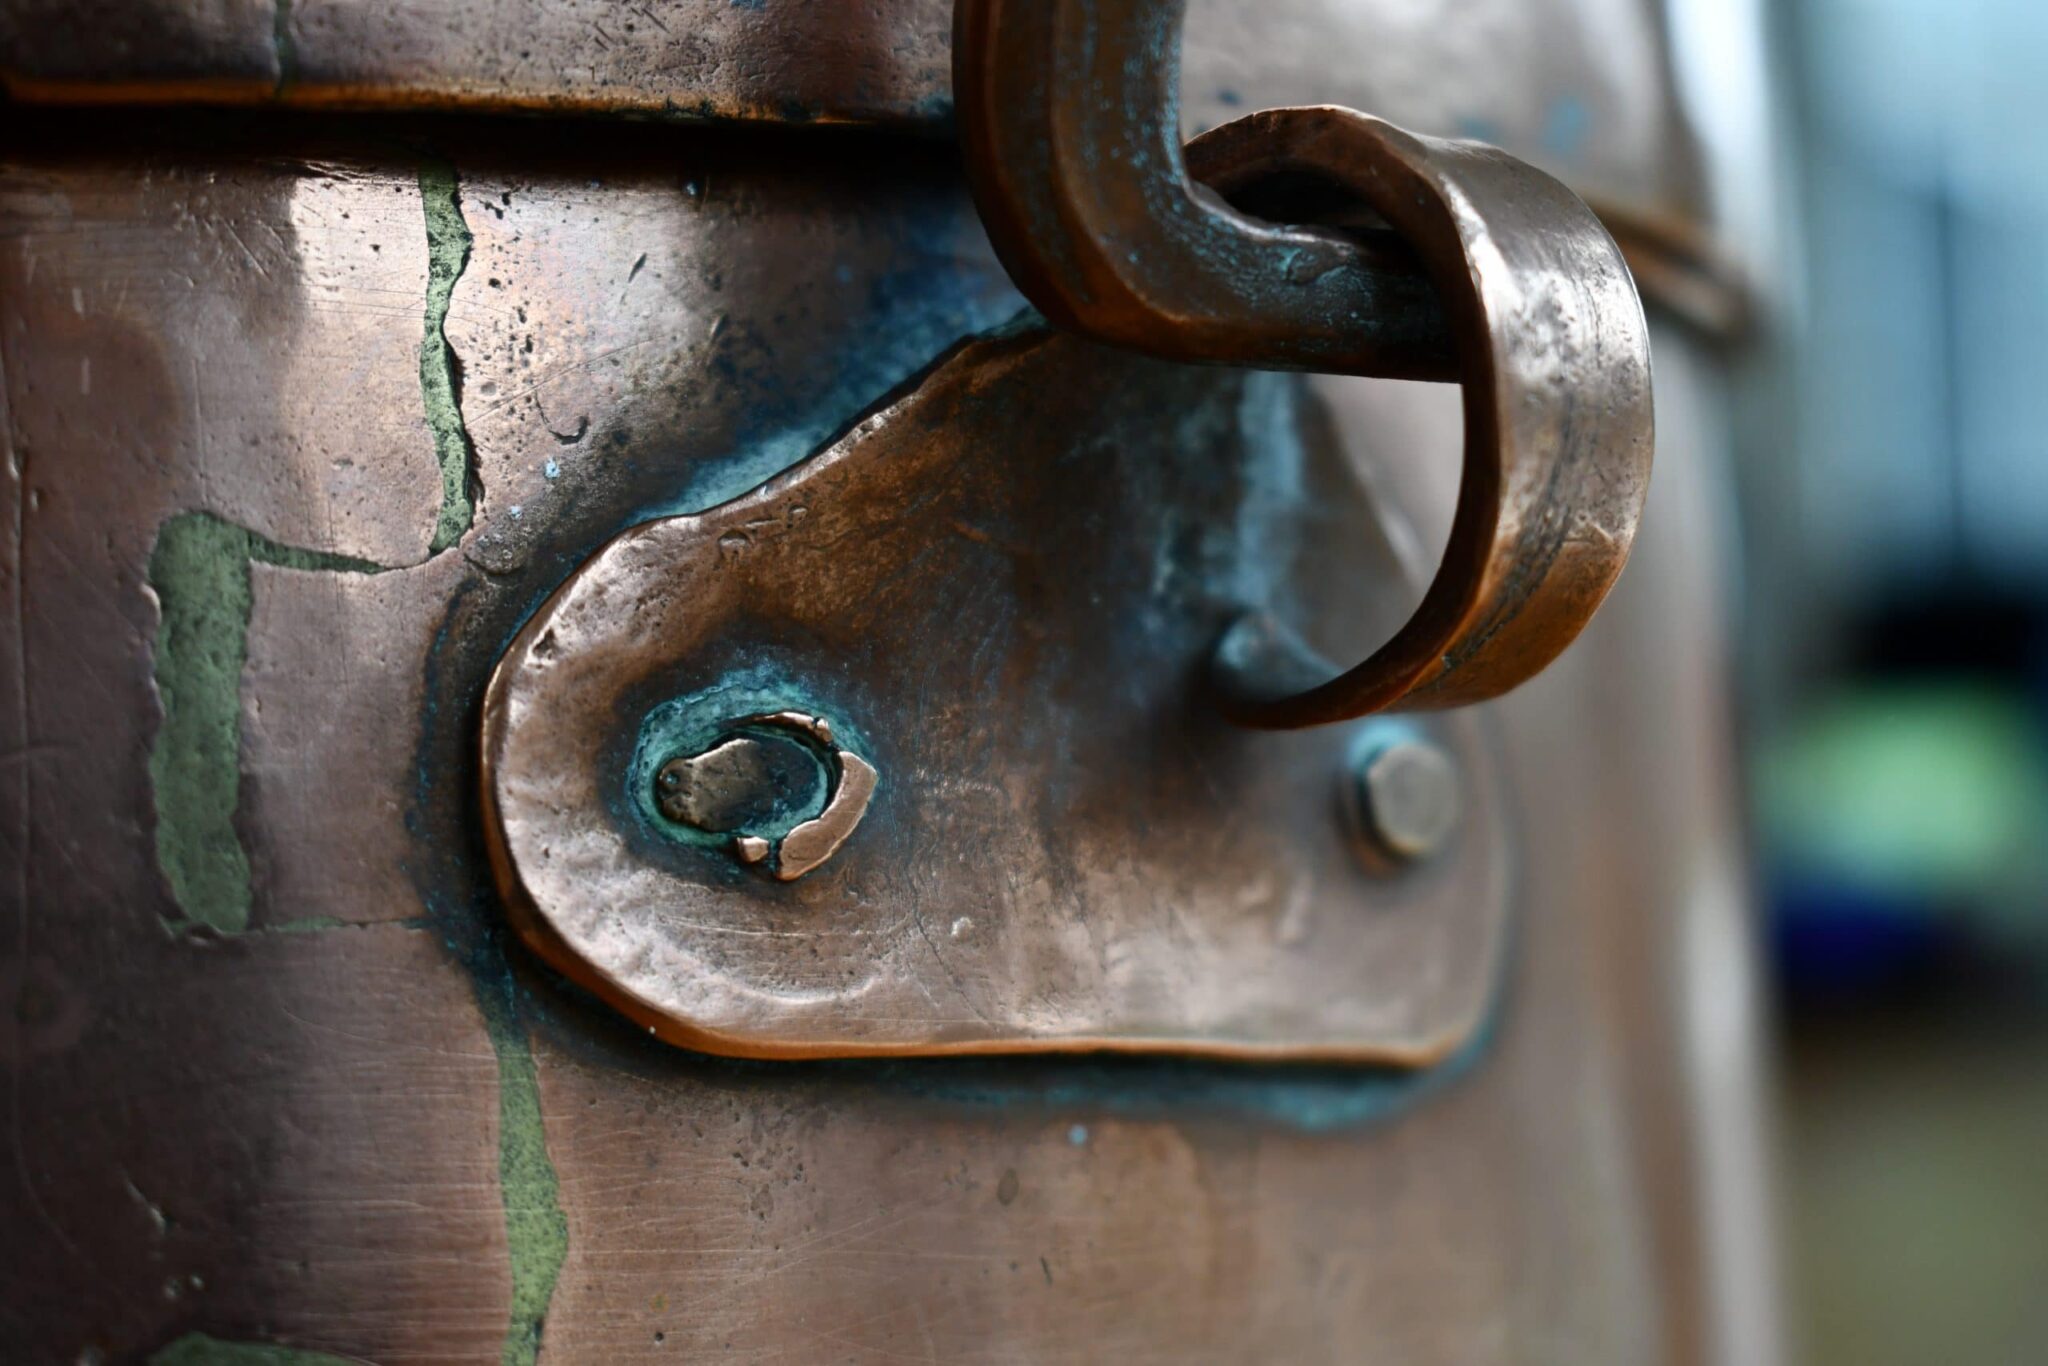
Moving up the pan, the next element is the design of the handles. Each handle is a shaped rod of solid copper loosely suspended within two curled brackets.

The brackets are made of copper and fastened with two copper rivets apiece. The interior rivets are flattened almost flush to the surface.

The rim
The rim of the pan is reinforced with a band of copper about 1.9cm (.75 inch) wide. I believe the rim was folded over and hammered flat.

The band is joined at one end of the pan with dovetailed seam.


The lid
This lid is a couvercle emboîtant that creates a shallow basin to hold hot coals for the long braise.
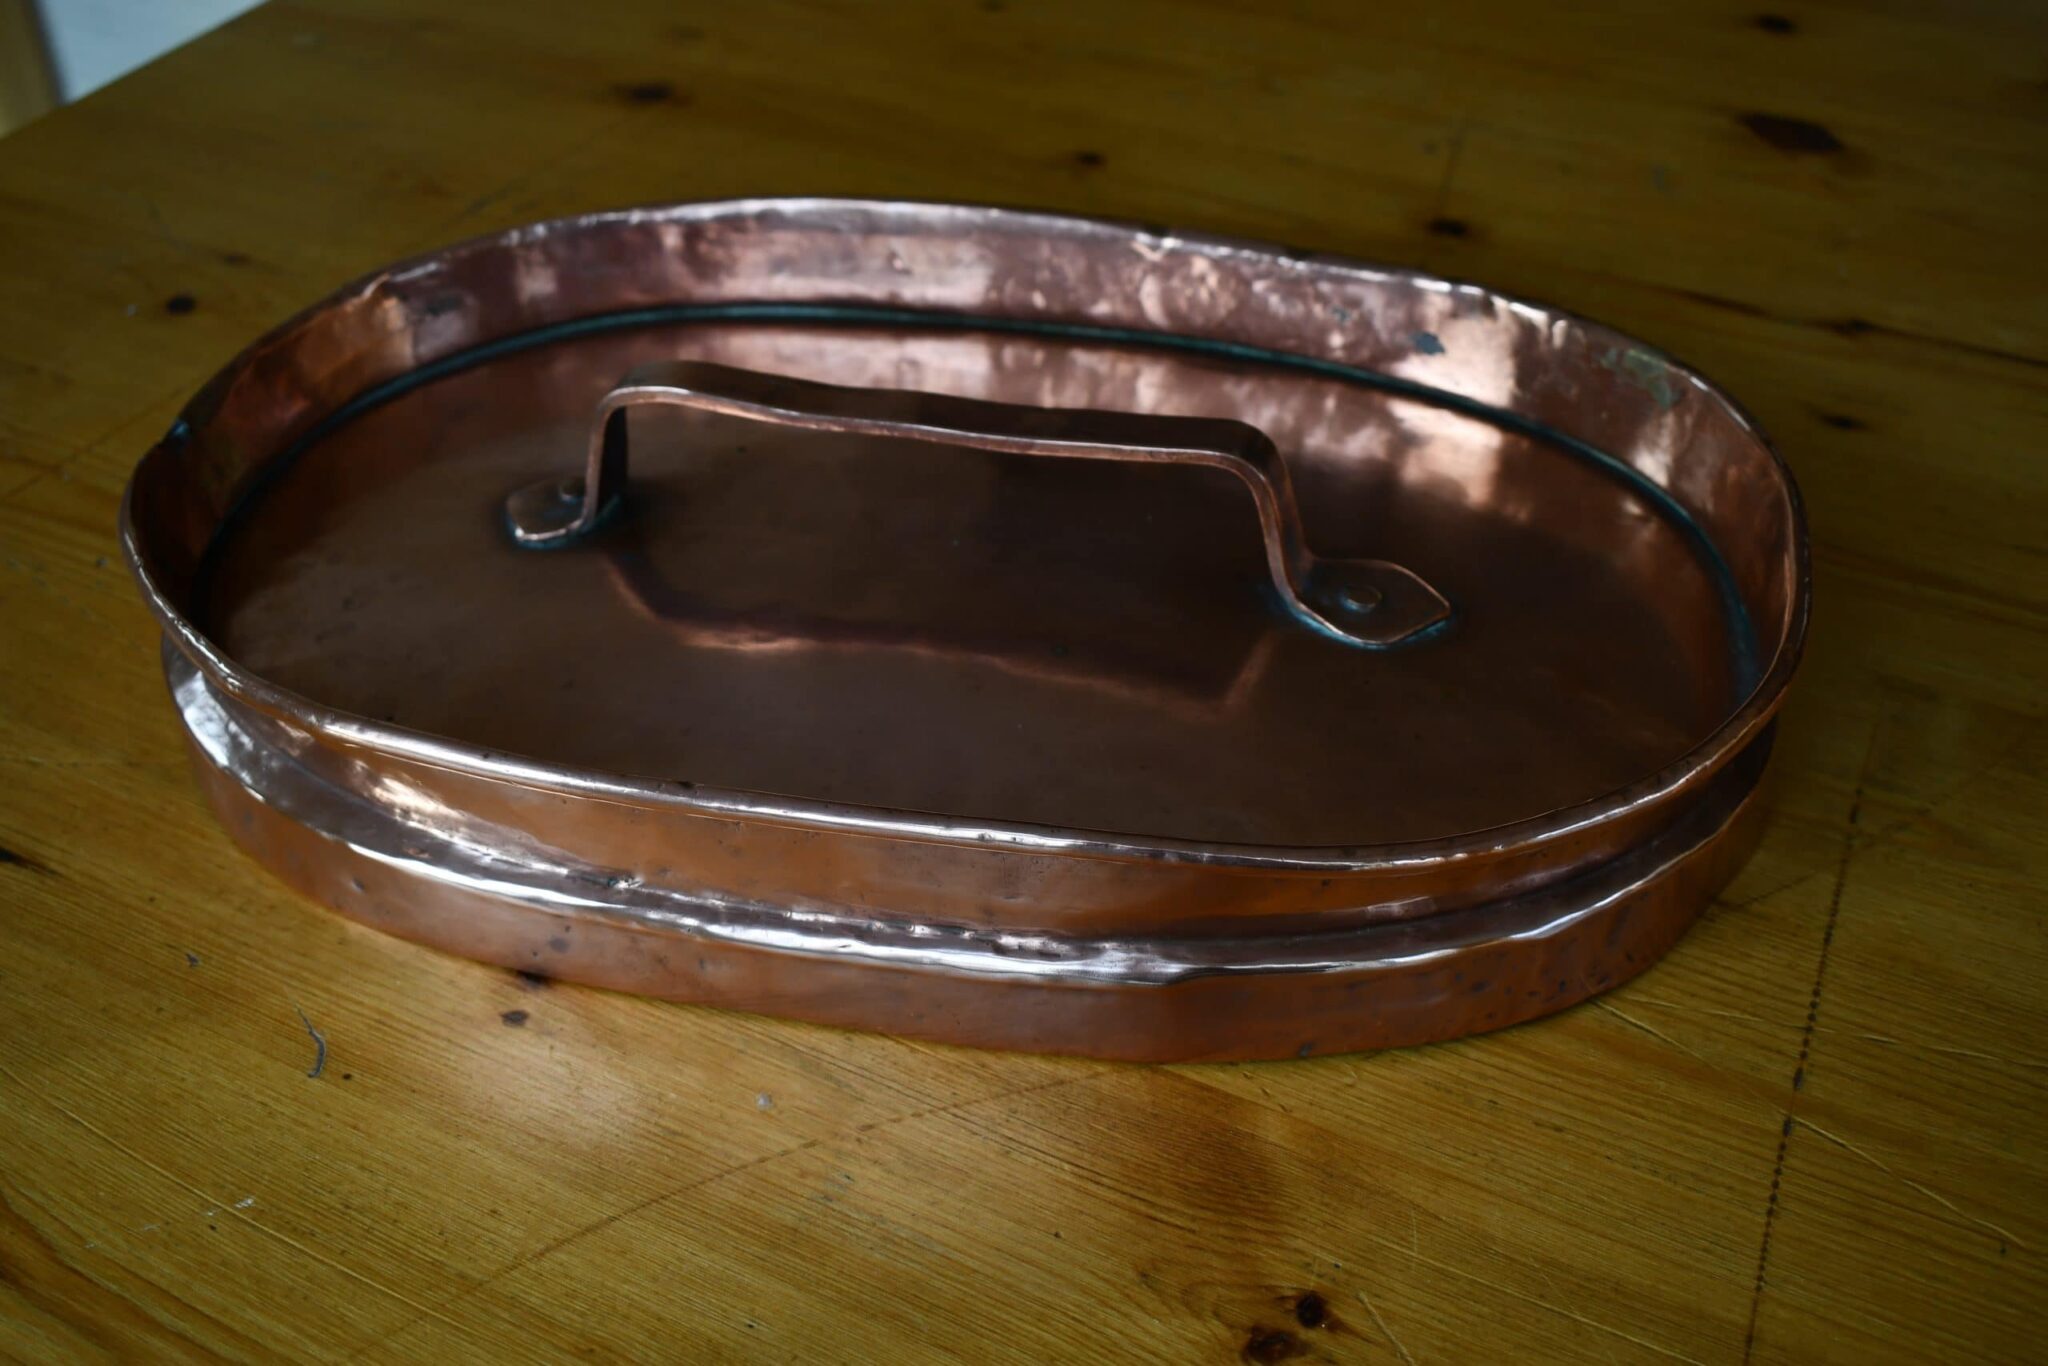
It is is a beautiful piece of design and engineering. I’ve examined it closely and I believe it’s made from three elements:
- The flat base piece has a centimeter-wide flange to fit snugly like a cap over the rim of the pan;
- The sidewalls are snugged around the flange of the base and rise up to form the vertical sides of the lid;
- An iron wire is set inside the curl of the rolled rim to reinforce it.
The diagram below is my attempt at showing how these pieces are arranged.

It is magnificent. Let’s start with the base.
First element: The base
The flat base of the lid is formed from a single piece of copper. (It is asymmetrical to fit the body of the pan.) As you can see in the photos below, there is no seam along the corner where the copper is bent to form the flange. The seam you see is the bottom of the sidewall piece, wrapped around and cramped tightly to the base piece.


The lid fits quite tightly over the pan body, as would be desirable for a braising pan. The pan body bulges out slightly at the sides and needs to be compressed a little so that the lid will slide over the top. There is definitely a “wrong way” to fit the lid, but even the “right way” — with the pan and lid dovetails lined up on the same side — the fit is quite tight.
Second element: Sidewalls
This strip of copper is about 5 centimeters wide and forms the vertical sidewalls of the lid. At the bottom, it is bent around the flange of the base piece. As it rises above the plane of the lid it bends inward and then flares out.

This inward bend creates a seal around the edges of the basin atop the flat plane of the lid.

The sidewalls rise up and then curve outward like the curl at the top of an ocean wave to contain the reinforcing wire.
Third element: Wire
The third and final element of the lid’s construction is revealed by the pan’s one area of damage. The dovetailed seam at the edge of the rolled rim of the pan has parted slightly to reveal what’s inside.


Looking very closely from the side and from the top down, I can see a metal wire perhaps 2-3mm in diameter. I tested it with a little dab of tarnish remover and it did not change color, so I believe it’s made of iron.


The damage is regrettable, of course, but it is slight and neither structurally nor functionally significant in my opinion, and it does give us a literal glimpse inside the rolled rim!
The lid handle
The last piece of this pan is the handle, a simple copper bar. It rises a little bit higher than the rim of the sidewalls and it’s gotten a little crushed towards the middle.

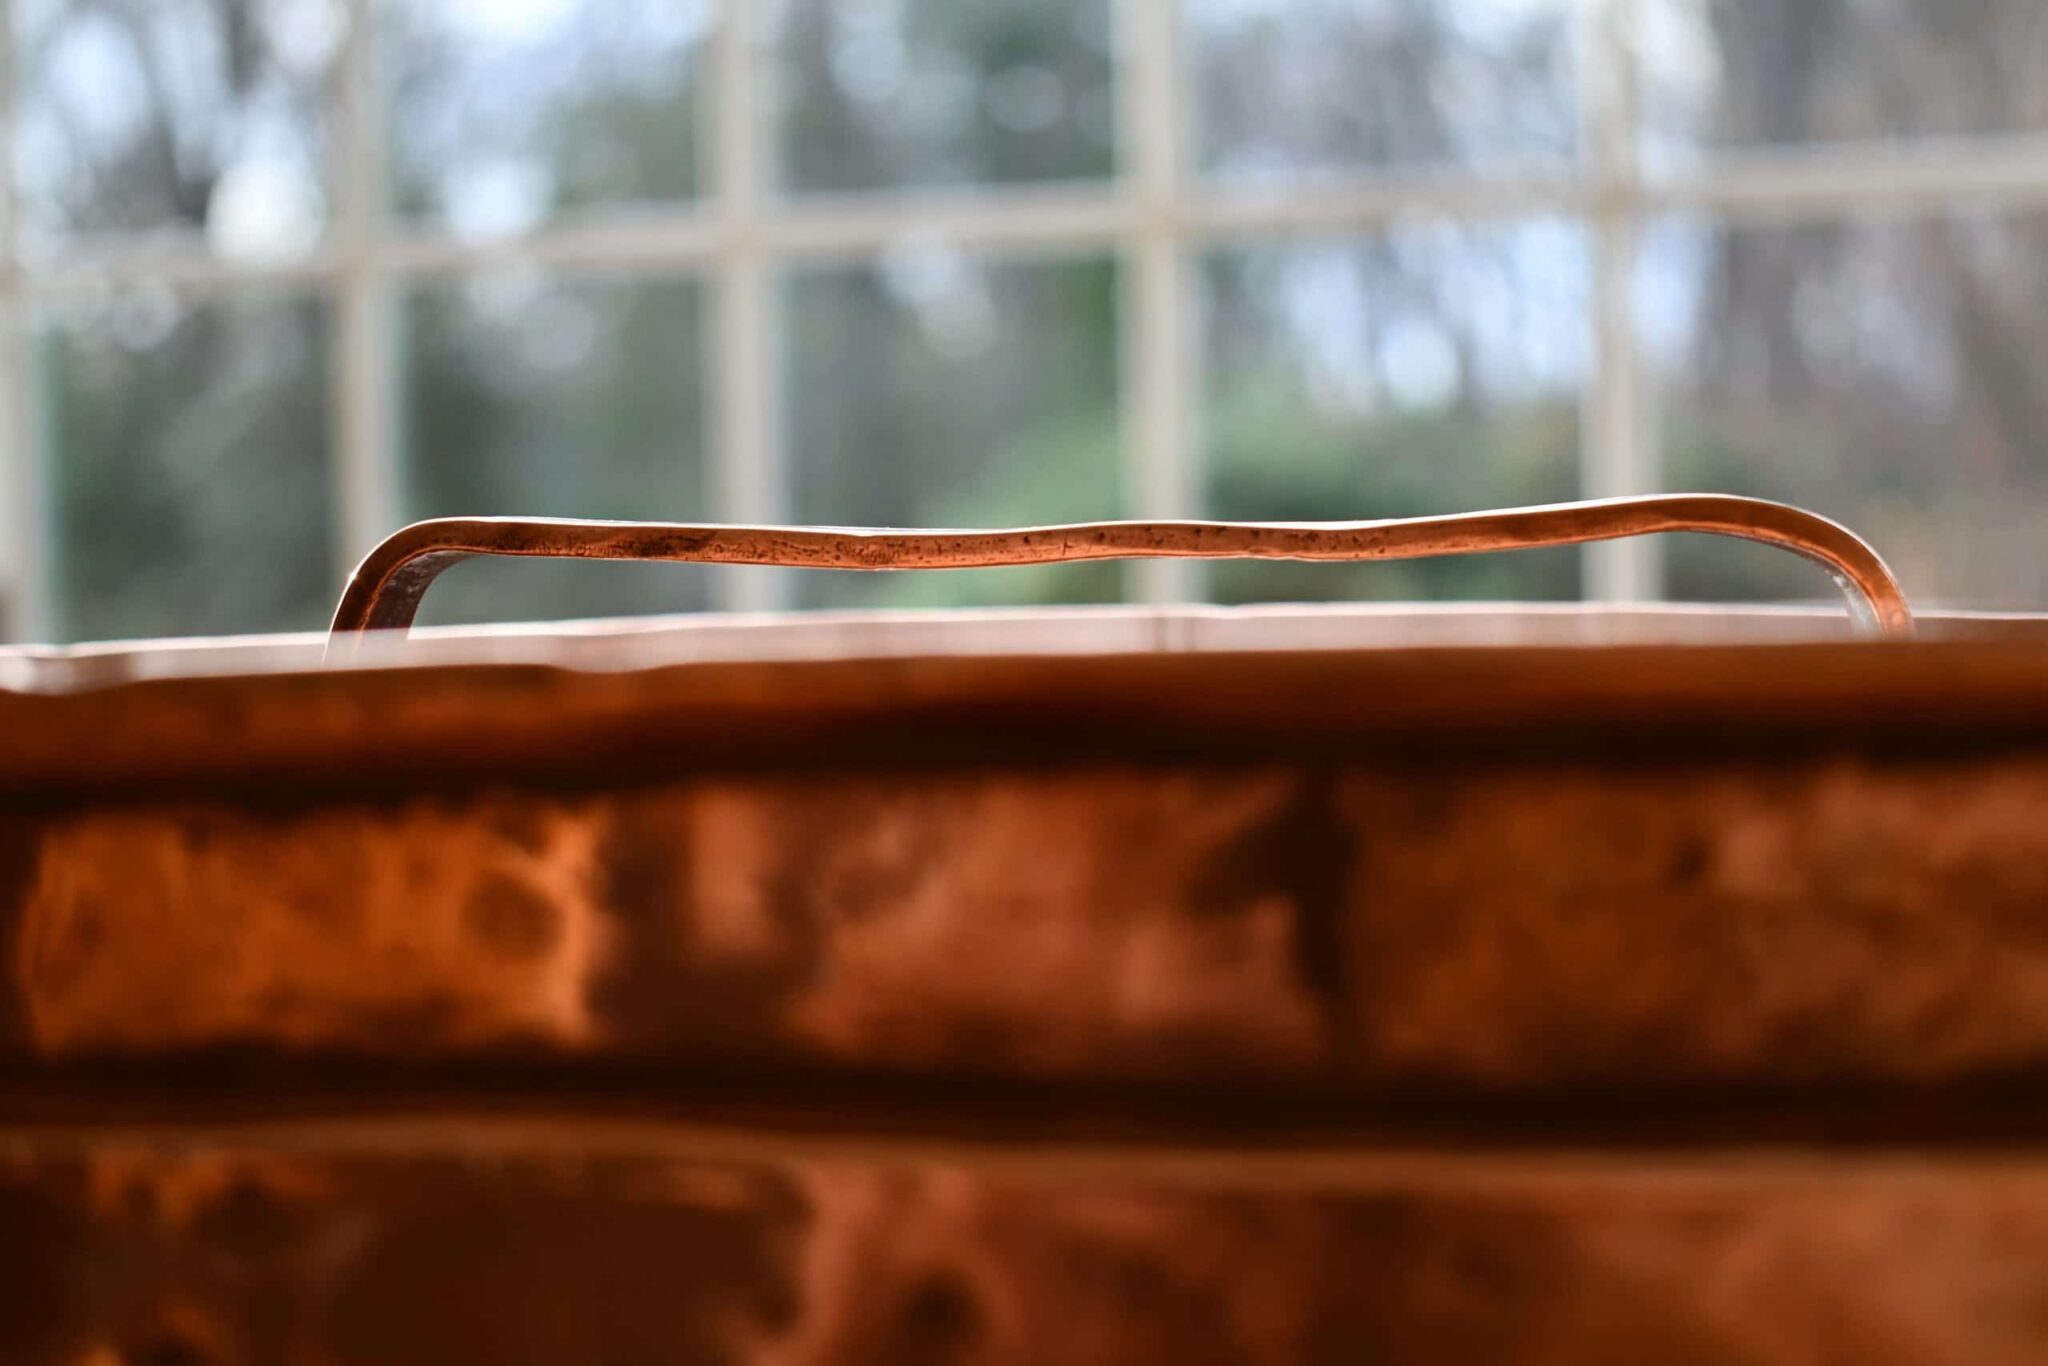
The ends of the handle are flattened into brackets and fastened with a single copper rivet. The interior rivet heads are set almost flush to the inner surface, similar to the rivets on the side handle brackets.
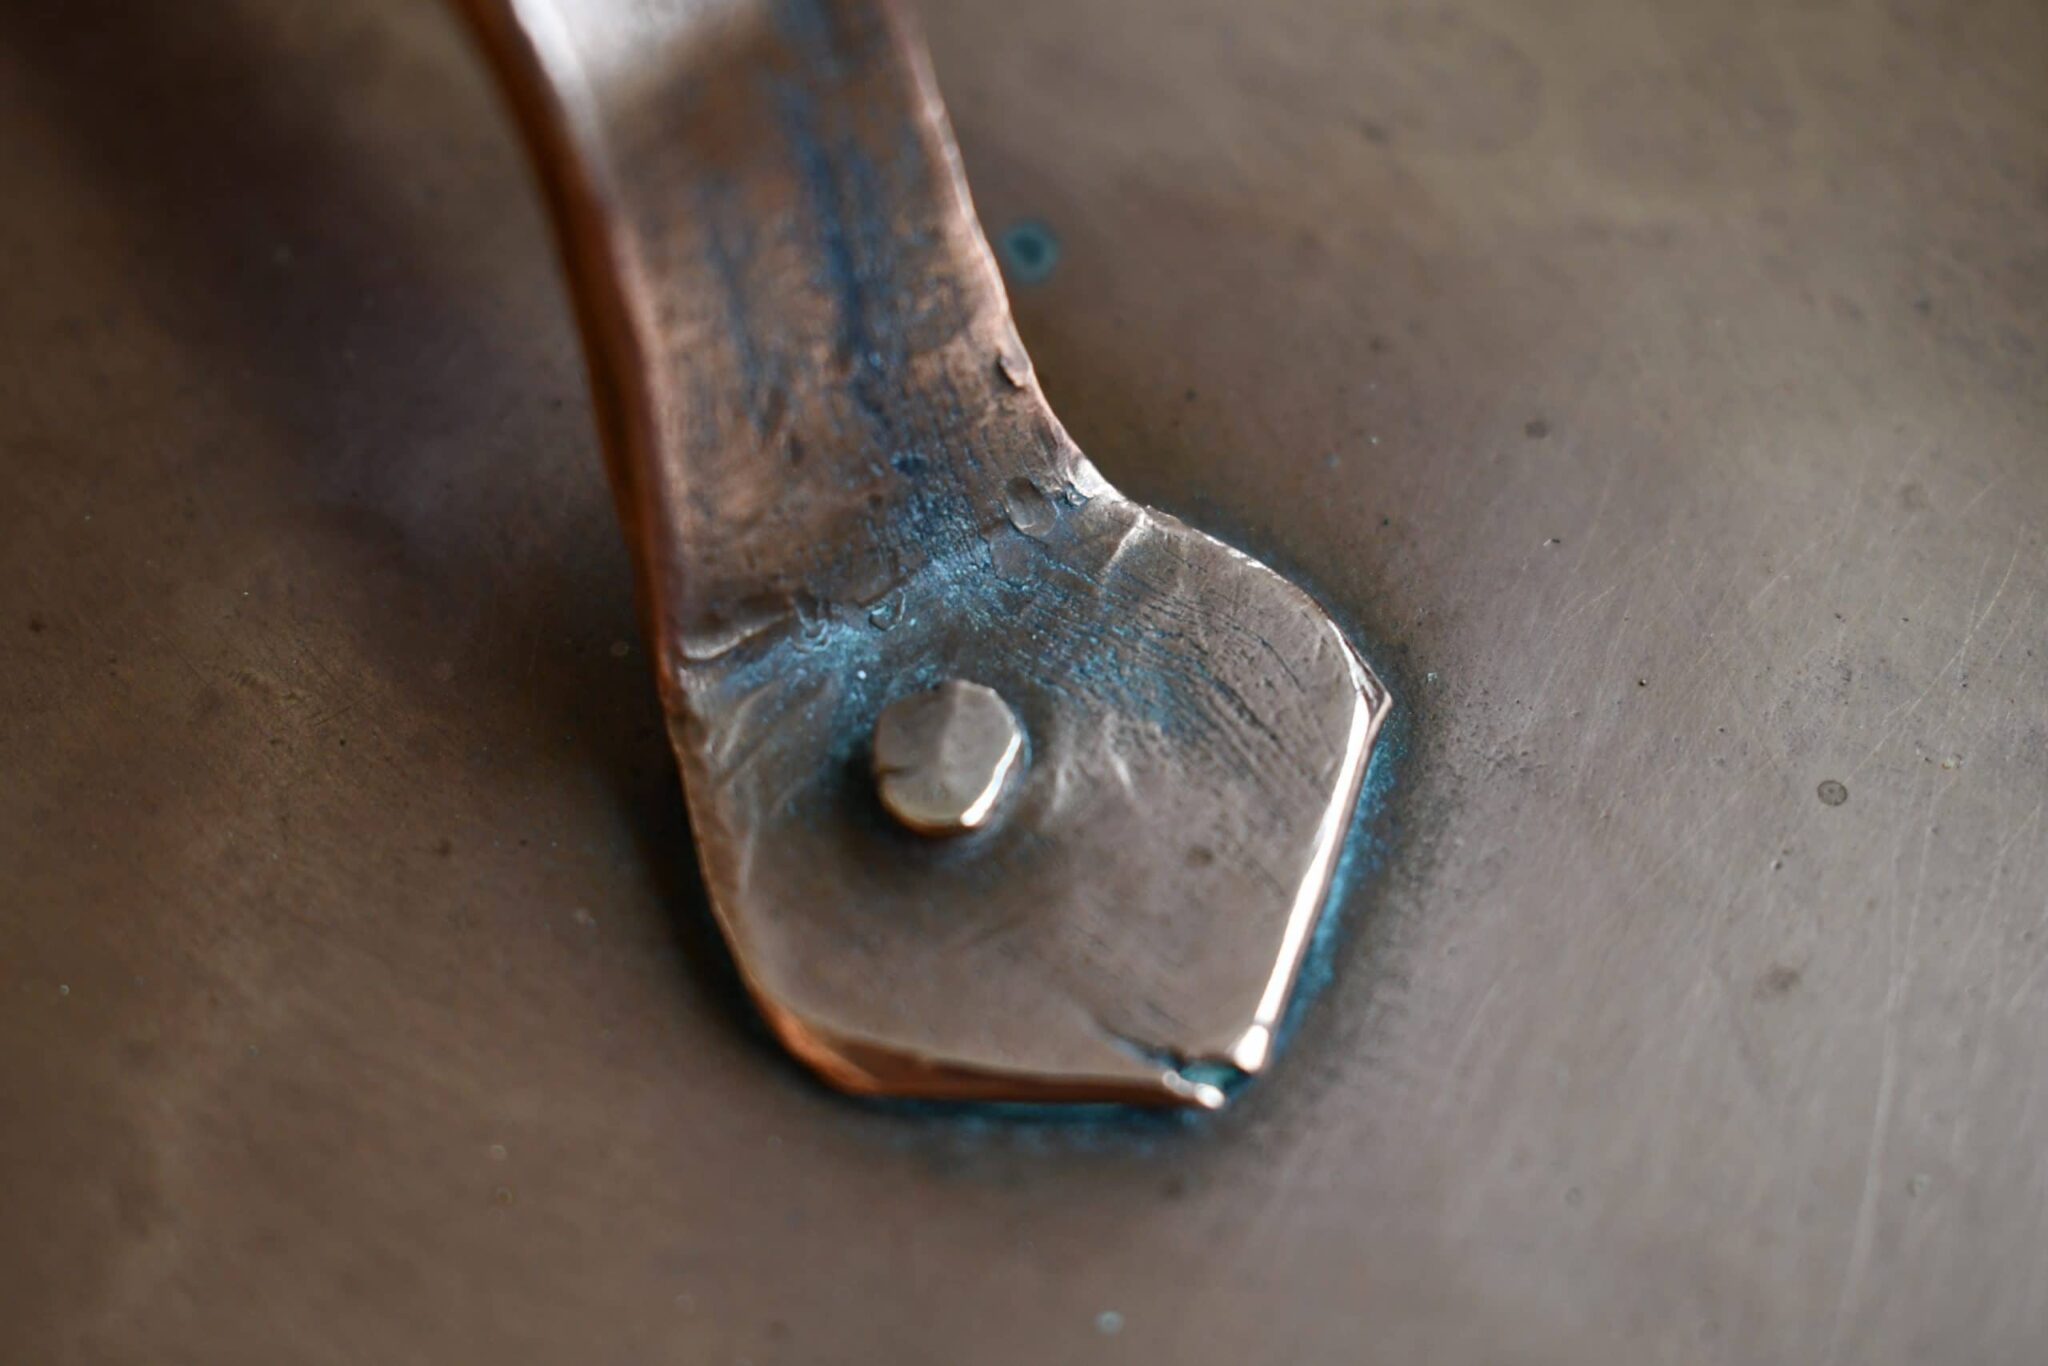
This piece has almost certainly been retinned and polished over its 200-year history, and I would characterize its current tin as elderly but intact.

My experience has been that the point of purchasing a piece online is the best time to decide whether to refurbish it. The seller will be boxing it up (carefully, one hopes) and shipping it, and having the package sent directly to a retinner saves me the time and expense of packing it and shipping it again myself.
But I don’t automatically send every piece I buy to be retinned. The process puts a piece of copper through some stress; stripping old tin can entail chemicals and abrasives, and polishing by definition removes a few microns of copper from the surface. I have a decision process I work through that takes into consideration the condition of the piece as well as my intentions for it.
For this piece, the decision was easy. I’m not intending to cook with it so the state of the tin was not a major concern. Aside from the minor damage to the rim of the lid as shown earlier in this post, the piece is in marvelous condition. It has no major dents, no tears in the copper or leaky-looking dovetails, and it sits perfectly flat. And, as a bonus, it has acquired a really lovely patina.
There is a buildup of copper polish residue in the nooks and crannies around the handles and other tight spaces, but I’m going to just leave it be. I don’t believe this residue is harmful — it’s not the bright green of verdigris but instead the dull greenish-gray color of cream polish that always reminds me of toothpaste. Were I to try to remove this, I would soak the area in warm water and use a cotton swab to rub it gently until it dissolved. (I’ve used a wooden toothpick on tough cases but be warned that jabbing into the cracks can scratch the copper.) The downside is that removing this residue may inadvertently reveal bright polished copper underneath, disturbing the piece’s overall mellow patina.
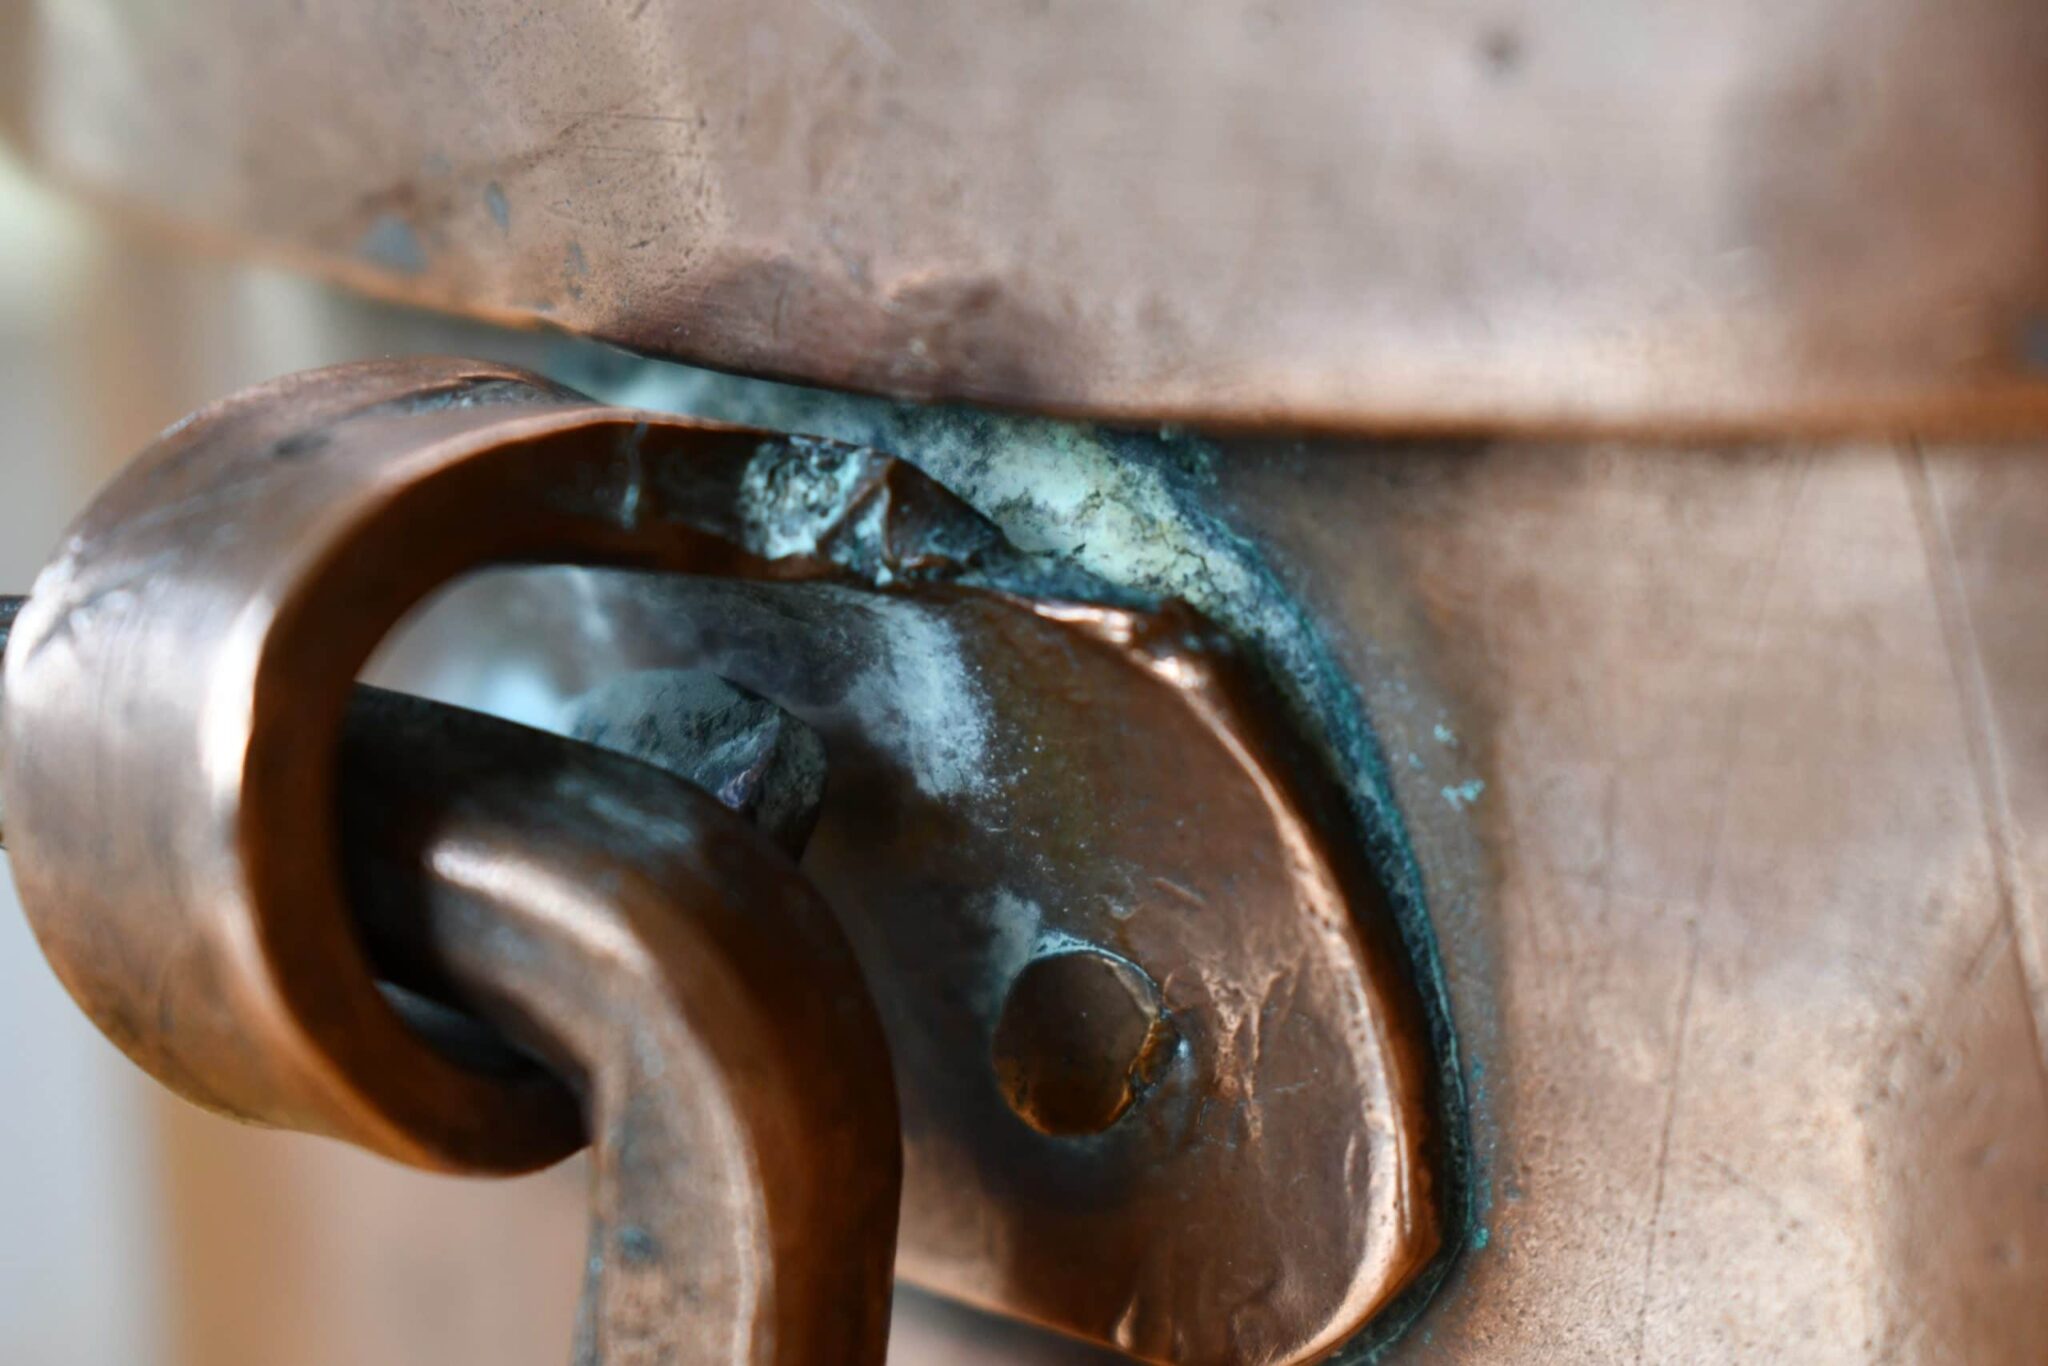


(I would certainly clean all this residue away were I to cook with this piece!)
Conclusion
This has been a really fun post to write. I was drawn to this piece’s unusual design when I saw it online, but I never imagined how interested I would become in understanding its construction. I am just amazed at the cleverness of the design of this piece. It has the most complex construction of anything in my collection, and it’s all in the lid.
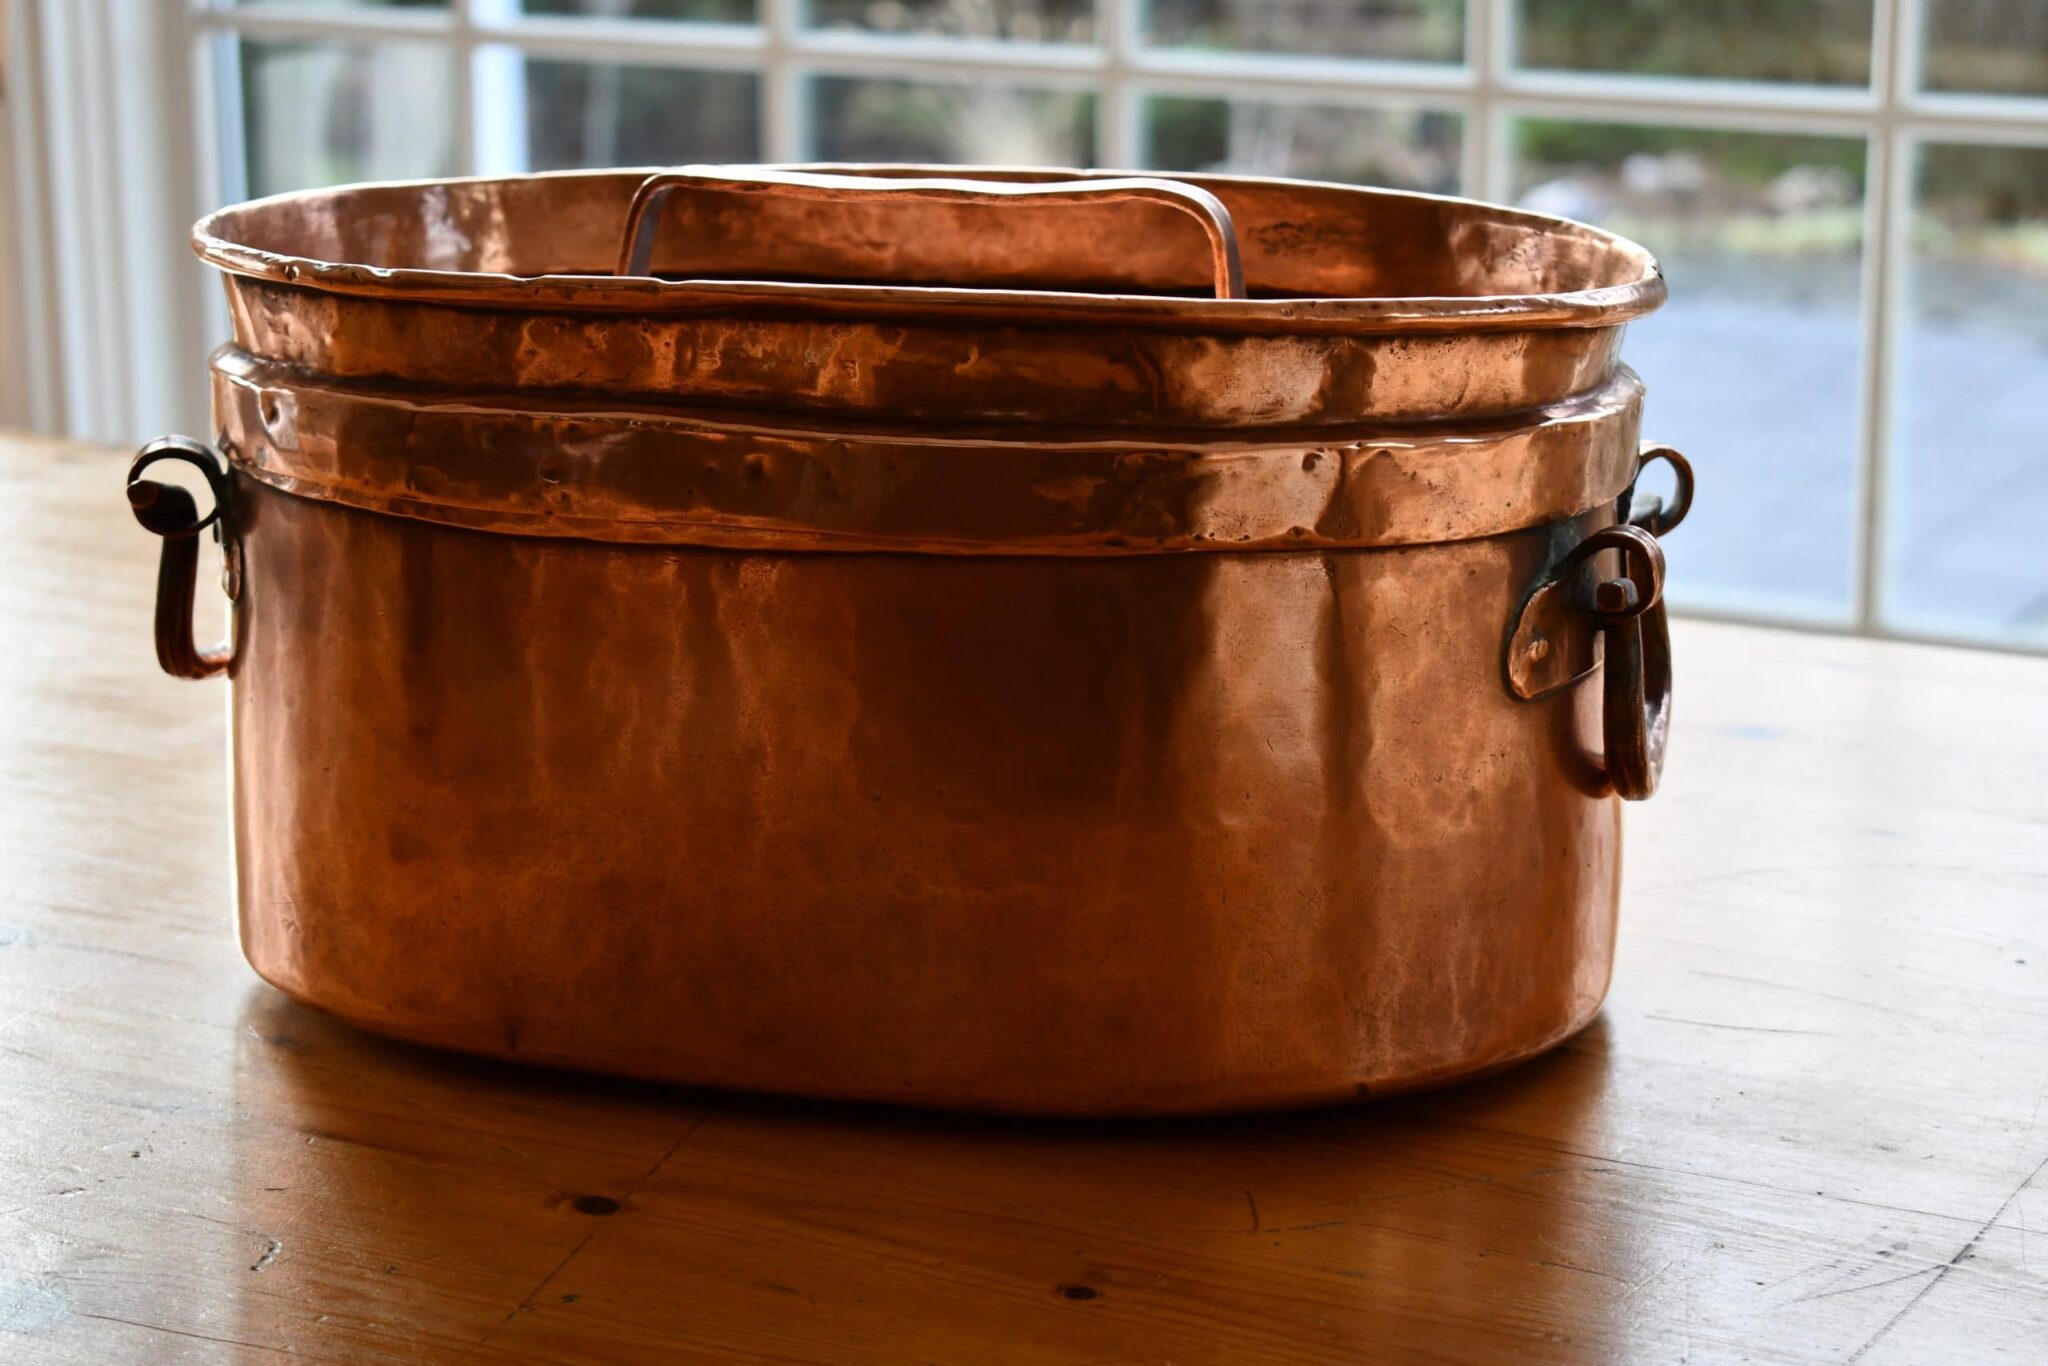


It’s beautiful and functional and an example of just how well a clever coppersmith could shape and join metal completely by hand. The folds of copper are sealed tightly and I have no doubt the pan and its lid are both water-tight. This piece could cook just as well today as it did when it was made two hundred years ago.
Finally, I’d like to thank Steve Nash of FrenchAntiquity for finding this piece and leaving it in its current state. In my experience he is very sensitive to and appreciative of the condition of the antique and vintage copper that he finds. If you browse through his Etsy store you will see that he has both an array of ready-to-cook pans that he has had retinned as well as antique pieces that he has left as-is. He has an excellent eye for copper and a deep respect for the grace of well-aged pieces.
I suggest that anyone who is interested in collecting vintage and antique copper should consider working with Steve. He is always willing to answer questions about his items and he takes requests for hard-to-find pieces. As a copper collector based in the US, I am grateful for his hard work to find these pieces across France and Europe, his consideration as he decides whether and how to prepare them for sale, his honesty and ethics as he works with his buyers, and the extra care he takes to pack them safely.
And on top of it all he’s just a really nice guy. Steve, if you’re reading this, thanks!
Addendum: I revised this post in February 2021 because I’ve learned more about the likely construction of the lid. I edited the narrative and replaced my diagram to represent my current understanding.
